Dressed Up Baked Beans
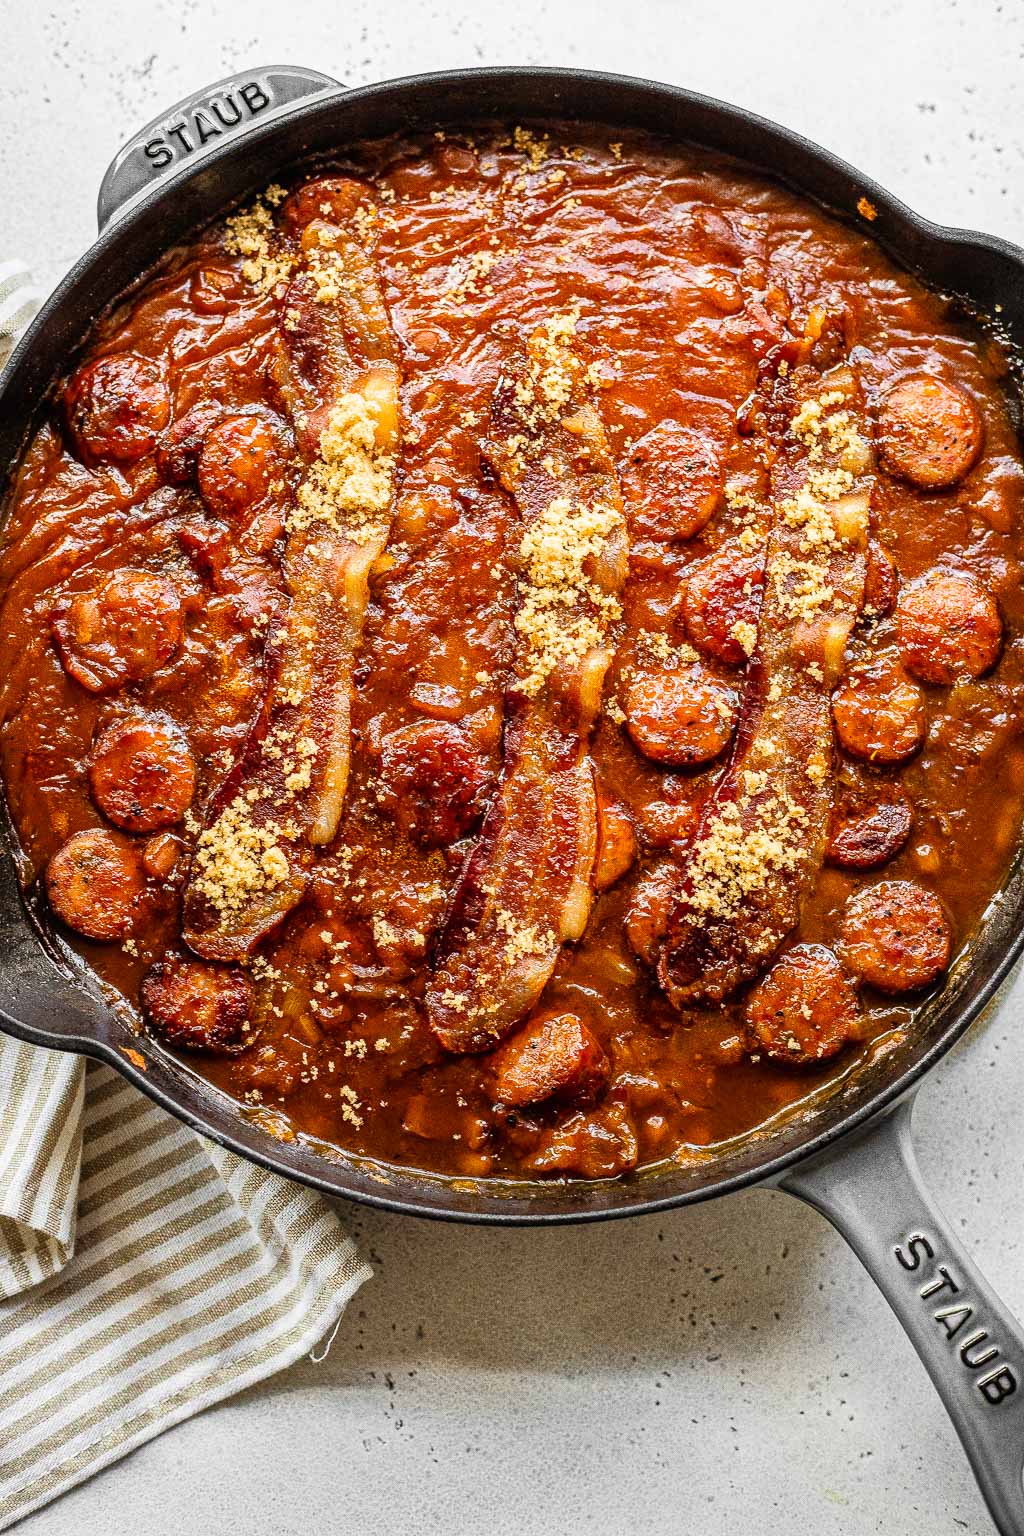
Everyone needs a great baked beans recipe and this one is all about dressed up baked beans from a can! Baked beans are one of my favorite sides and this recipe is all about how to dress up canned baked beans! By adding a couple of ingredients to canned baked beans, you take it up another notch and really make them special.
I can tell you, I’ve tested recipe after recipe for making baked beans completely from scratch. The truth? Nothing stands up to Bush’s Baked Beans, which is just hilarious to me. This isn’t sponsored, but let’s be honest–they’re the gold standard of baked beans.
However, if you know me, I take great pride in making things from scratch when I entertain or attend a bbq! Dressing up canned baked beans with a handful of ingredients satisfies my need to cook and truly makes canned baked beans so much better!
Dressed Up Baked Beans: A Backyard BBQ Staple
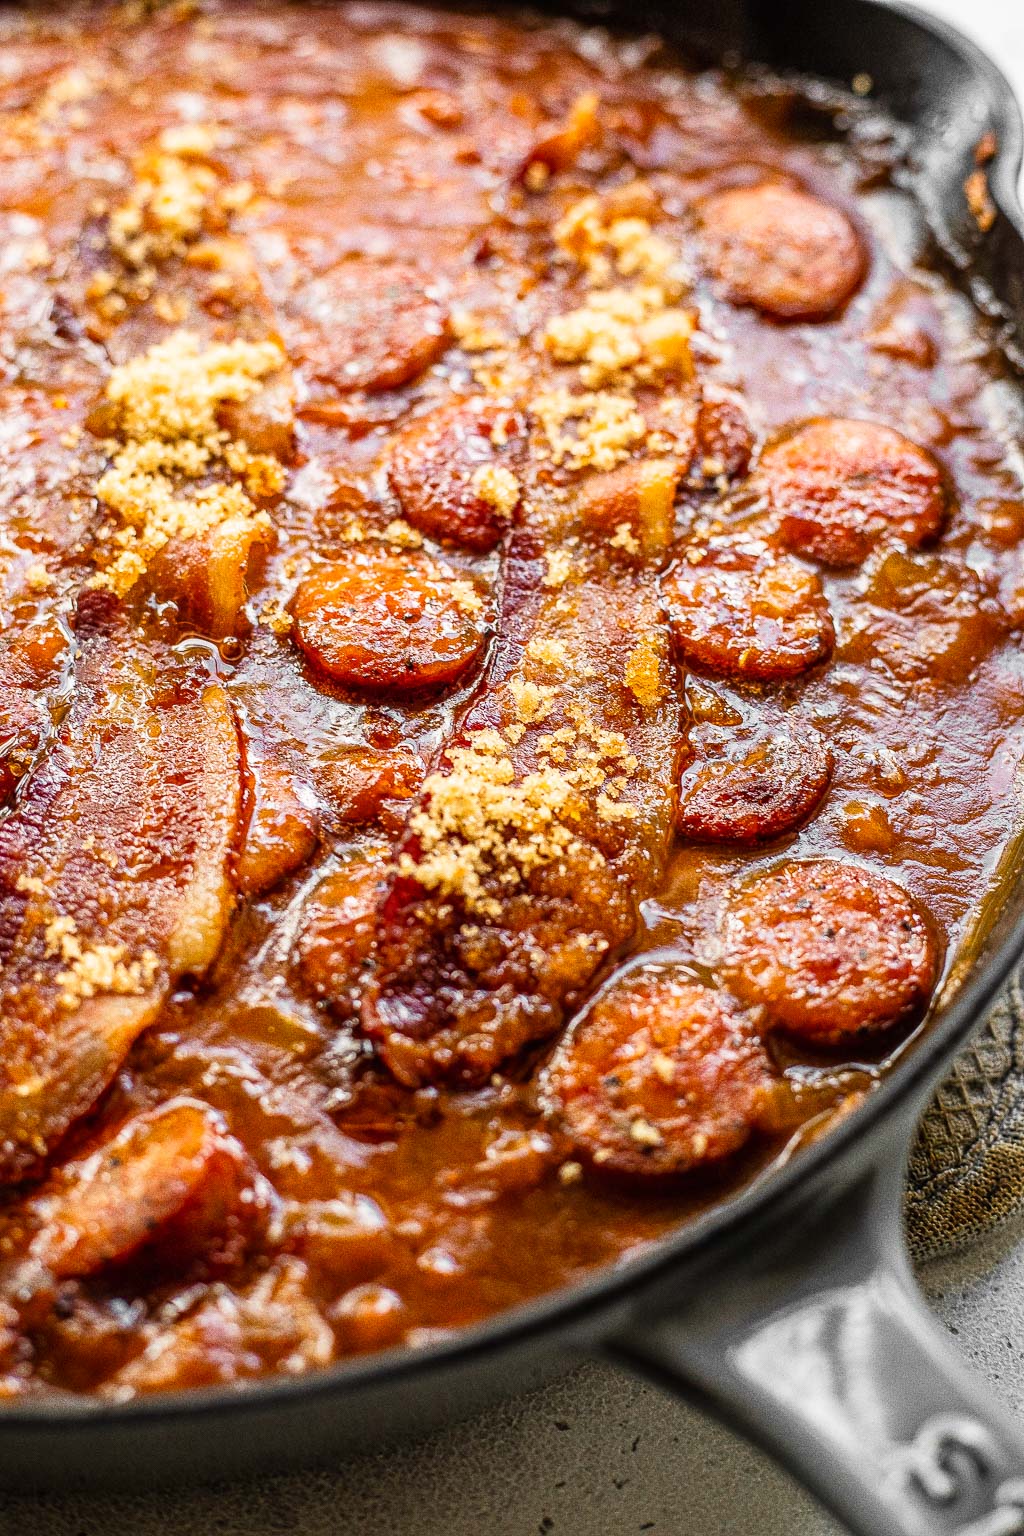
Summer is all about throwing and attending BBQs and I’m always looking for a staple side dish to make or bring. Dressed up baked beans take a handful of ingredients and turn them into a side dish that tastes homemade! Dressed up baked beans come together quickly in one skillet–perfect for an easy side dish that still feels impressive.
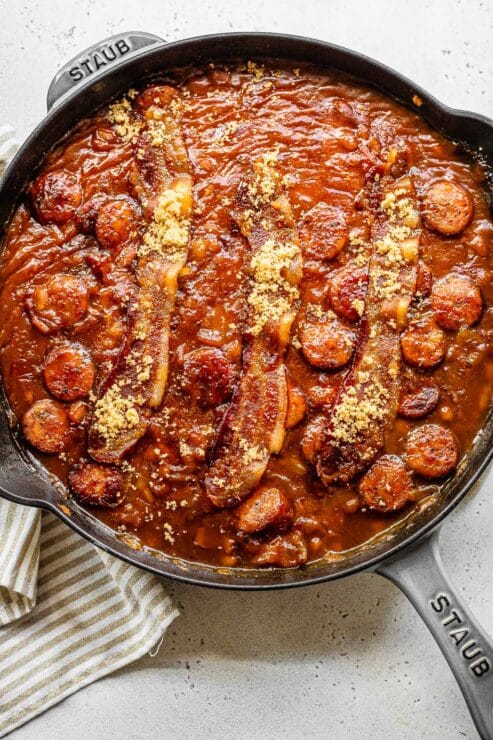
This recipe for dressed up baked beans comes together in one skillet that goes straight from the stove to the oven to get that caramelized crust. Once you try these baked beans, you’re never going back to just opening up a can!
I grew up with Bush’s classic baked beans at every gathering! They hold such nostalgia for me, but I love giving them a little lift with some homemade touches. Bacon, sausage, lots of crisp onions, and a couple of pantry staples will transform canned baked beans into a masterpiece!
Why You’ll Love This Recipe
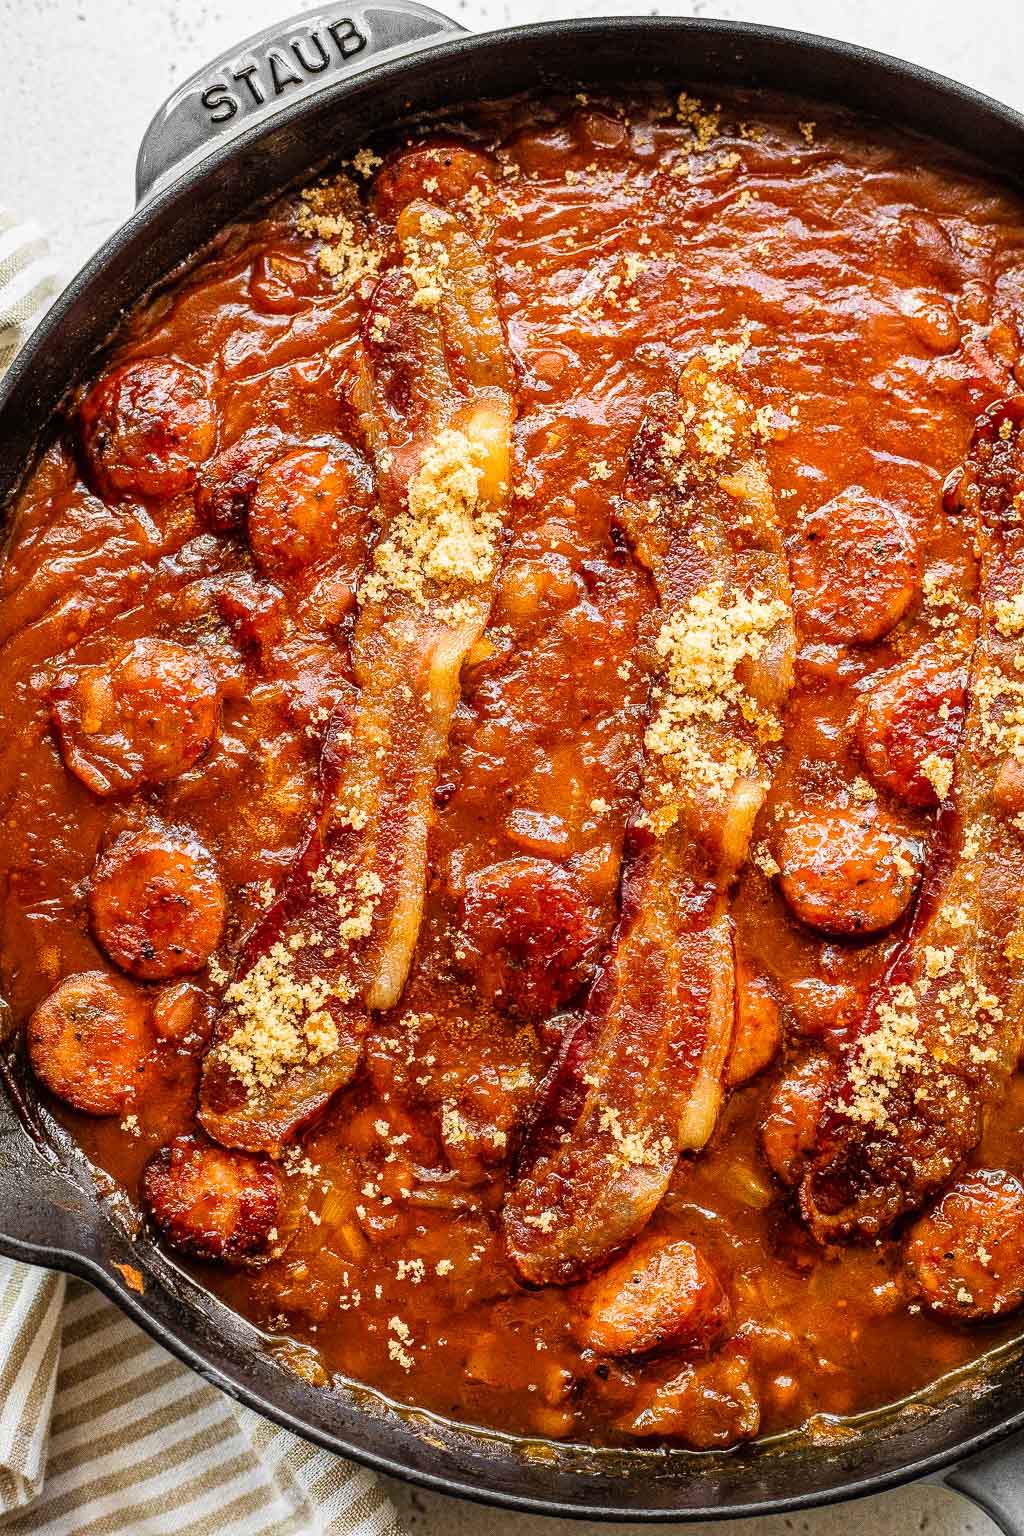
Easy – This is not an involved recipe! A bit of chopping, mixing, simmering, and then the oven does most of the work. It’s a bit of up front work while being mostly hands-off leaving you free to work on other things!
Budget friendly – Canned baked beans and a couple of pantry staples make this recipe for dressed up baked beans super affordable! You can easily feed a crowd with a minimal budget here.
One skillet – I love a side dish that doesn’t make a ton of dishes! Everything comes together in one skillet and goes straight from stove to oven to party. Say goodbye to tons of dirty dishes, and hello to your new favorite side dish recipe!
How to Make Dressed Up Baked Beans
My recommendation here is to go with a nice big cast iron skillet, at least 11-12 inches in diameter. Otherwise, just use an oven-safe skillet for this recipe!
Tools Needed
Ingredients and Substitutions
- Canned baked beans. My favorite is Bush’s classic or homestyle baked beans!
- Bacon. Doesn’t bacon just make everything better?
- Sausage. I went for a smoky and spicy pork sausage, but kielbasa or similar is a great addition. We’re using fully cooked sausage here and just getting the slices nice and crispy.
- Onion. Diced yellow onion really bolsters some fresh flavor and keeps things from tasted canned.
- Ketchup. Ketchup adds a bit of acidity and sweetness, just opt for some high-quality ketchup. My favorite ketchup is from Trader Joe’s!
- Hot sauce. Go for a vinegar-based hot sauce like Frank’s for a bit of spicy and a vinegary tang.
- Dijon mustard. Some spicy dijon mustard adds tons of flavor.
- Brown sugar. Adding a bit of brown sugar to the beans and some on top as it bakes creates a beautiful caramelized crust.
- Worcestershire. This is the secret to really savory beans! Worcestershire sauce adds tons of umami flavor and really dresses up canned baked beans.

The Process
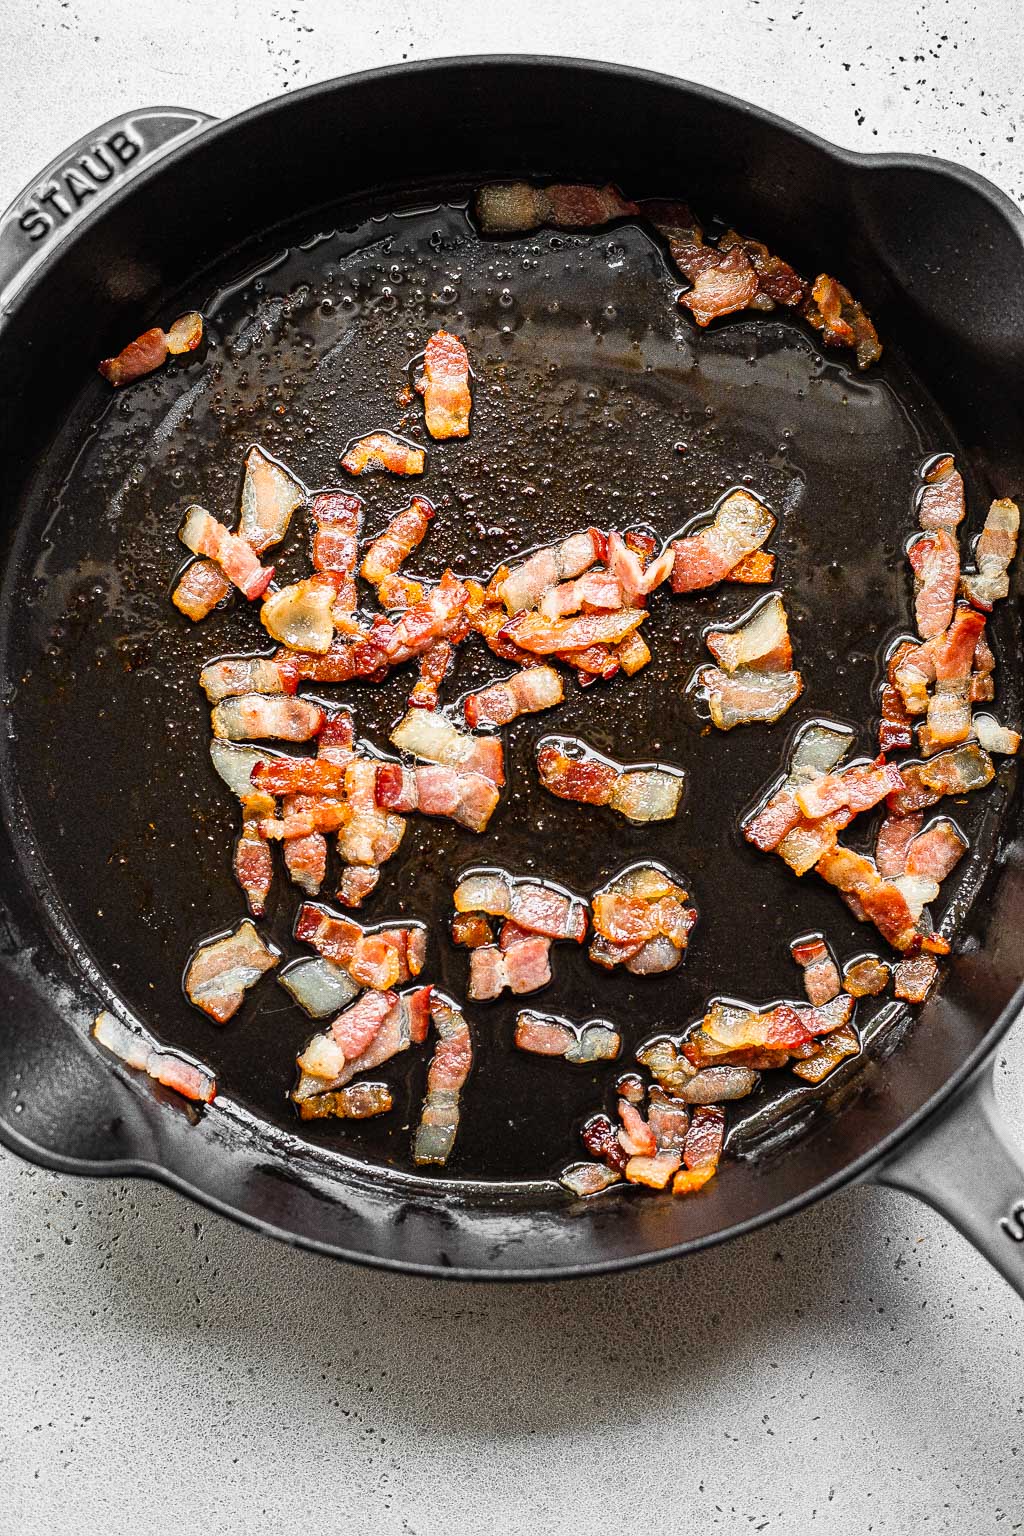
- Crisp up the bacon. Cook the bacon low and slow in the skillet over low heat, stirring occasionally, until crispy. Remove the bacon from the pan, but keep the rendered bacon fat in there.
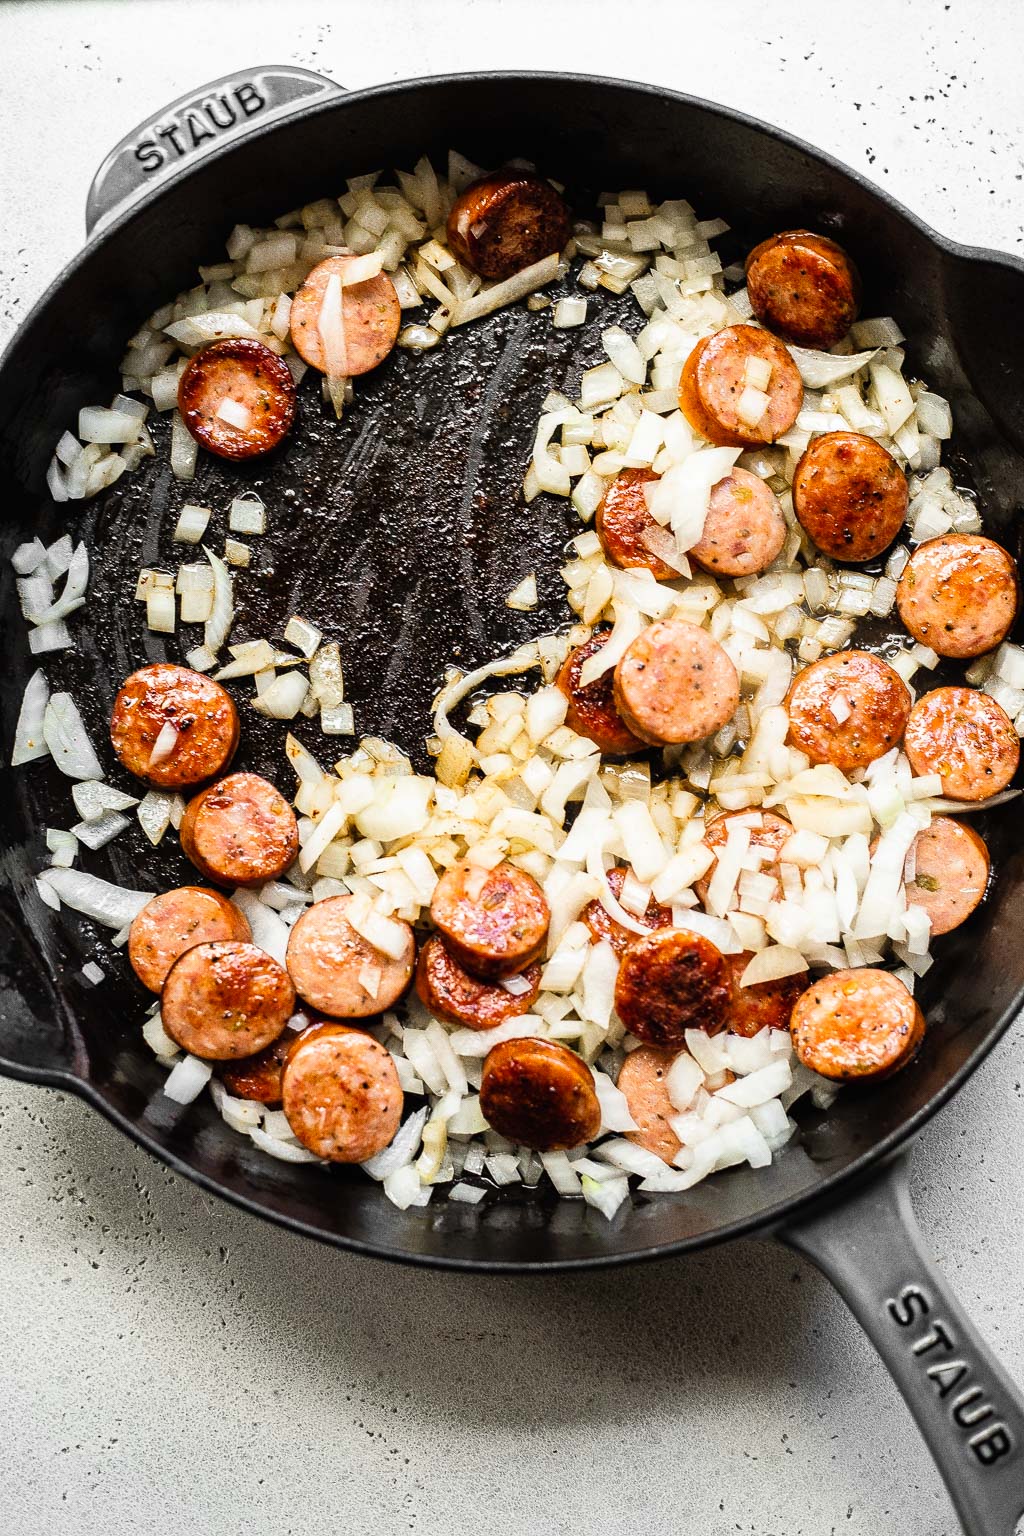
- Saute onions and sausage. Brown the sausage in the bacon fat until browned on both sides and then add the onions. Saute for 2-3 minutes until soft.
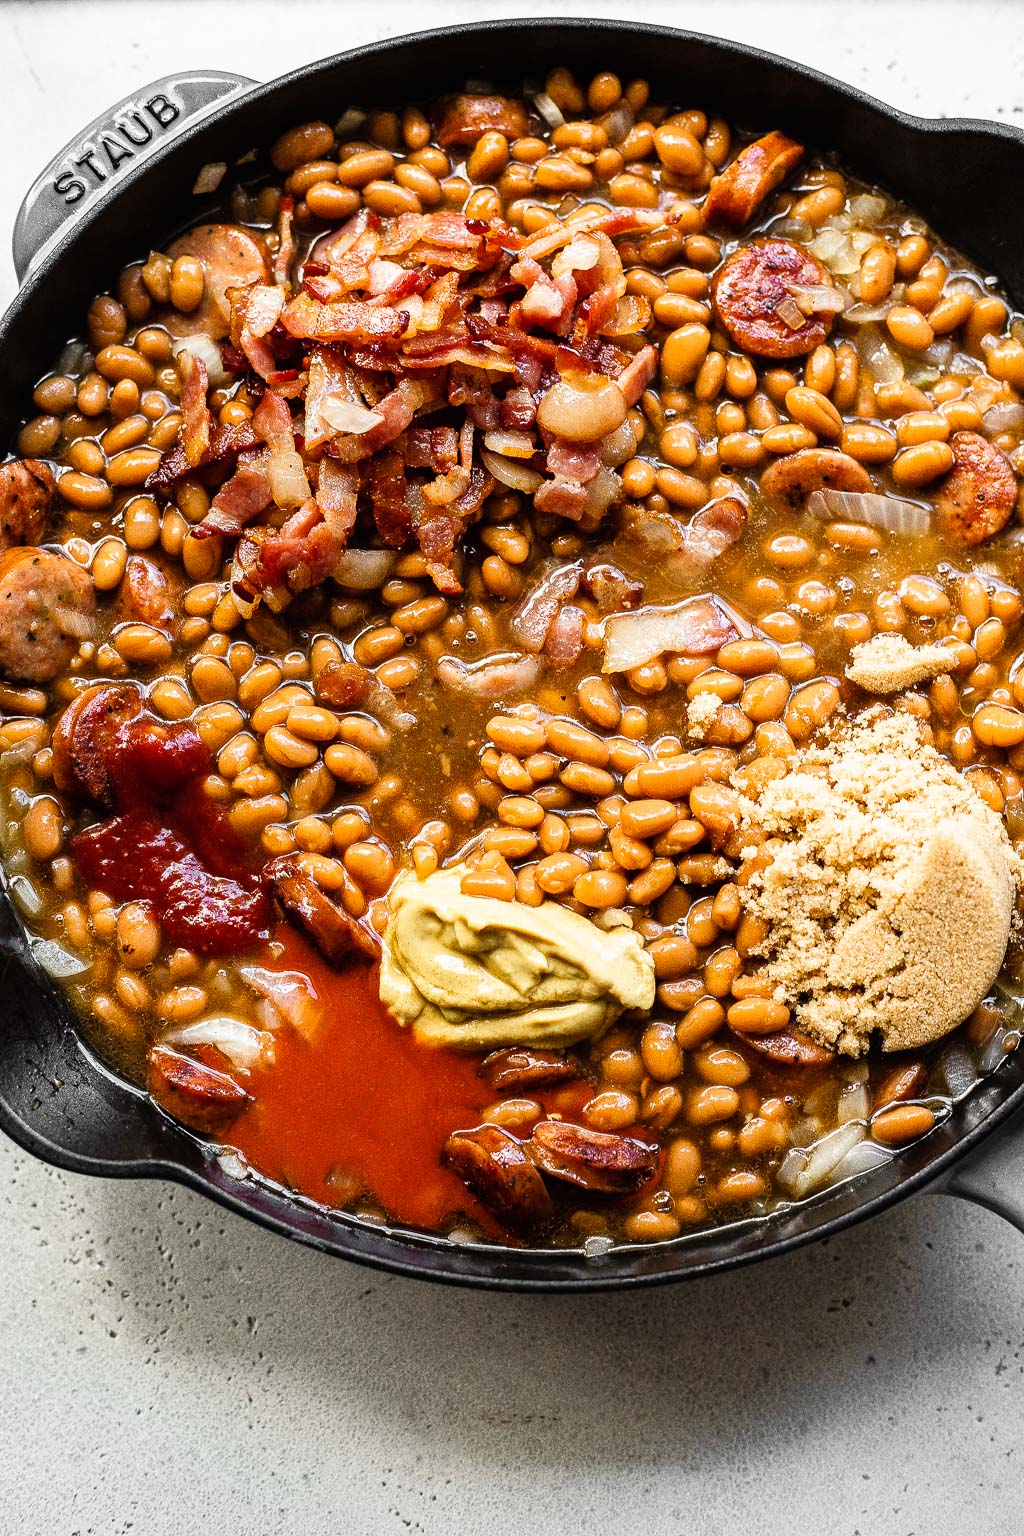
- Simmer the beans. Add the beans, remaining ingredients, and crispy bacon back to the skillet and bring to a simmer. Remove from the heat and top with brown sugar.
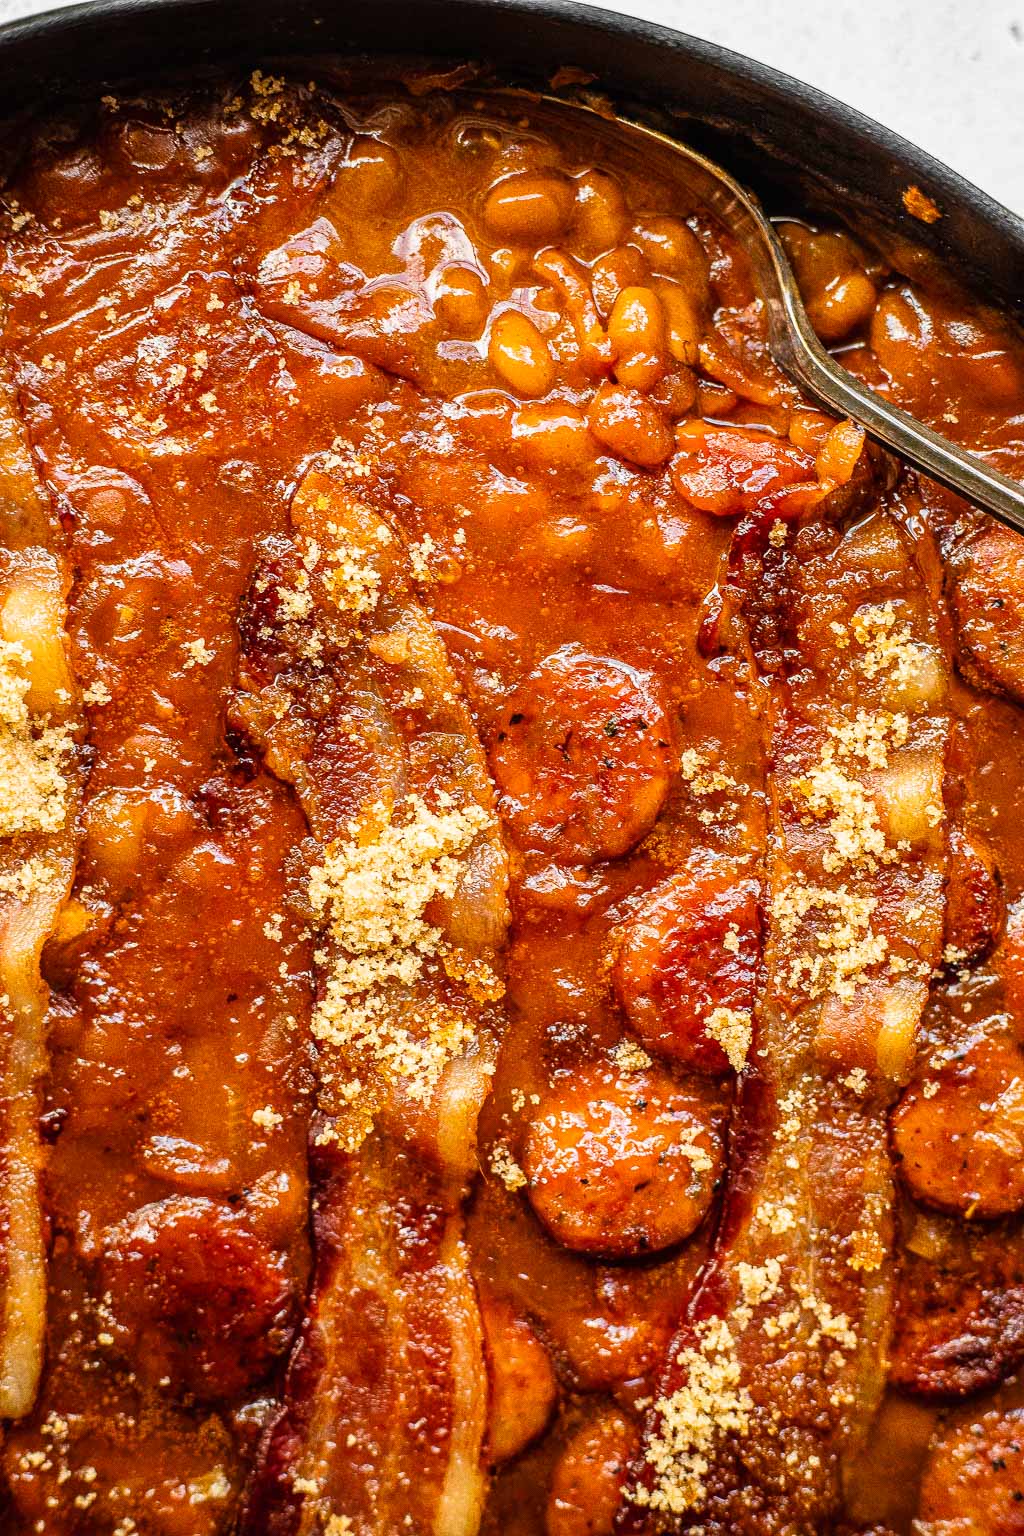
- Bake. Bake the beans for 40 minutes until the top crust is browned and caramelized. Serve warm!
What to Serve with Dressed Up Baked Beans
What doesn’t go well with baked beans?? Loaded with all of the bacon and sausage, these baked beans are nearly a meal all on their own. But we love to pair them with:
- Grilled Buffalo Chicken Sandwiches
- Black Bean Burgers
- Brie and Bacon Stuffed Burgers
- Grilled Ribeye with Chimichurri
- Grilled Pork Banh Mi Sandwiches
No matter what you decide to serve with dressed up baked beans, you’ll be able to agree that they are DELICIOUS!
Storing, Freezing, and Reheating Dressed Up Baked Beans
In the event that you have leftovers, dressed up baked beans are so easy to store, freeze and reheat!
To store dressed up baked beans: Let the baked beans cool and store them in an airtight container for 4-6 days in the fridge.
Freezing baked beans: You can very easily freeze dressed up baked beans! Let the beans cool to room temperature and then store in a freezer-safe ziplock bag. Try to press most of the air out of the bag while sealing, this helps prevent freezer burn. Label and freeze for up to 3 months.
Reheating: Leftover dressed up baked beans can be microwaved, in a covered container, until steaming. Alternately, you can warm them back up in a pot or skillet, adding a little water as necessary to thin them out.
More Easy Side Dish Recipes to Try
Creamy Pesto Pasta Salad
Cucumber Yogurt Salad
Elote Queso
Homemade Caramelized Onion Dip
This post contains affiliate links from which I receive a small commission at no additional cost to you. Affiliate links allow me to keep providing great recipes for free and I never recommend products that I don’t love and personally own.
Dressed Up Baked Beans
Ingredients
- 6 strips bacon, diced
- 8 oz smoked sausage, like kielbasa, sliced into rounds
- 1/2 yellow onion, diced
- 3 – 16 oz cans baked beans (like Bush's classic)
- 1/2 cup high-quality ketchup
- 1/3 cup vinegar-based hot sauce, like Frank's
- 2 tablespoons dijon mustard
- 2/3 cup dark brown sugar, divided
- 1 tablespoon Worcestershire sauce
Instructions
- Preheat an oven to 400 F.
- In a large cast iron skillet over low heat, slowly cook the bacon while stirring occasionally until crispy. Use a slotted spoon to remove the bacon from the skillet, while leaving the rendered bacon fat behind.
- Add the sausage to the skillet and increase heat to medium. Cook until sausage is browned on both sides and then add the onion. Saute for 2-3 minutes, until the onion is starting to soften.
- Add the canned beans, ketchup, hot sauce, 1/3 cup dark brown sugar, dijon, Worcestershire, and the crispy bacon. Bring to a simmer and simmer for 5 min. Remove from the heat and top with the remaining brown sugar.
- Transfer the skillet to the oven and bake for 40 minutes, until the top is caramelized and browned. Remove from the oven and serve warm.


Rate & Review This Recipe
This looks amazing!!