


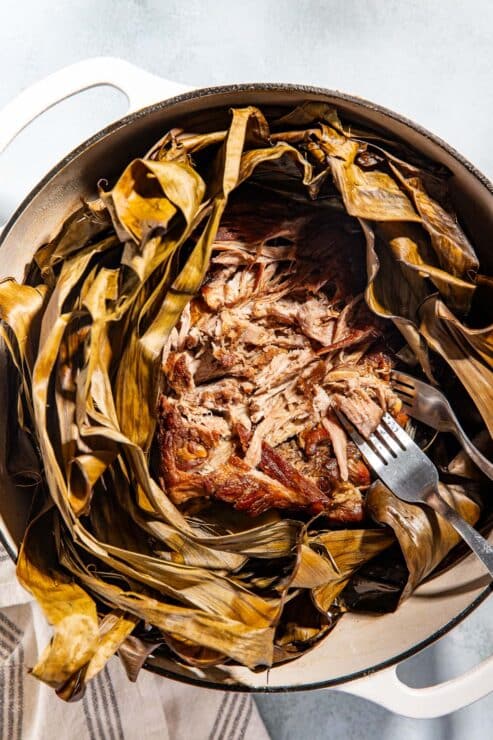
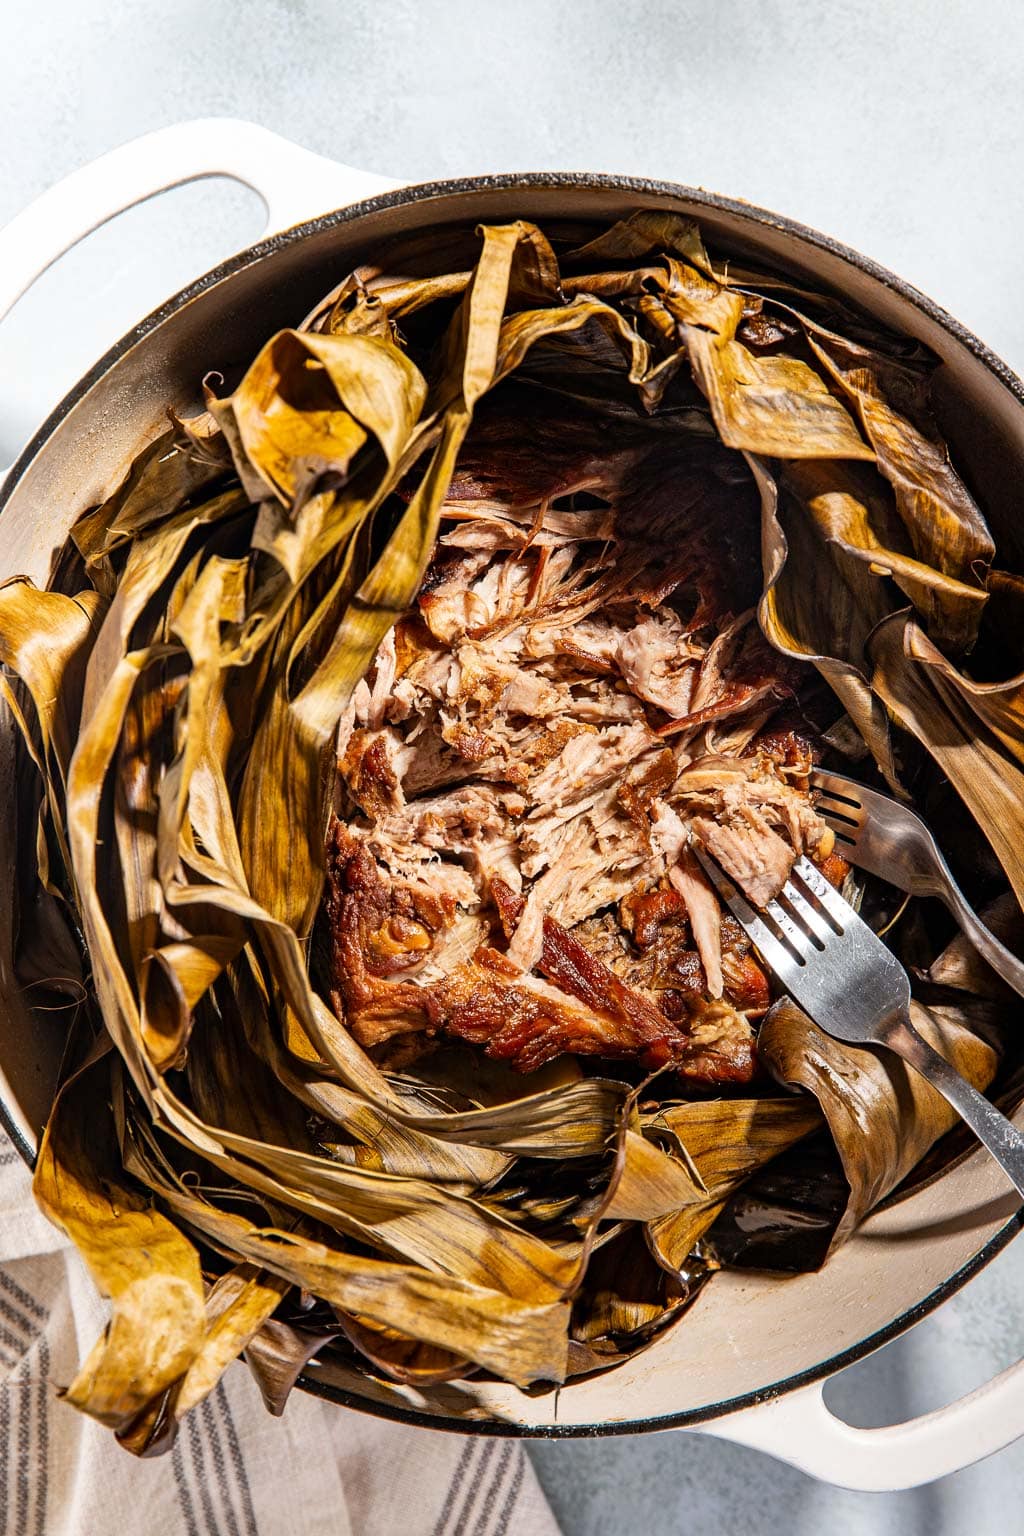
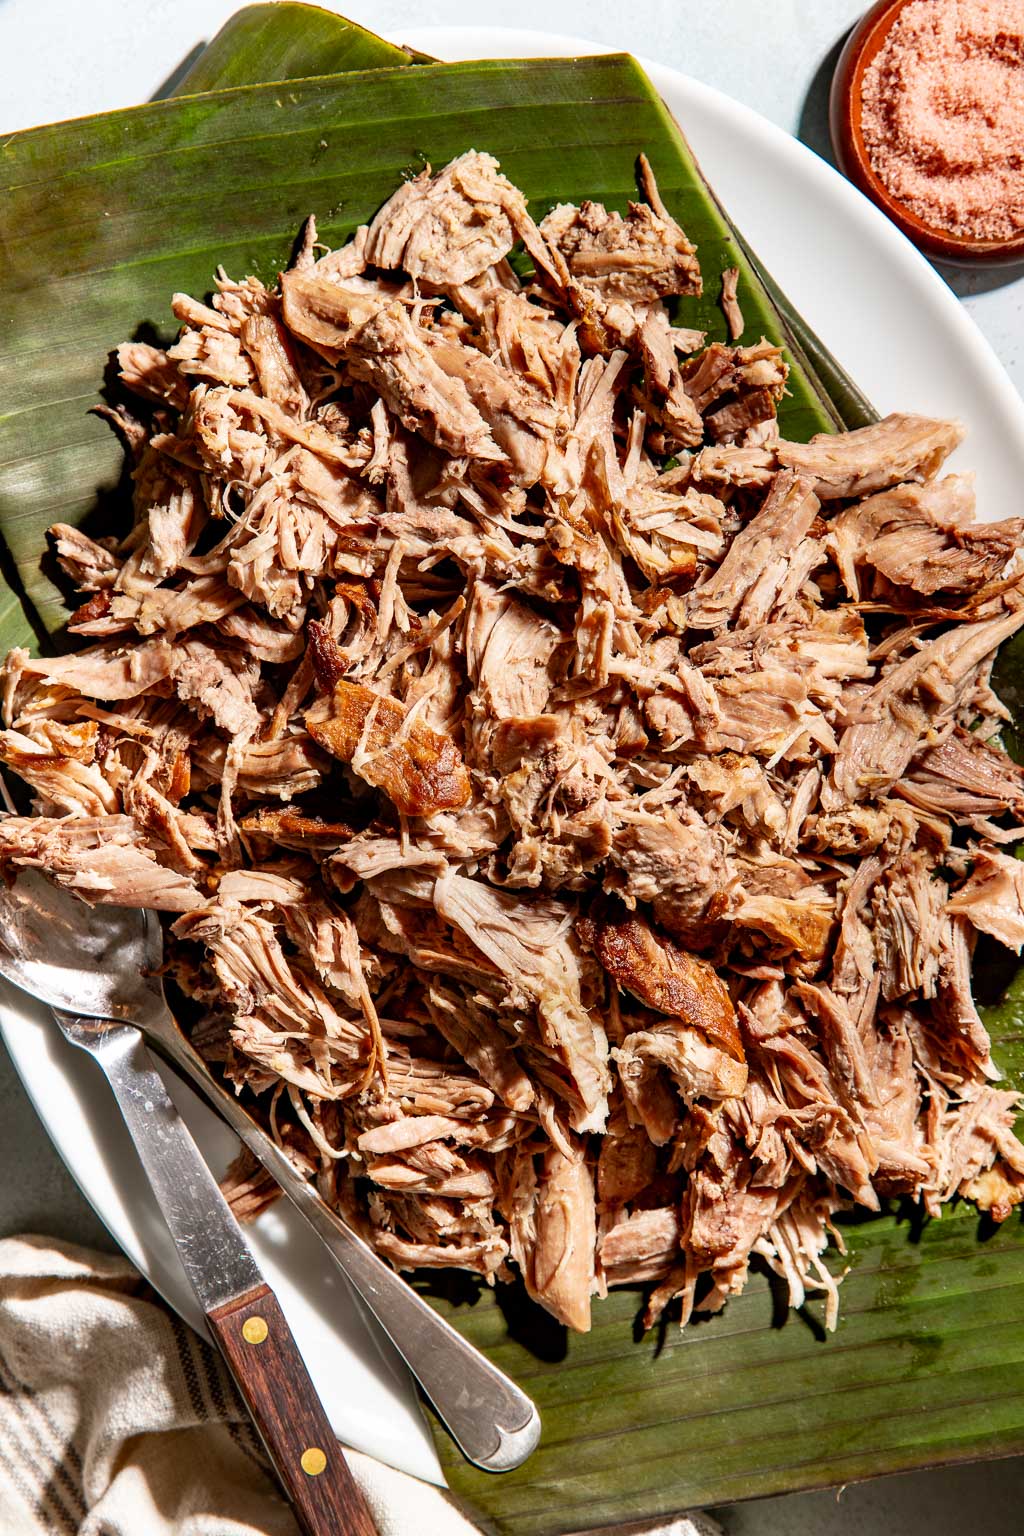
If you love tender, smoky pork, this Dutch Oven Kalua Pork needs to be on your must-make list. A whole bone-in pork shoulder is studded with cloves of garlic, seared until deeply browned, then seasoned simply with Hawaiian pink salt and liquid smoke. Wrapped in banana leaves and slowly roasted until it practically falls apart, the result is incredibly tender pork with that signature smoky, salty flavor you expect from traditional Kalua pork—without needing an imu in your backyard.
What is Kalua Pork?
Traditional kalua pork is a Hawaiian dish made by slowly cooking a whole pig until the meat is incredibly tender and easy to pull apart. The pig is cooked in an imu, an underground oven lined with hot rocks and covered with layers of fresh banana leaves, where it slowly steams and roasts for hours. The pork is seasoned simply with Hawaiian salt, and the combination of the smoke, salt, and long cooking time gives it that unmistakable flavor.
I love this method because it takes a dish traditionally cooked underground and makes it completely approachable for the home cook. The banana leaves help keep the pork moist as it roasts, while the garlic tucked into the meat adds little pockets of flavor throughout. And after several hours in the oven, the pork is so tender that all you need to do is shred it with a couple of forks. It’s simple, deeply flavorful, and one of those recipes that makes the whole house smell incredible while it cooks.
Because this recipe is so simple, each ingredient has a chance to really shine. Good-quality pork, fresh garlic, Hawaiian pink salt, and fresh banana leaves make all the difference here.
IMPORTANT NOTE: Traditional kalua pork is a recipe with important cultural history to many Hawaiians and others with Hawaiian heritage. I am not Hawaiian, nor is this recipe meant to be authentic! I love the food and culture and hope to bring the spirit of the traditional flavors to this recipe.
Helpful Cooking Tools
Key Ingredients for Kalua Pork
You can find the full list of ingredients, quantities & method in the recipe card at the end of the page.
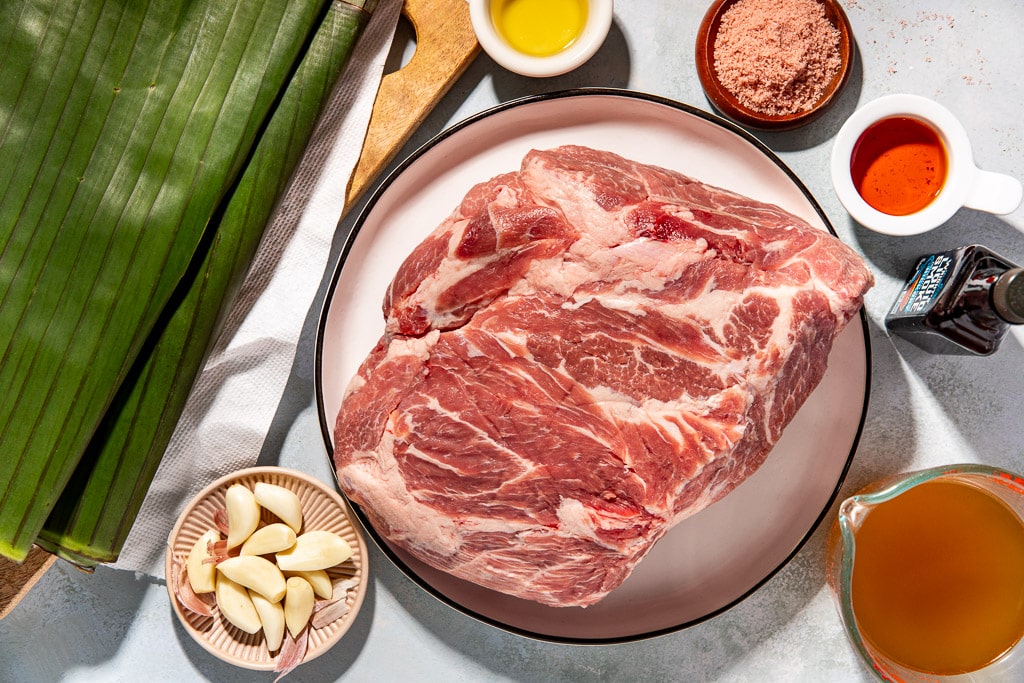
- Pork shoulder or butt. Either works here! Bone-in is preferred for flavor, but you could use boneless if necessary.
- Fresh garlic cloves. Sorry, no jarred minced garlic here! Use fresh cloves from a whole bulb of garlic and peel off their husks.
- Fresh banana leaves. These are absolutely KEY in this recipe. Banana leaves are common in Asian and Hispanic cooking and you can usually find them in Asian or Hispanic markets, or well-stocked grocery stores like HEB.
- Hawaiian pink salt. This is not to be confused with Himalayan salt. Hawaiian salt contains Hawaiian Alaea clay from Kauai which helps give the kalua pork its signature flavor. Make sure to use a finer grind as it will melt into the pork more easily.
- Liquid smoke. Any liquid smoke will work here, but my favorites are hickory and applewood.
- Stock or water. Chicken or beef stock will add more flavor, but water also works fine.
How to Make Kalua Pork in a Dutch Oven
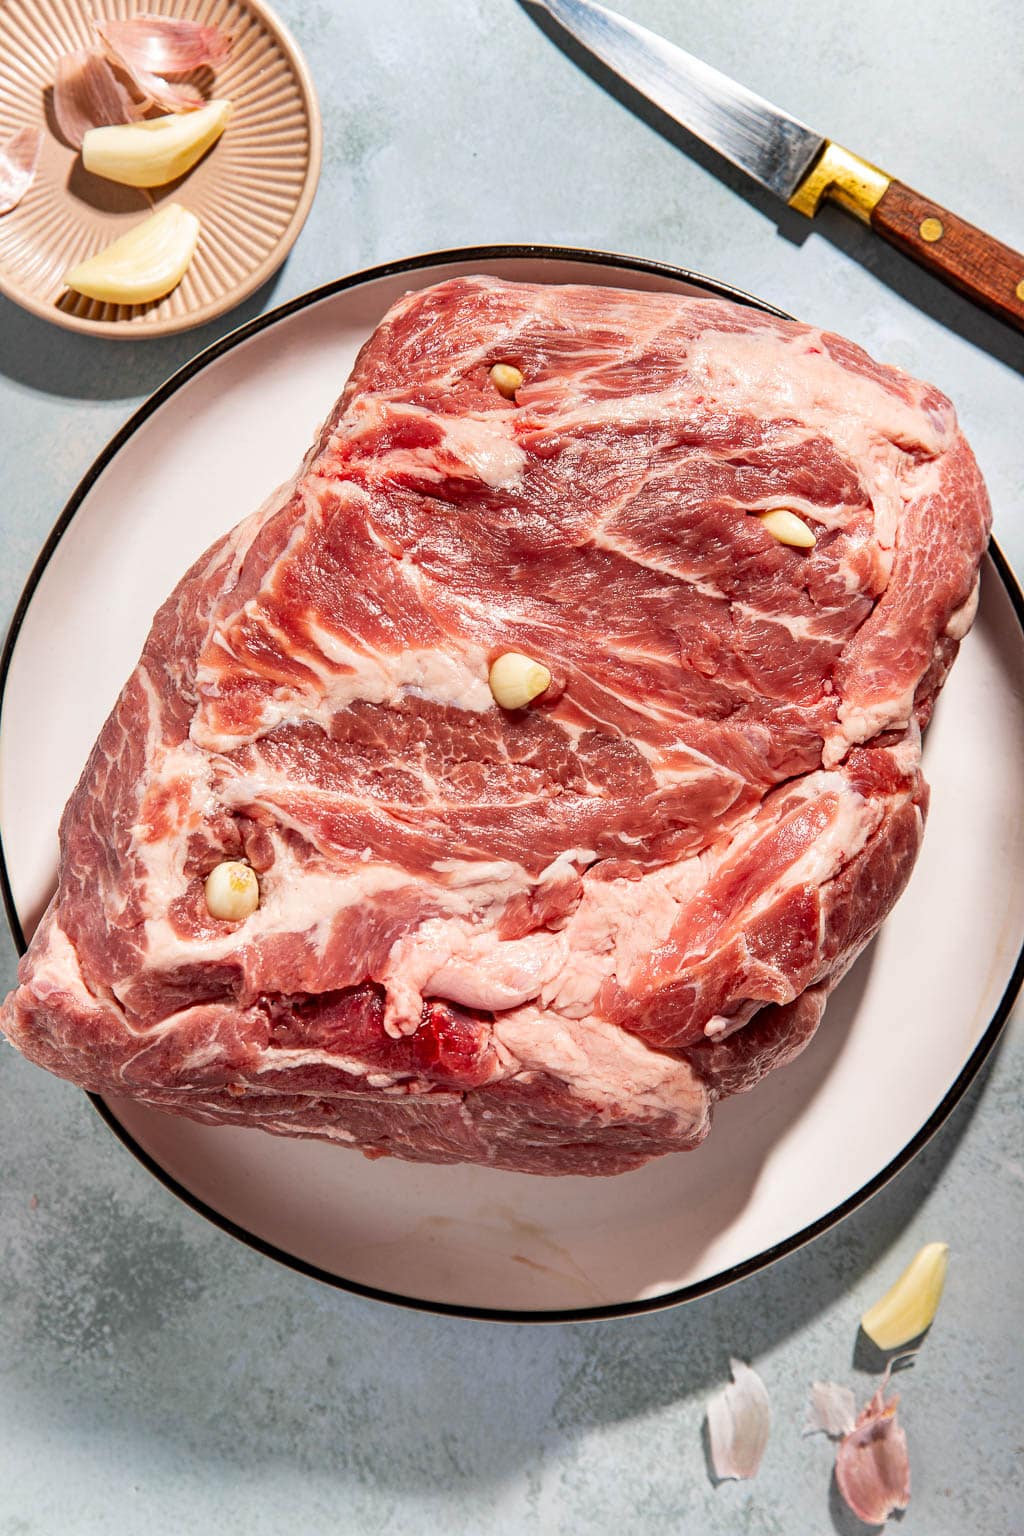
- Stuff the pork with garlic. Make sure to pat your pork very dry! Moisture is the enemy of browning. Then, use a sharp paring knife to cut 10 slits all over the pork, about 1 inch deep. Press your peeled garlic cloves into the slits.
Jenny’s Tip: When it comes to working with banana leaves, warm them gently in the oven or pass them over a gas burner a few times to make them more pliable!
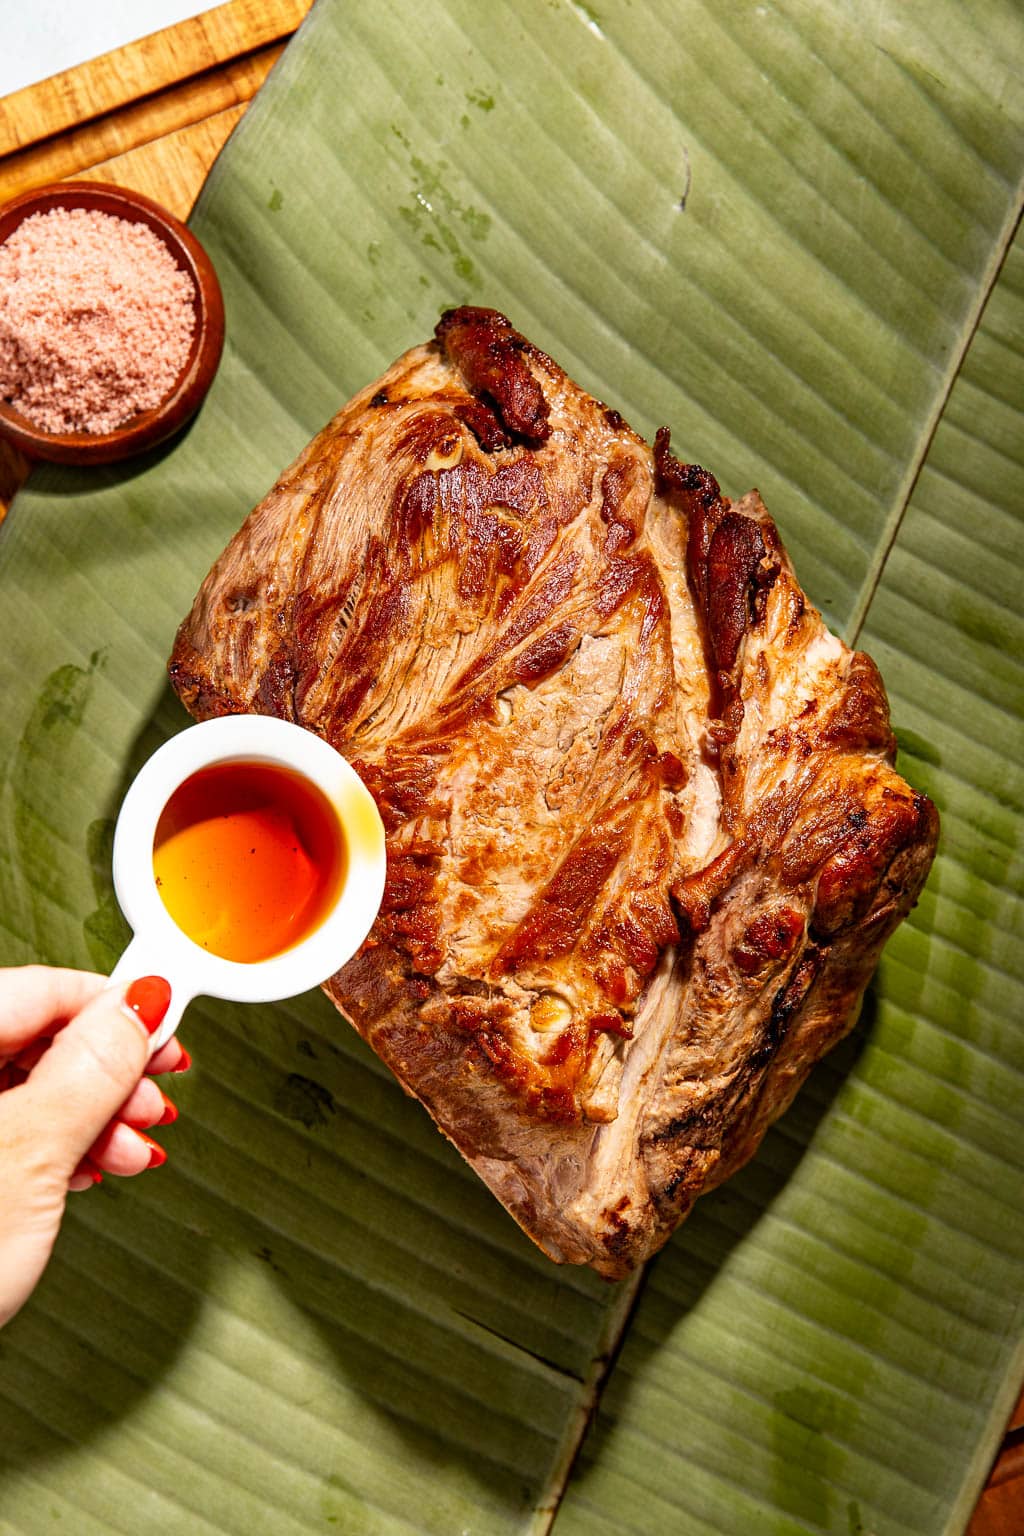
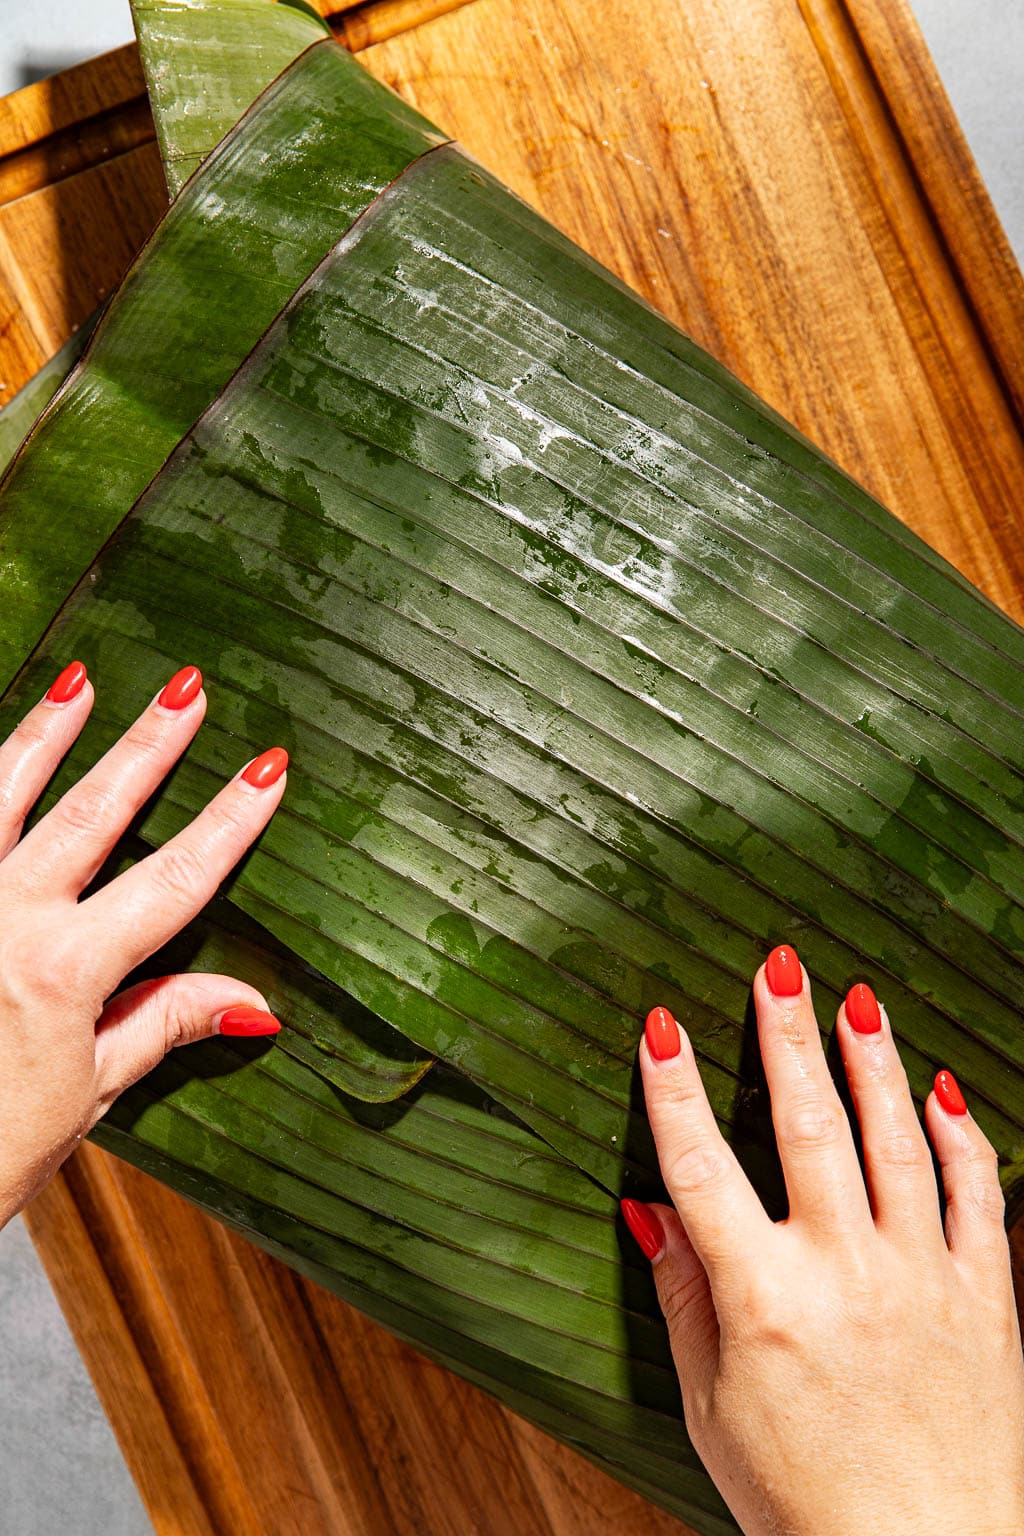
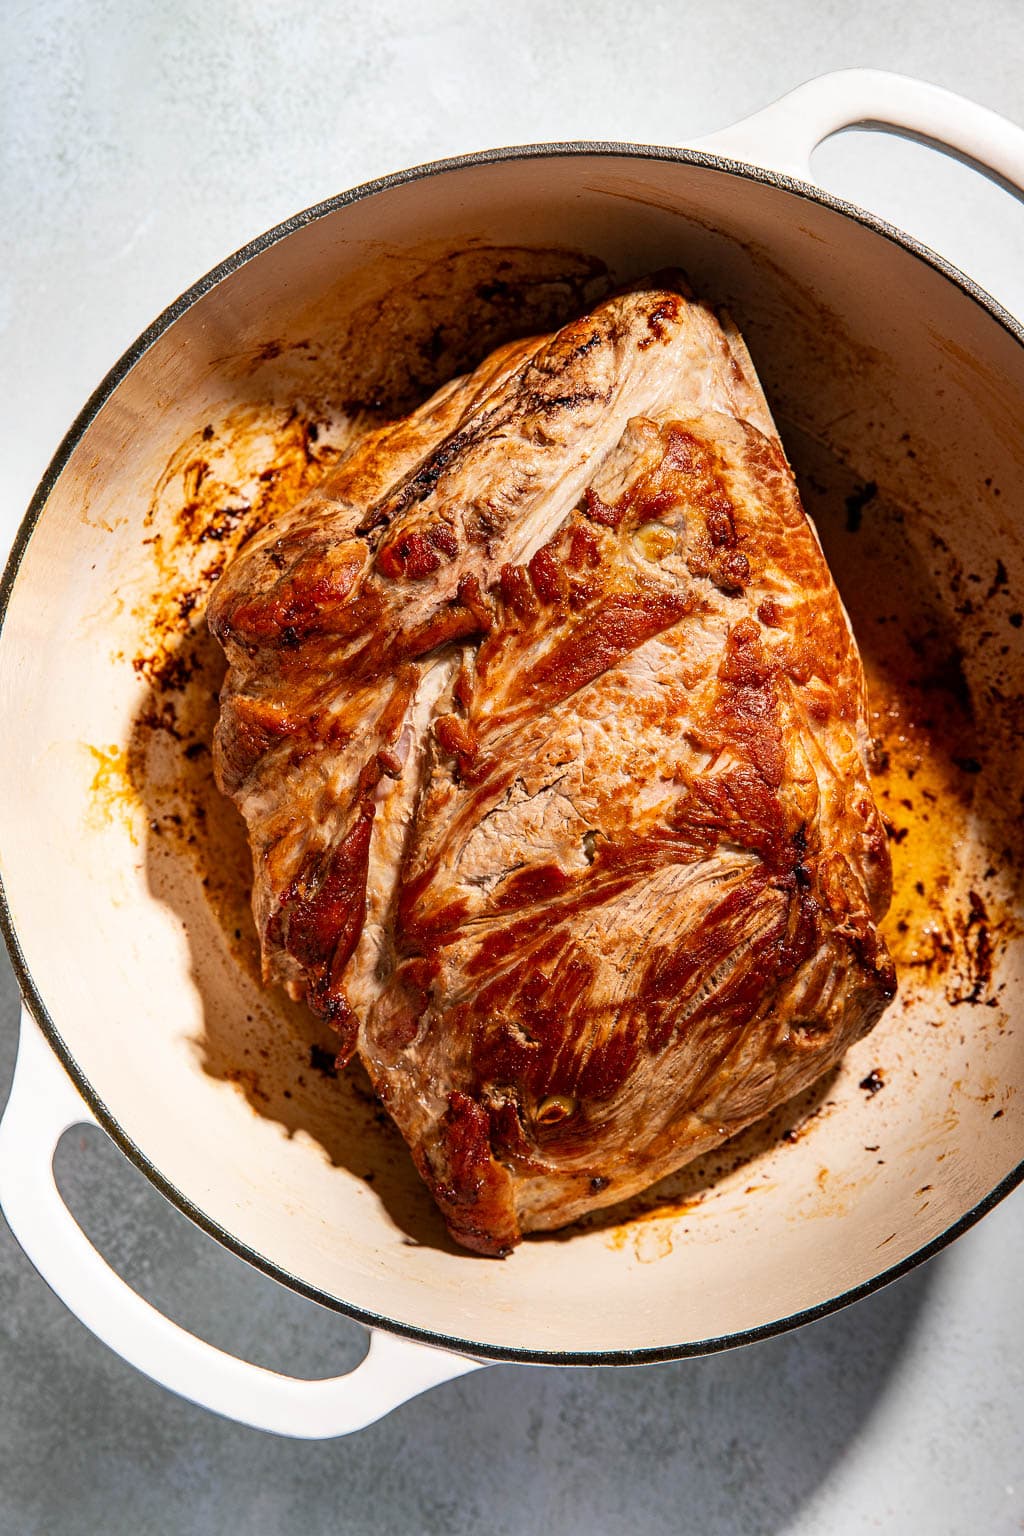
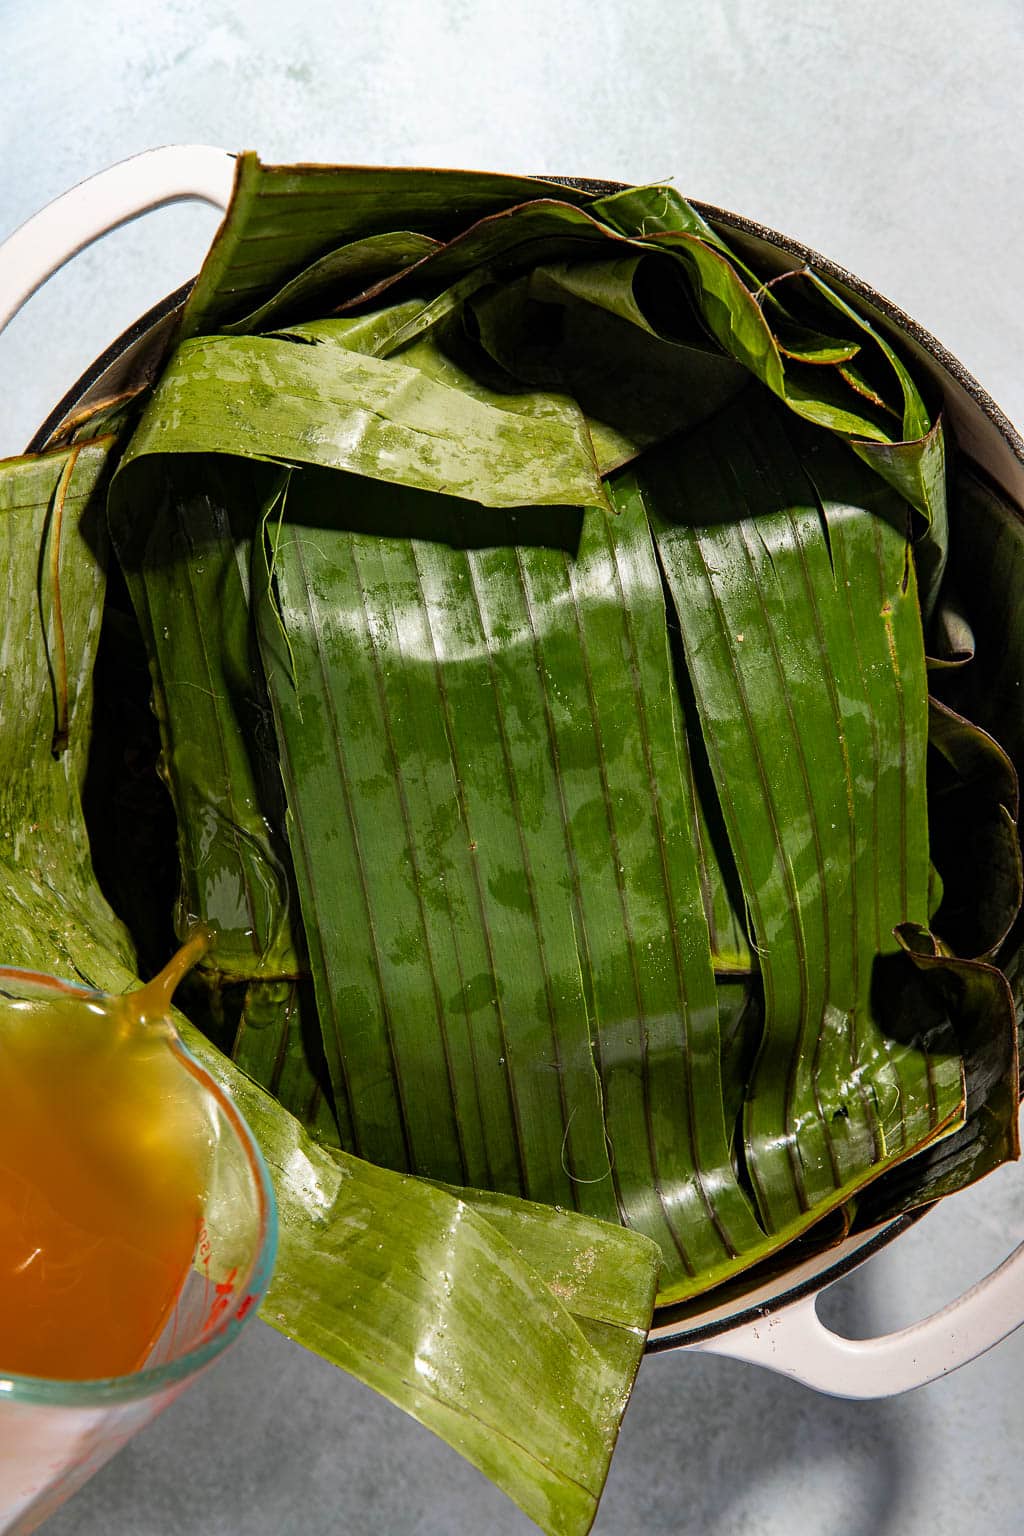
- Sear and wrap the pork. This adds so much flavor to the finished kalua pork! Give the pork a good, hard sear all over until the pork is deeply browned on all sides. Then, transfer the pork to a cutting board lined with banana leaves. You’ll generously sprinkle the salt and liquid smoke all over the seared pork before wrapping the pork tightly in the banana leaves. Place the wrapped pork back into the dutch oven and pour in your stock or water.
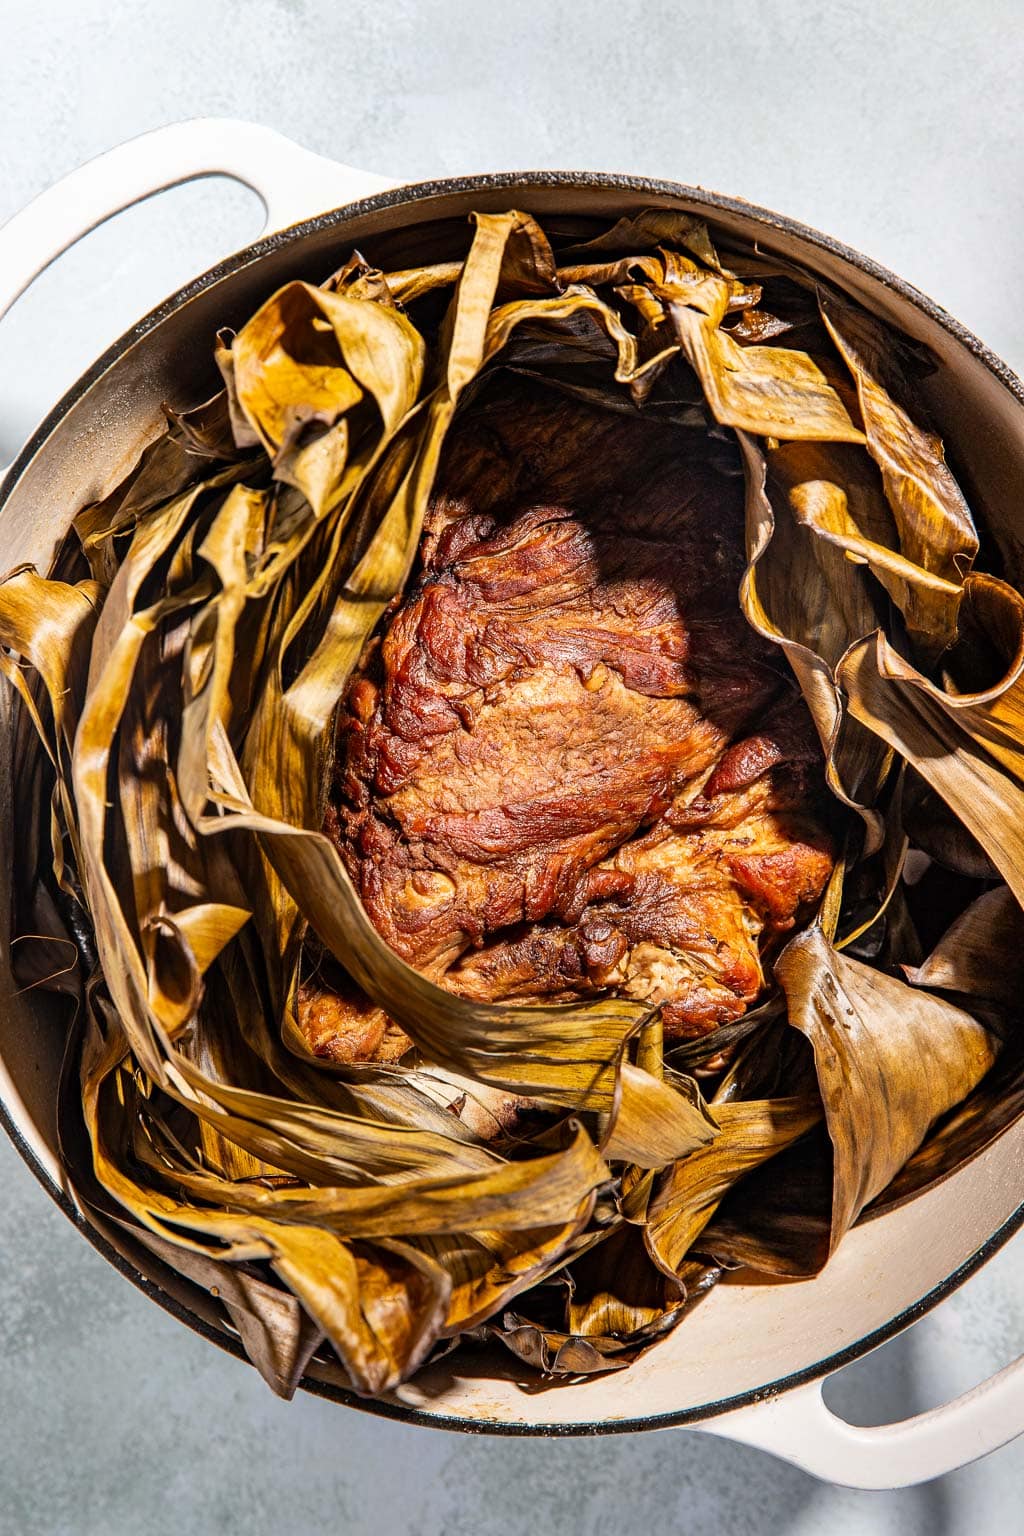
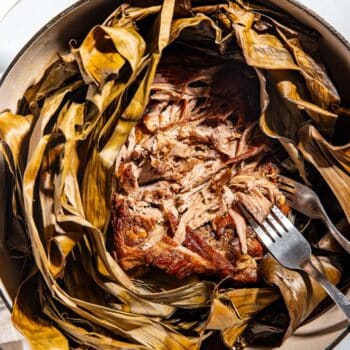
- Braise until fall-apart tender. Cover the dutch oven and transfer it to the oven. Let the pork slowly braise until it’s really tender and easily shredded with a fork. Here’s the important trick: let the pork rest in the banana leaves for 30 minutes before shredding it up and serving!
Tips for Working with Fresh Banana Leaves
If this is your first time cooking with banana leaves, have no fear! Here are all my best tips for making quick work of them:
Make sure your banana leaves are very green. Look for leaves that are bright green and not yellowed or turning brown. If they are brown and smelling like ammonia, run away! Those are very old leaves.
Clean your banana leaves. Before you lay them down on your cutting board, wipe them with a wet cloth to remove any dirt or debris.
Trim away the really tough parts. The part where the banana leaf attaches to the stem can be very tough and woody, so use a sharp paring knife to cut any tough parts away.
Warm your banana leaves to make them more pliable. If you have a gas stove, you can pass the leaves a few times over an open flame. Otherwise, you can place them in a 300 degree oven for 5 minutes or so until they’re easy to manipulate and fold.
What to Serve on the Side
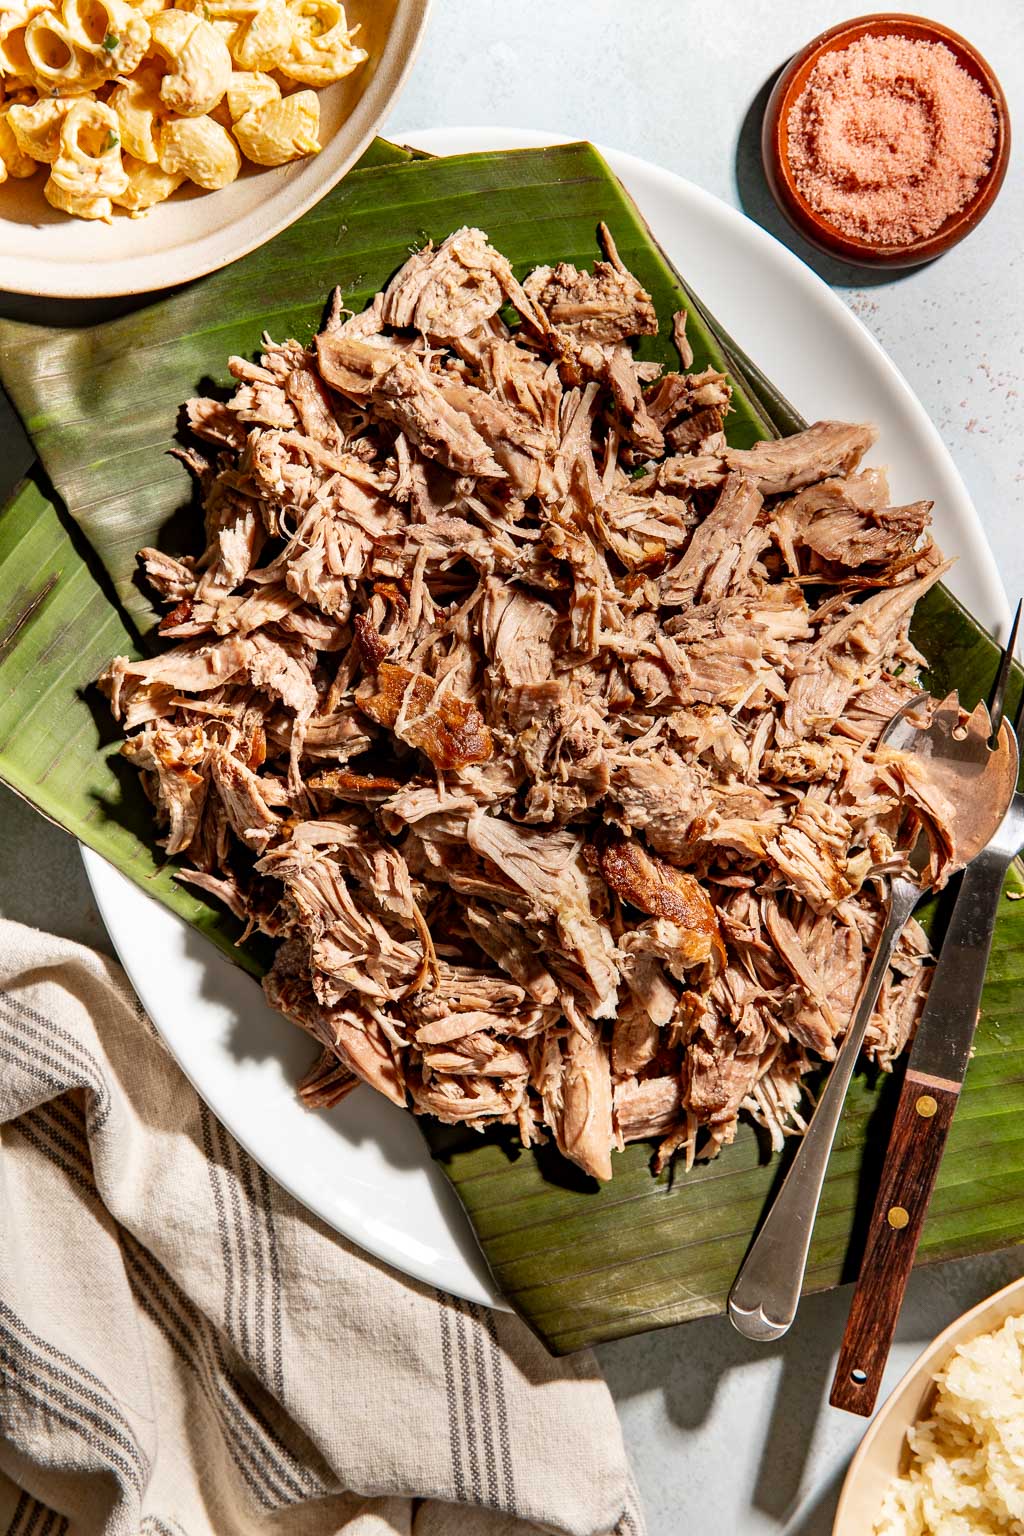
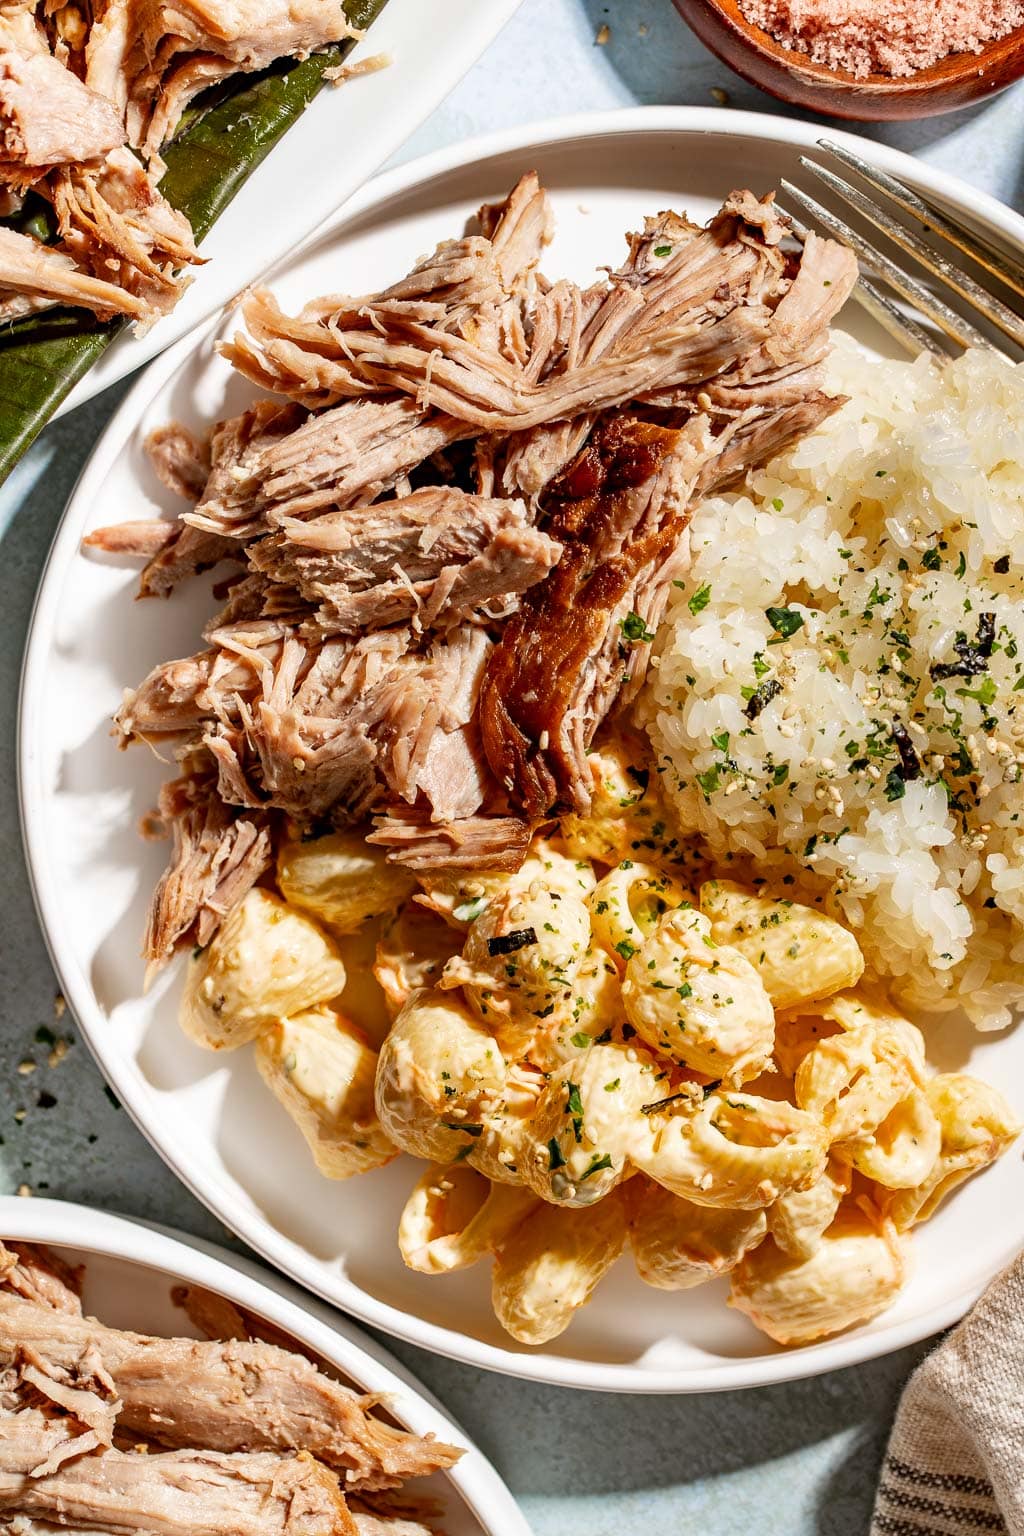
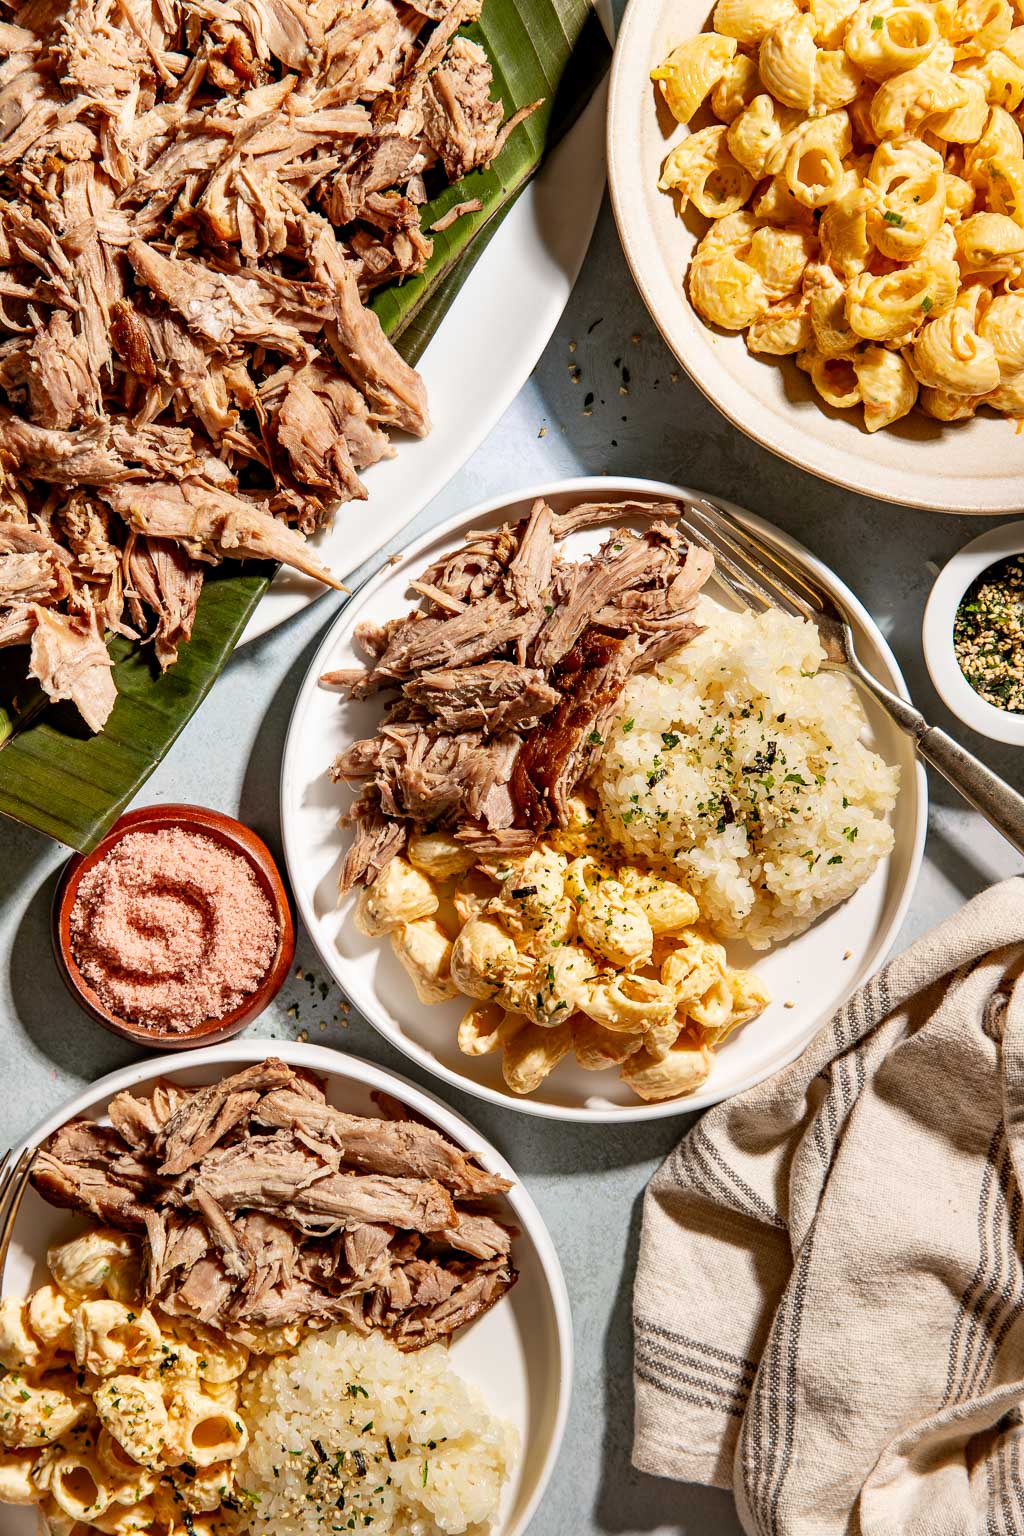
I am a big fan of serving this dutch oven kalua pork plate lunch style with my Hawaiian-style mac salad and some steamed rice topped with furikake. If you’re hosting a big bash or game day celebration, here are some of my other favorite sides to serve with the pork:
- Gochujang Cucumber Salad
- Japanese-style Grilled Corn
- BLT Pasta Salad
- Bacon Shells and Cheese
- Baked Mac and Cheese
- Dressed Up Baked Beans
If you do give this recipe a try, I love hearing about it! Leave a comment with a star rating below. Be sure to subscribe to my weekly newsletter and never miss a new recipe! You can also snap a photo & tag @JENNYGOYCOCHEA on Instagram.
More Oven Roasted Pork Recipes
Dutch Oven Pulled Pork
Oven Baked Pork Ribs
Roast Pork Tenderloin
Apple Cider Pork Chops
Pork Pozole Verde
This post contains affiliate links from which I receive a small commission at no additional cost to you. As an Amazon Associate, I earn from qualifying purchases. Affiliate links allow me to keep providing great recipes for free and I never recommend products that I don’t love and personally own.
Dutch Oven Kalua Pork
Ingredients
- 4 lbs bone-in pork shoulder or butt
- 2 tablespoons finely ground pink Hawaiian salt
- 10 garlic cloves, peeled
- 2 tablespoons neutral oil
- 2 tablespoons liquid smoke
- 1 1/2 cups chicken stock
- 3-4 fresh banana leaves
Instructions
- Prep the pork. Using a sharp pairing knife, cut 10 deep slits all over the pork shoulder. Use a finger to press a garlic clove into each slit.
- Preheat an oven to 325°F.
- Sear and wrap the pork. In a 5-6 quart dutch oven, heat the oil over medium heat. Once the oil is hot and shimmering, sear the pork on each side until it’s golden brown. Once seared, turn off the heat and transfer the pork to a cutting board. Drizzle the liquid smoke over the pork, sprinkle with the salt, then carefully wrap the pork tightly in 2-3 pieces of banana leaf, until it’s covered all over.
- Carefully line the hot dutch oven with 1 piece of banana leaf. Gently lay the wrapped pork inside the banana-leaf lined dutch oven. Pour in the chicken stock, then fold the ends of the banana leaf over the pork package and cover with a lid. Transfer the pork to the oven.
- Braise the pork. Braise the pork for 3-3 1/2 hours, until the pork feels very tender. Remove it from the oven and let it rest for 30 minutes while covered. Transfer the pork to a bowl and gently shred the meat, discard the bone. Drizzle some of the braising liquid over the pork to taste, and season with additional salt if necessary.
Storage Instructions
- Leftover shredded kalua pork can be stored in the fridge in an airtight container for 5-7 days. You can also throw it in a freezer-safe ziplock back and freeze for up to 3 months, just try to press as much of the air out of the bag as possible.


Rate & Review This Recipe
No comments yet — be the first to rate and review!