Cherry Clafoutis
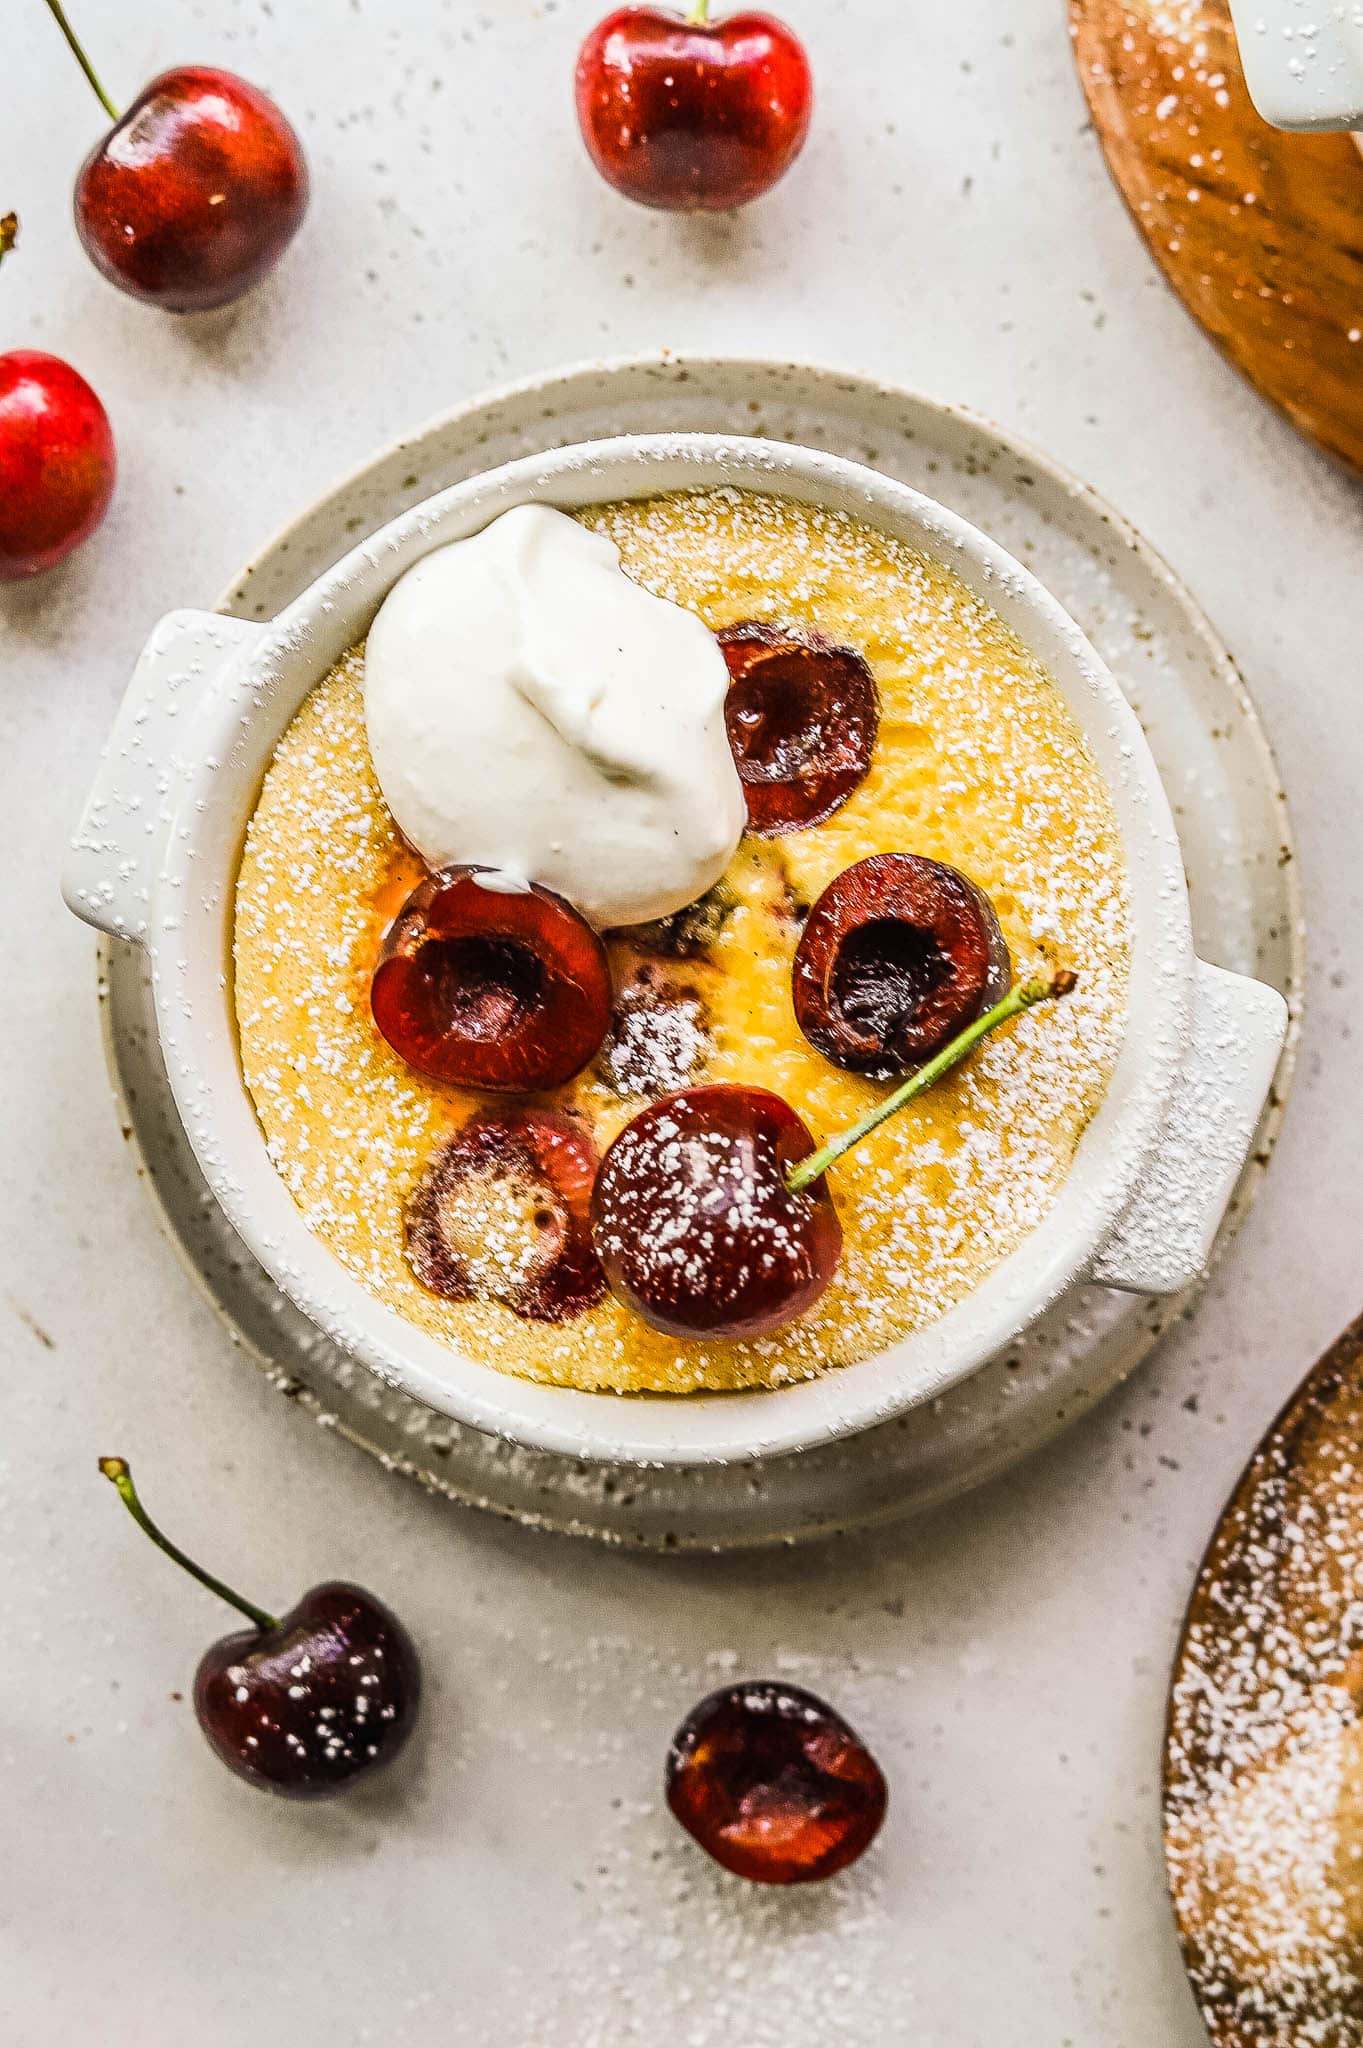
Cherry clafoutis might sound fancy, but this classic French dish is one of my favorite easy desserts to throw together. Nothing screams summer quite like fresh cherries, and with such a short season I’m always looking for ways to use them.
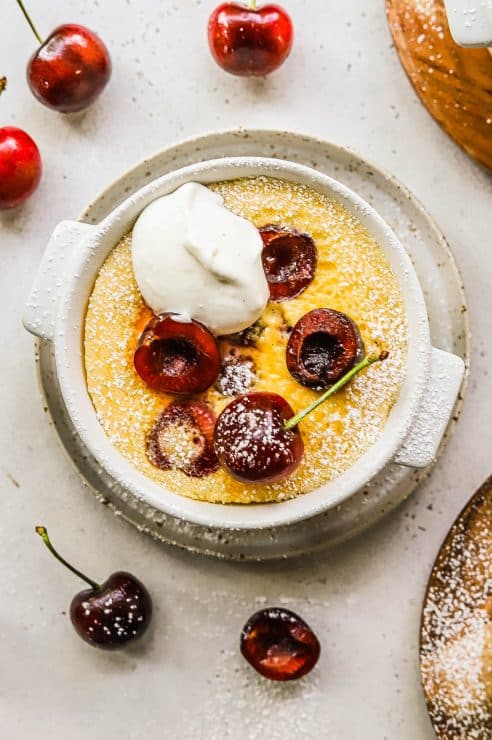
This cherry clafoutis is both fresh and light making it the perfect summer dessert. You can serve it warm, room temperature, or chilled–but the whipped cream is non-negotiable! I love dishes where cherries can really shine and this is one of them. You can also bake cherry clafoutis as an individual dessert or in a larger format.
What is Cherry Clafoutis?
Clafoutis is a baked French dessert made with fresh fruit and baked into a thick custard-like batter. Think somewhere between creme brûlée and angel food cake. Clafoutis is much sturdier than a normal custard thanks to a bit of flour, but somehow still manages to be light and creamy.
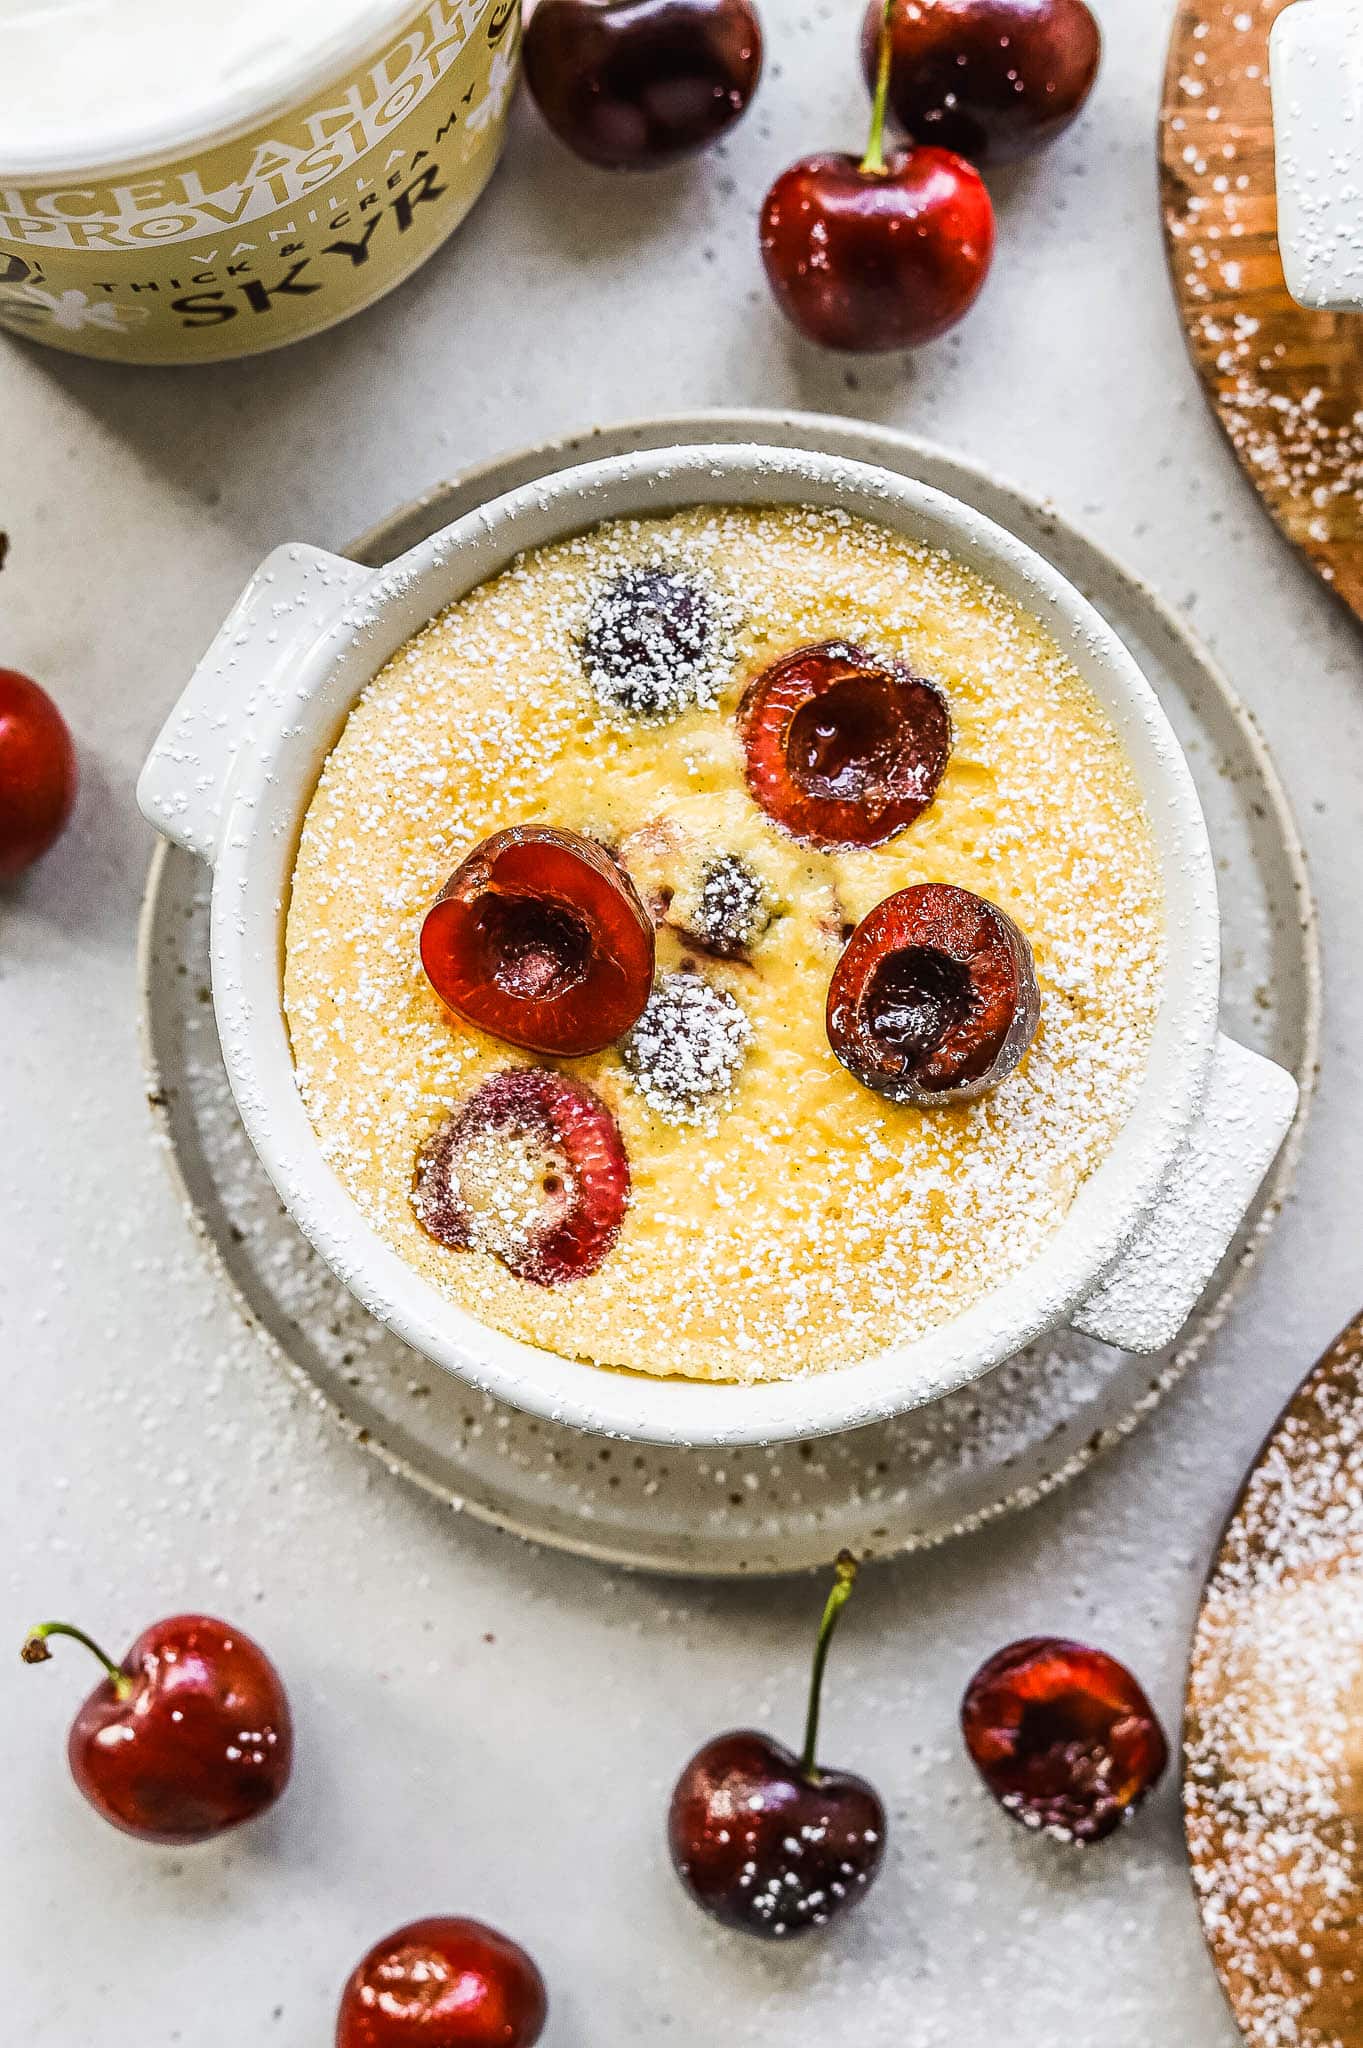
Using yogurt isn’t strictly traditional, but I love the bit of tang and extra creaminess that this vanilla skyr provides. Clafoutis is generally served lukewarm and dusted with powdered sugar. I also like to add some hand-whipped cream for a little something extra!
How to make Cherry Clafoutis
This recipe couldn’t be easier to make! You throw everything into a blender to get the batter super smooth, pour, bake, and enjoy!
Tools Needed
Ingredients You’ll Need
- Cherries. Sweet cherries are traditional, but I love this dessert with sweet or tart. Whatever your preference is!
- Half and half. You could make this recipe with whole milk, but the half and half takes it to the next level.
- Vanilla yogurt. You could also swap in vanilla skyr.
- Eggs. Eggs make the custard light and puffy.
- Flour. You don’t need much, but the little bit really makes a difference and gives the cherry clafoutis structure.
- Granulated sugar. This is a recipe where you can adjust the sugar down slightly if you want to. I think it’s the perfect level of sweetness though.
- Vanilla and Almond extract. The combo of vanilla and almond really brings out the flavor of the cherries.
- Melted unsalted butter. Butter makes everything better!
- Sea salt. A bit of sea salt helps balance the sweetness.
- Liqueur. I usually opt for a touch of amaretto or grand marnier. Totally optional, but it really adds an amazing depth of flavor.
The Process
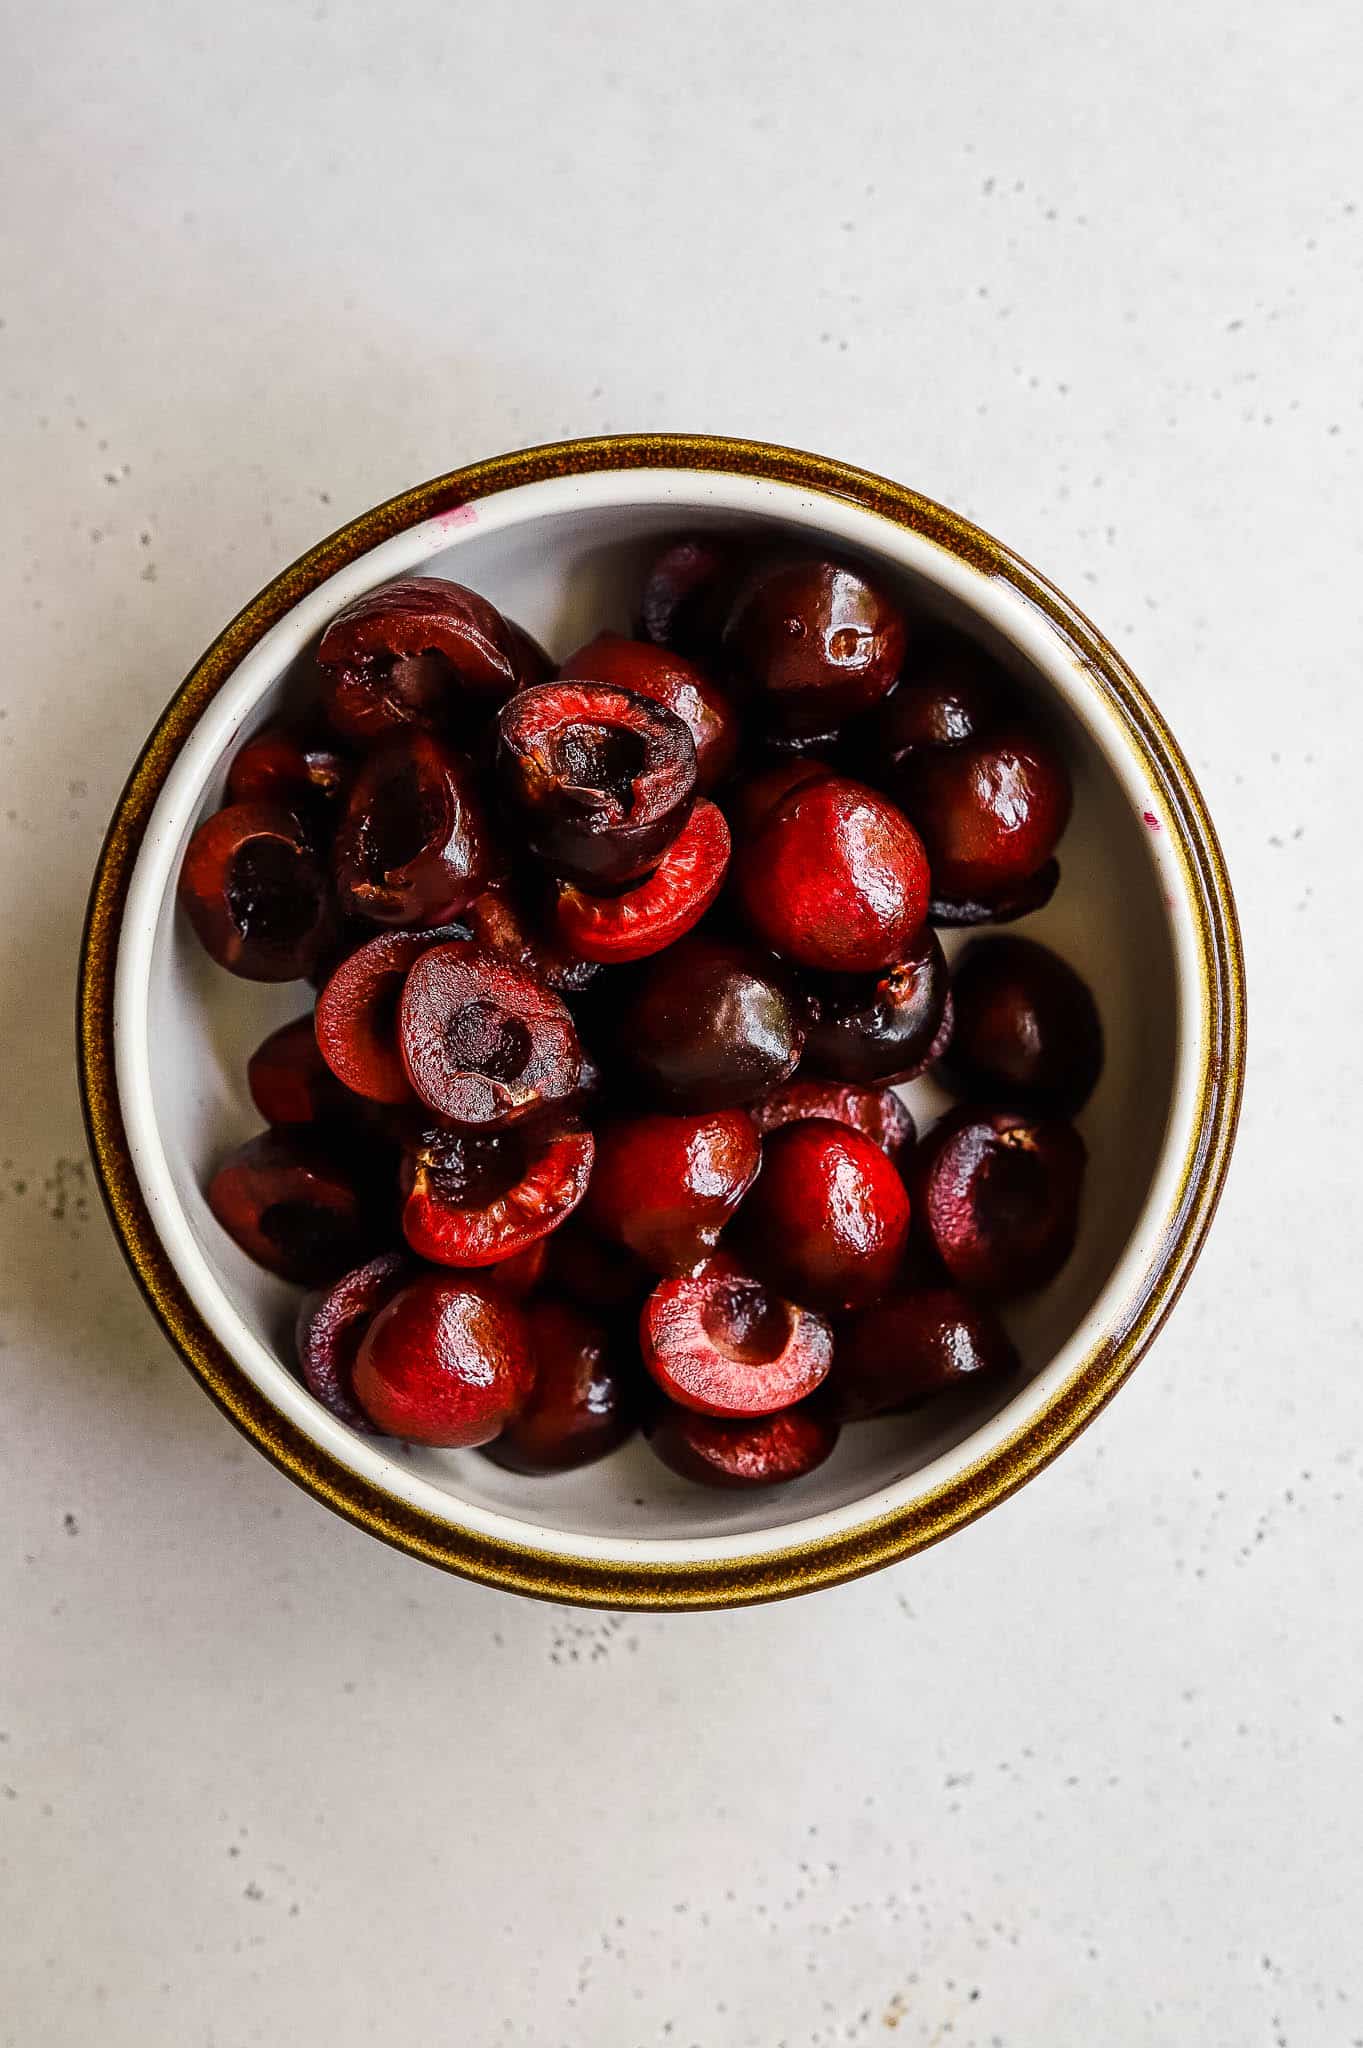
- Step one: Prep your cherries. Start by pitting your cherries and then cutting them in half. If you’re using frozen cherries, be sure to thoroughly thaw them and then place them on a paper towel lined baking sheet. Pat the cherries dry with more paper towels.
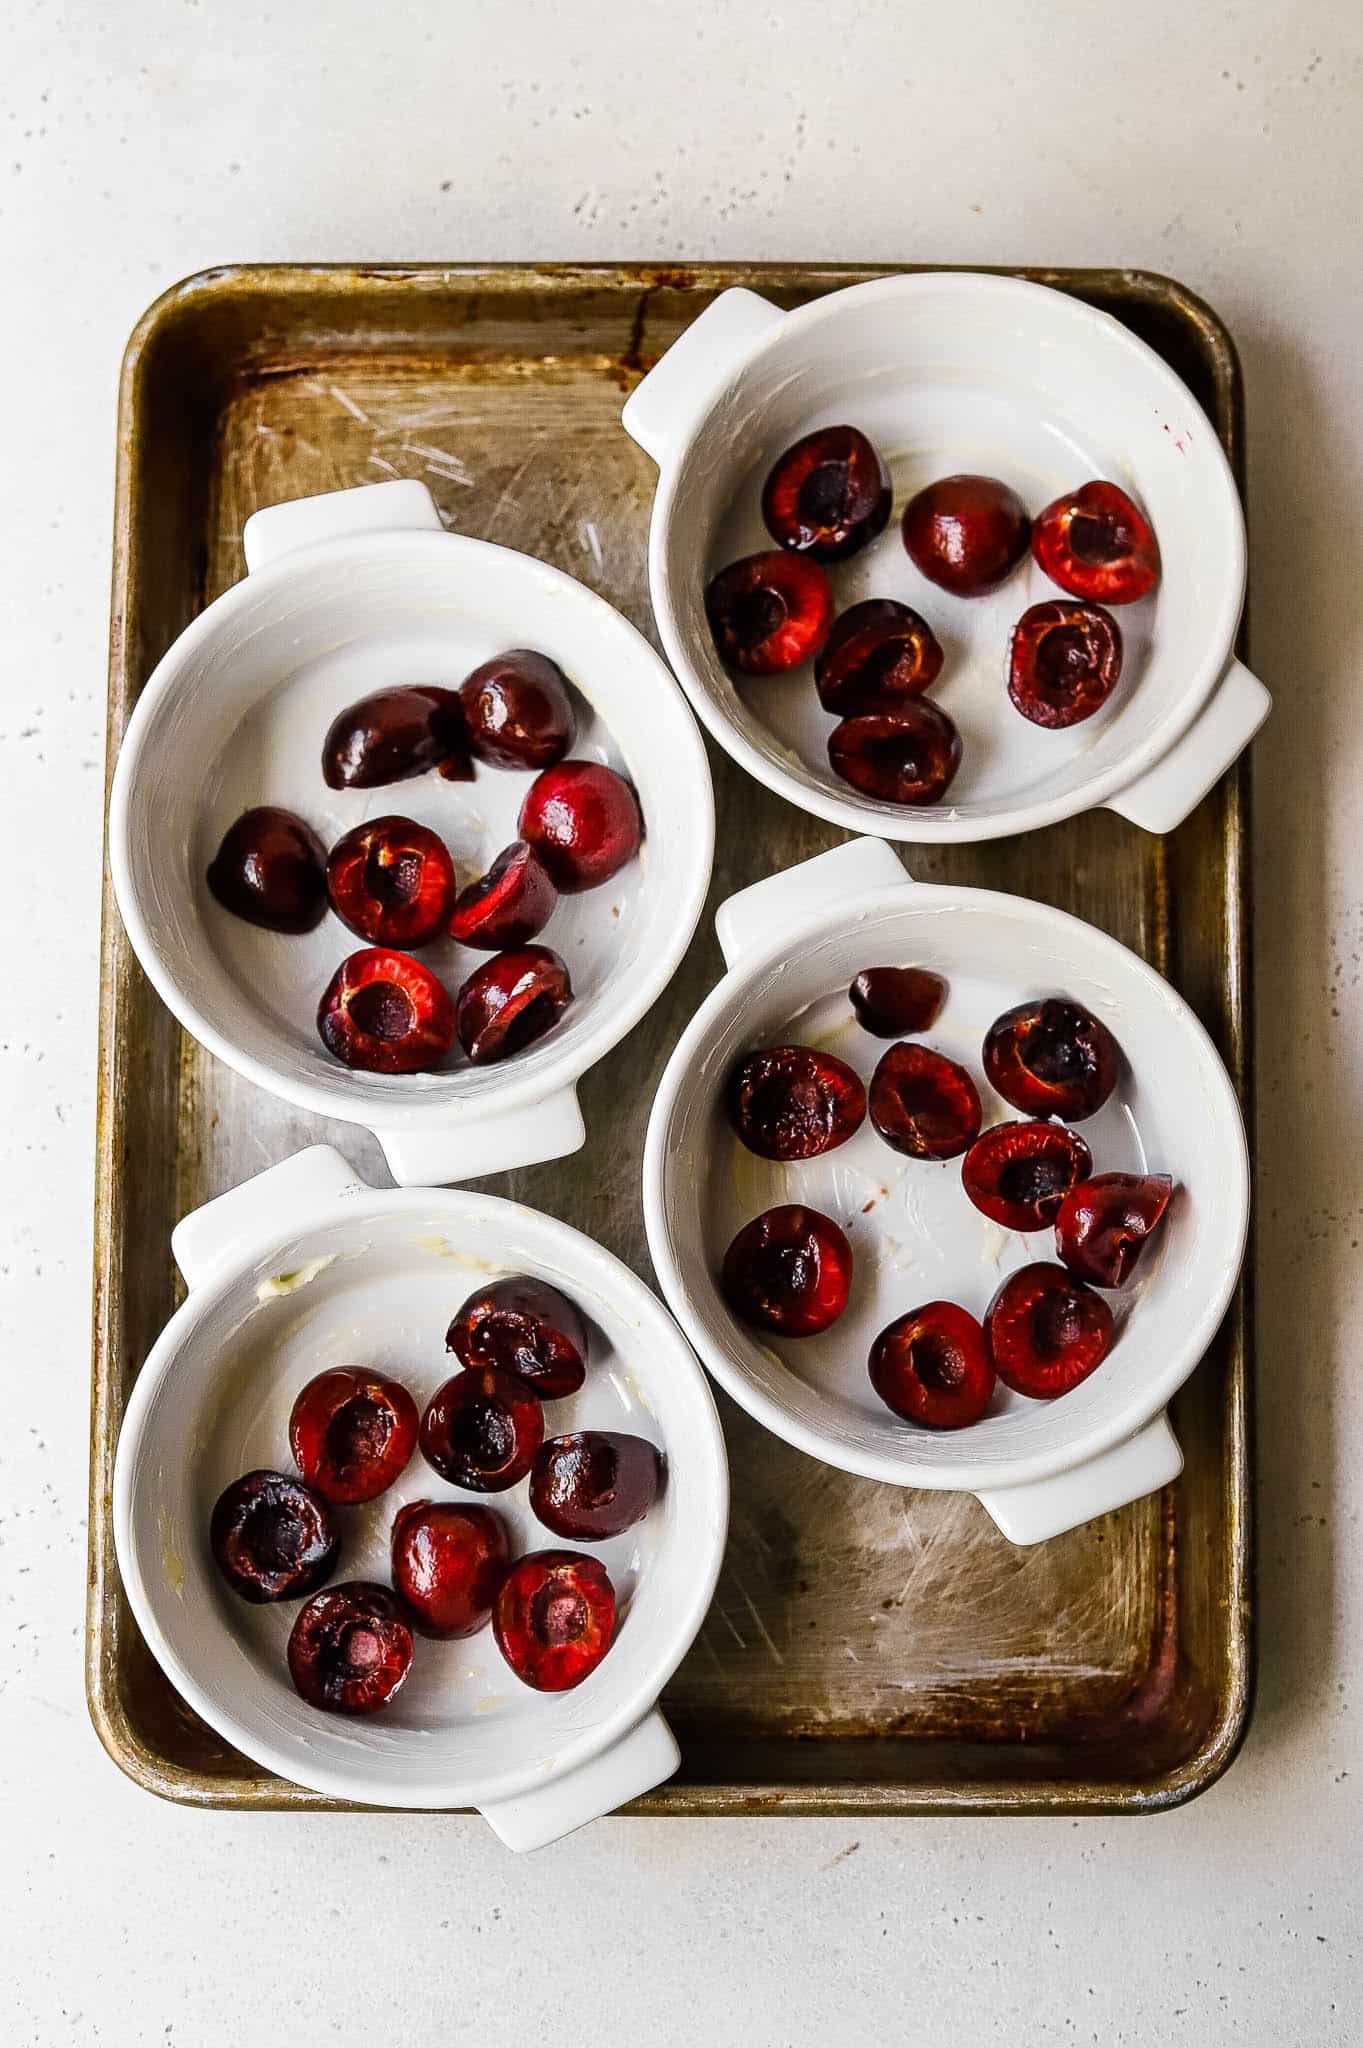
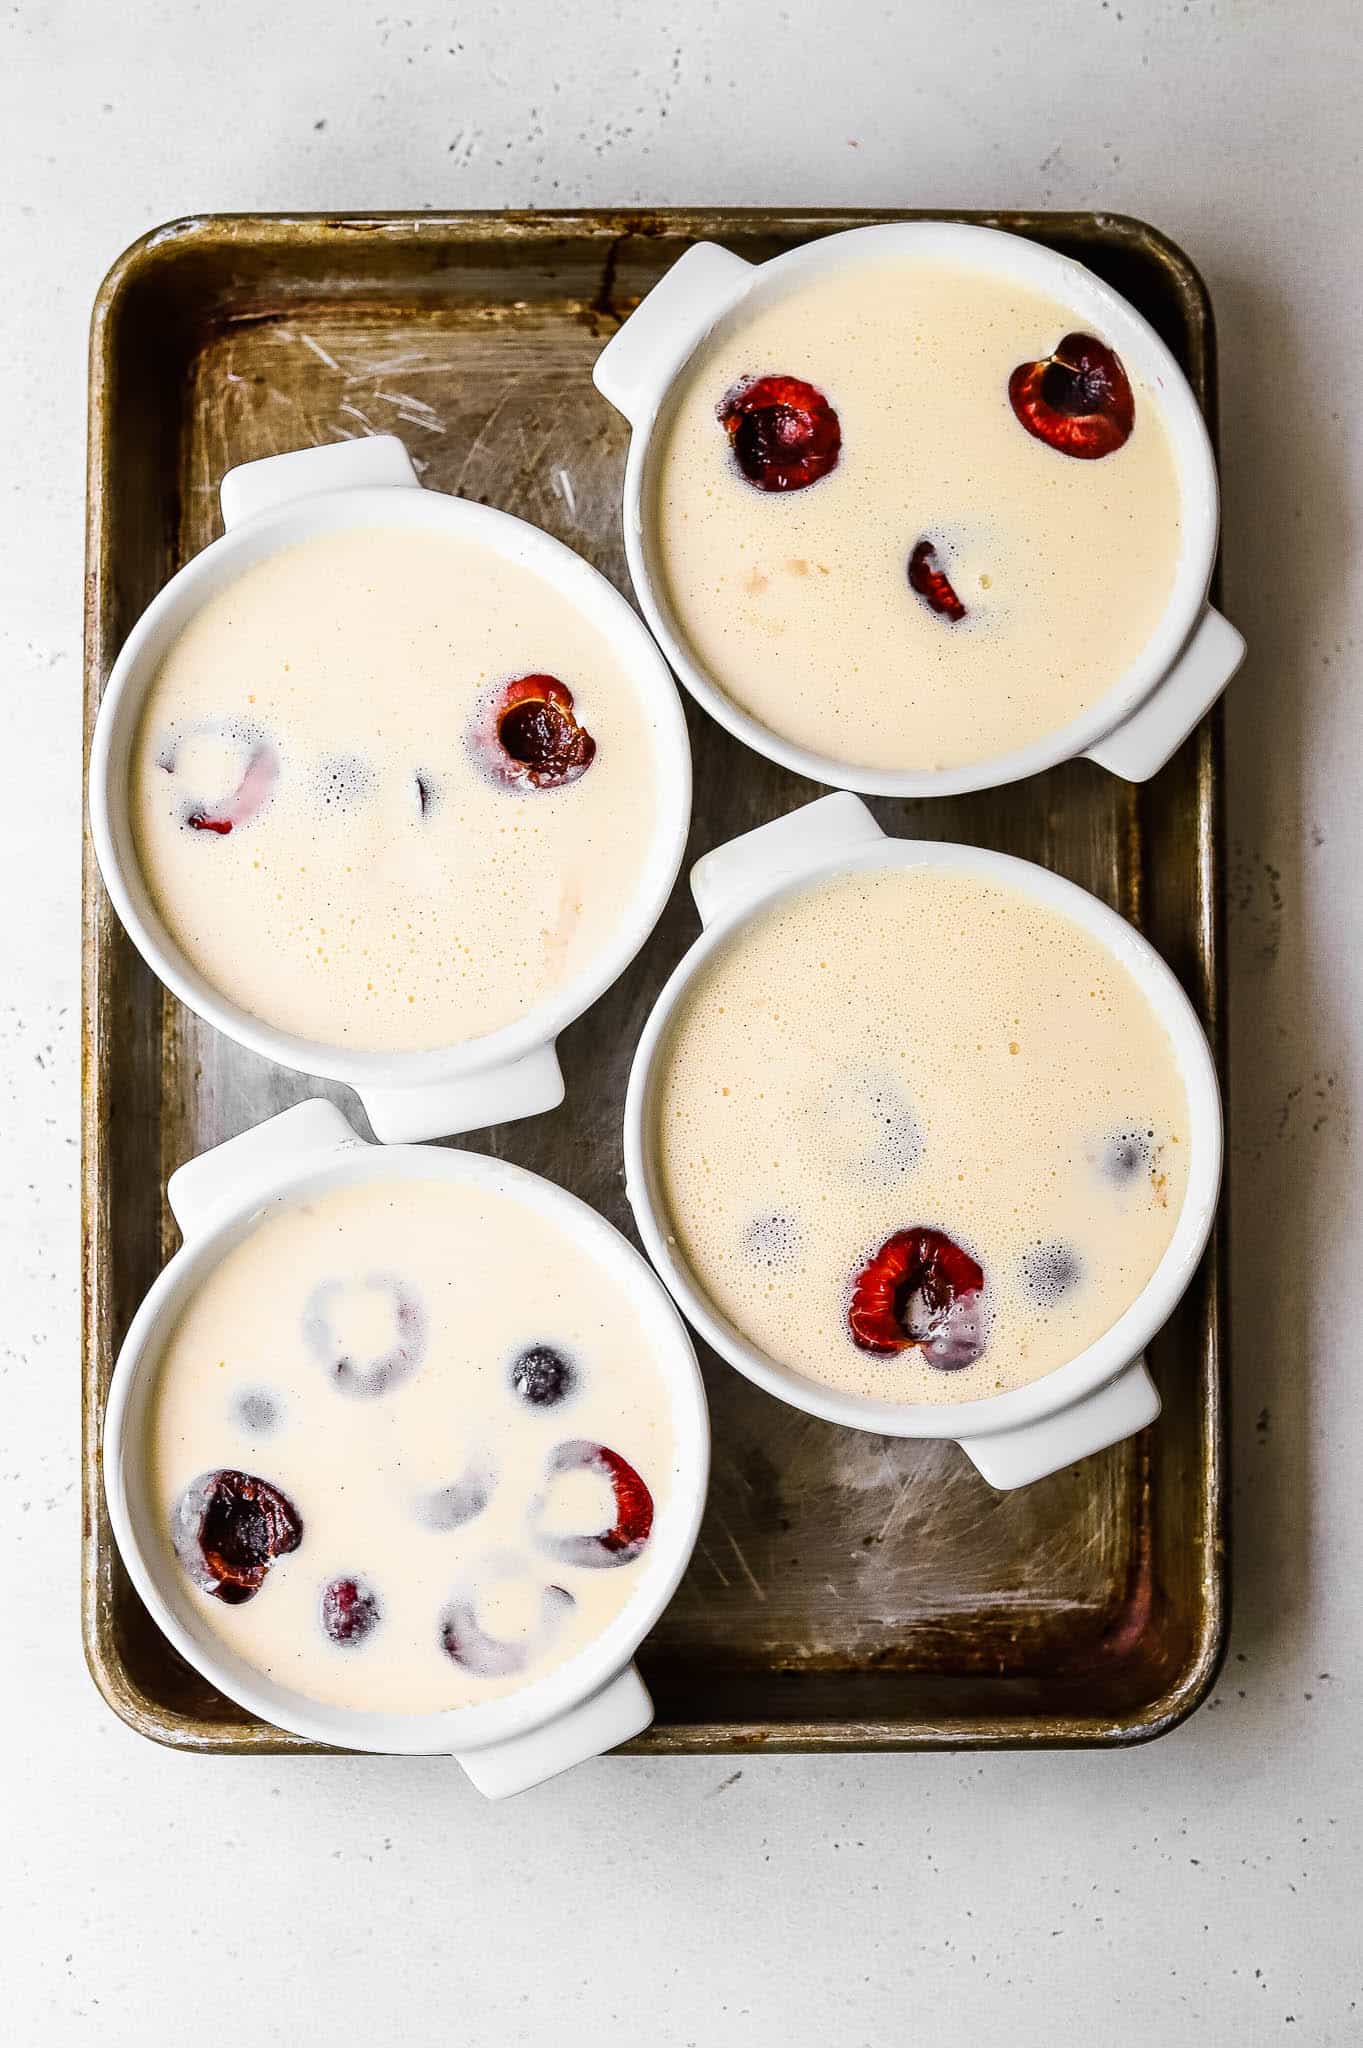
- Step two: Prep the ramekins by buttering each ramekin really well and placing 1/3 cup of halved cherries in each ramekin. Place the ramekins on a small rimmed baking sheet and preheat the oven to 350 F.
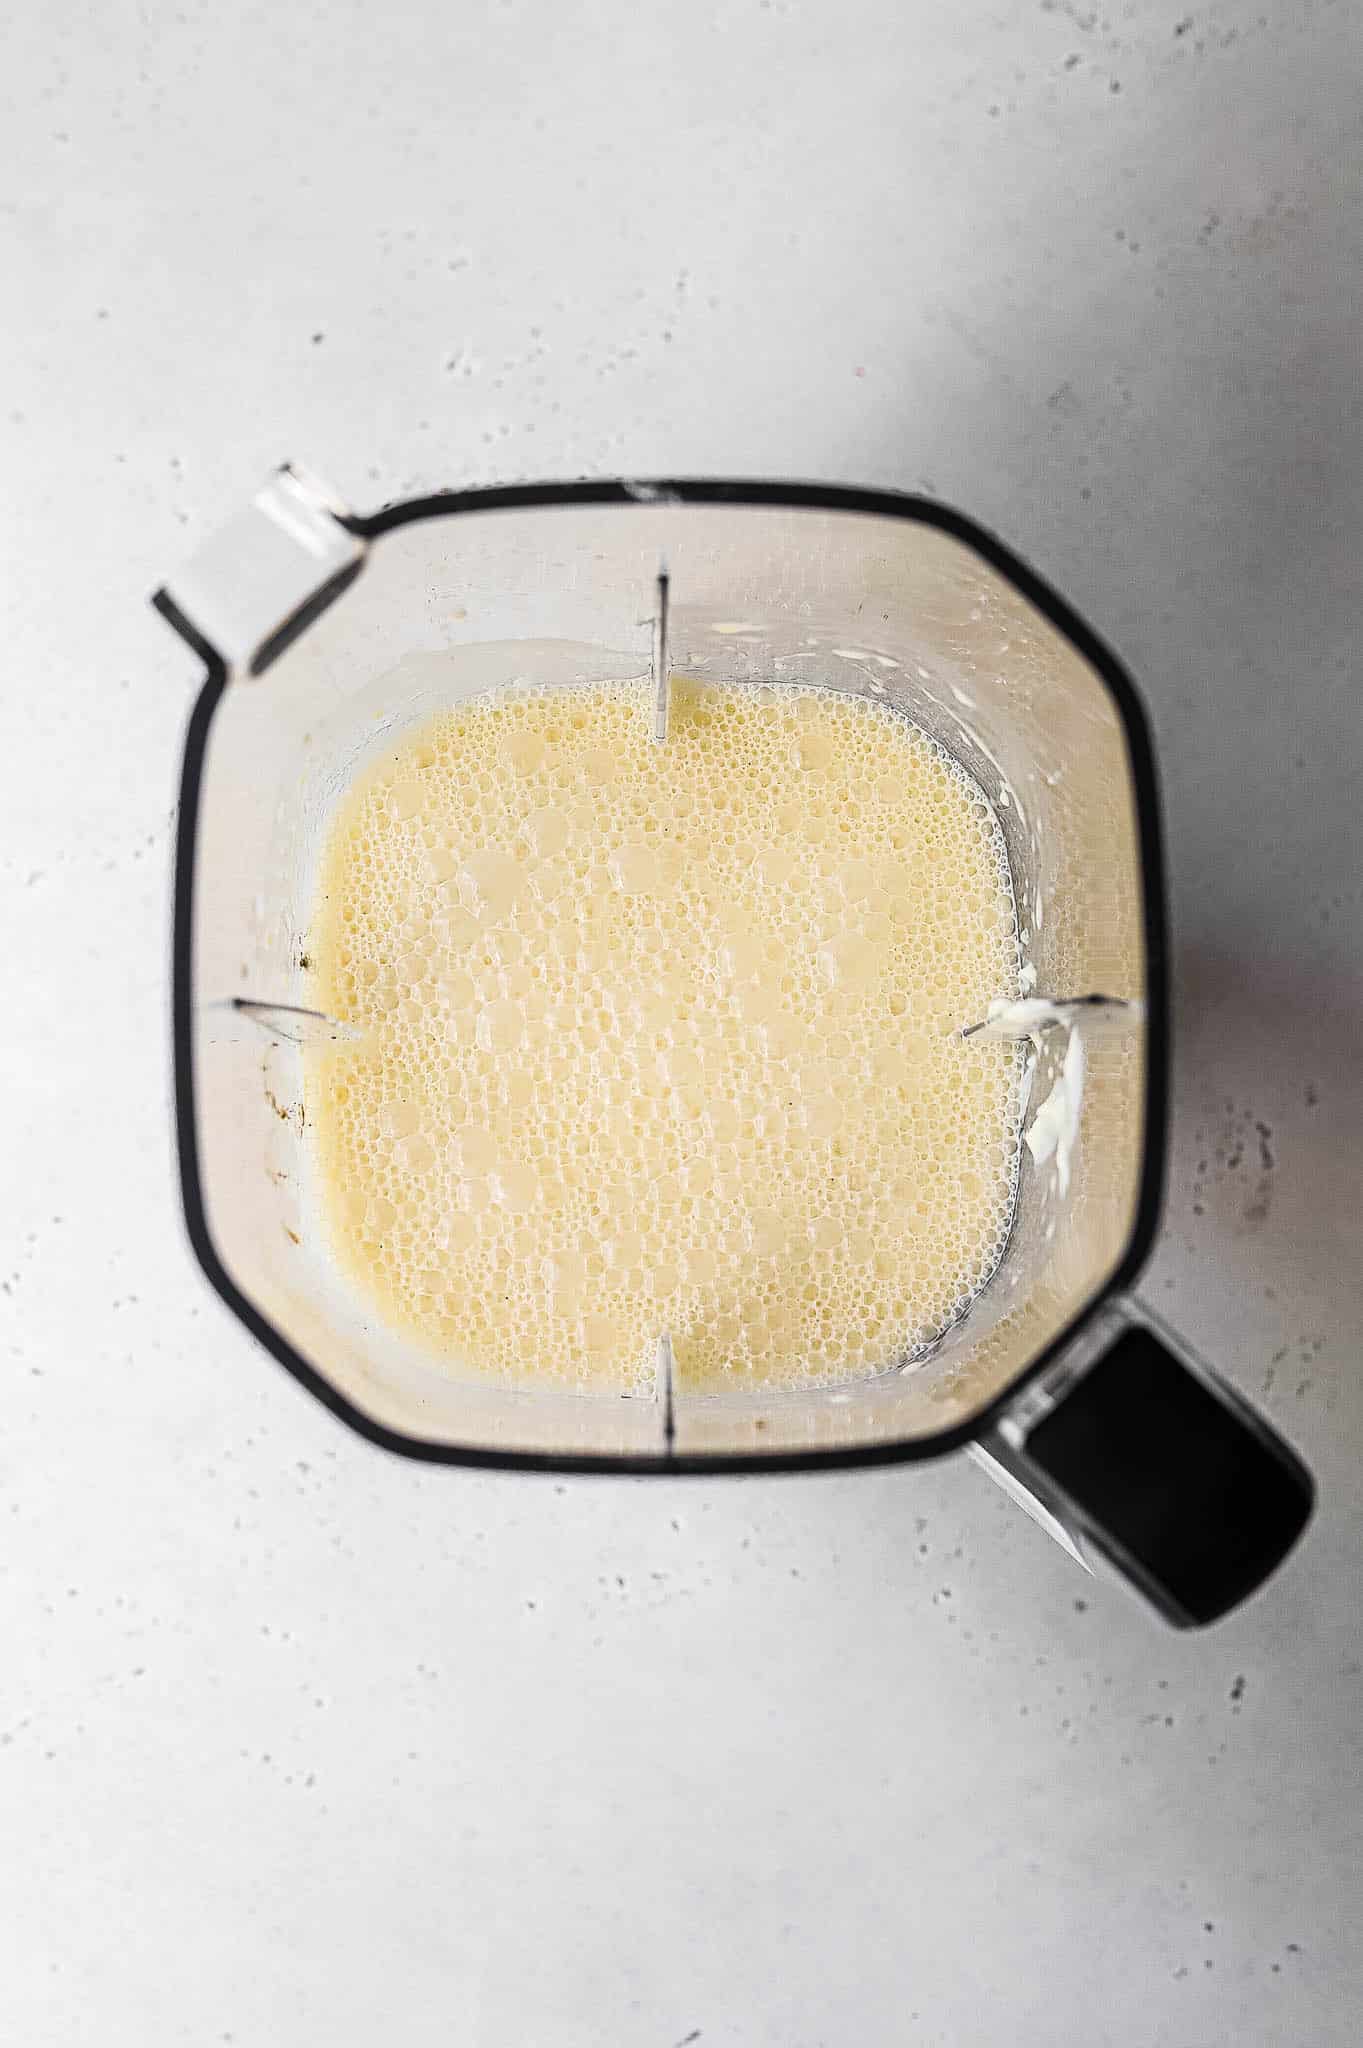
- Step three: Combine all the ingredients in the carafe of a blender and blend until smooth. Evenly divide the clafoutis batter between the ramekins. Top with a couple more pieces of cherries.
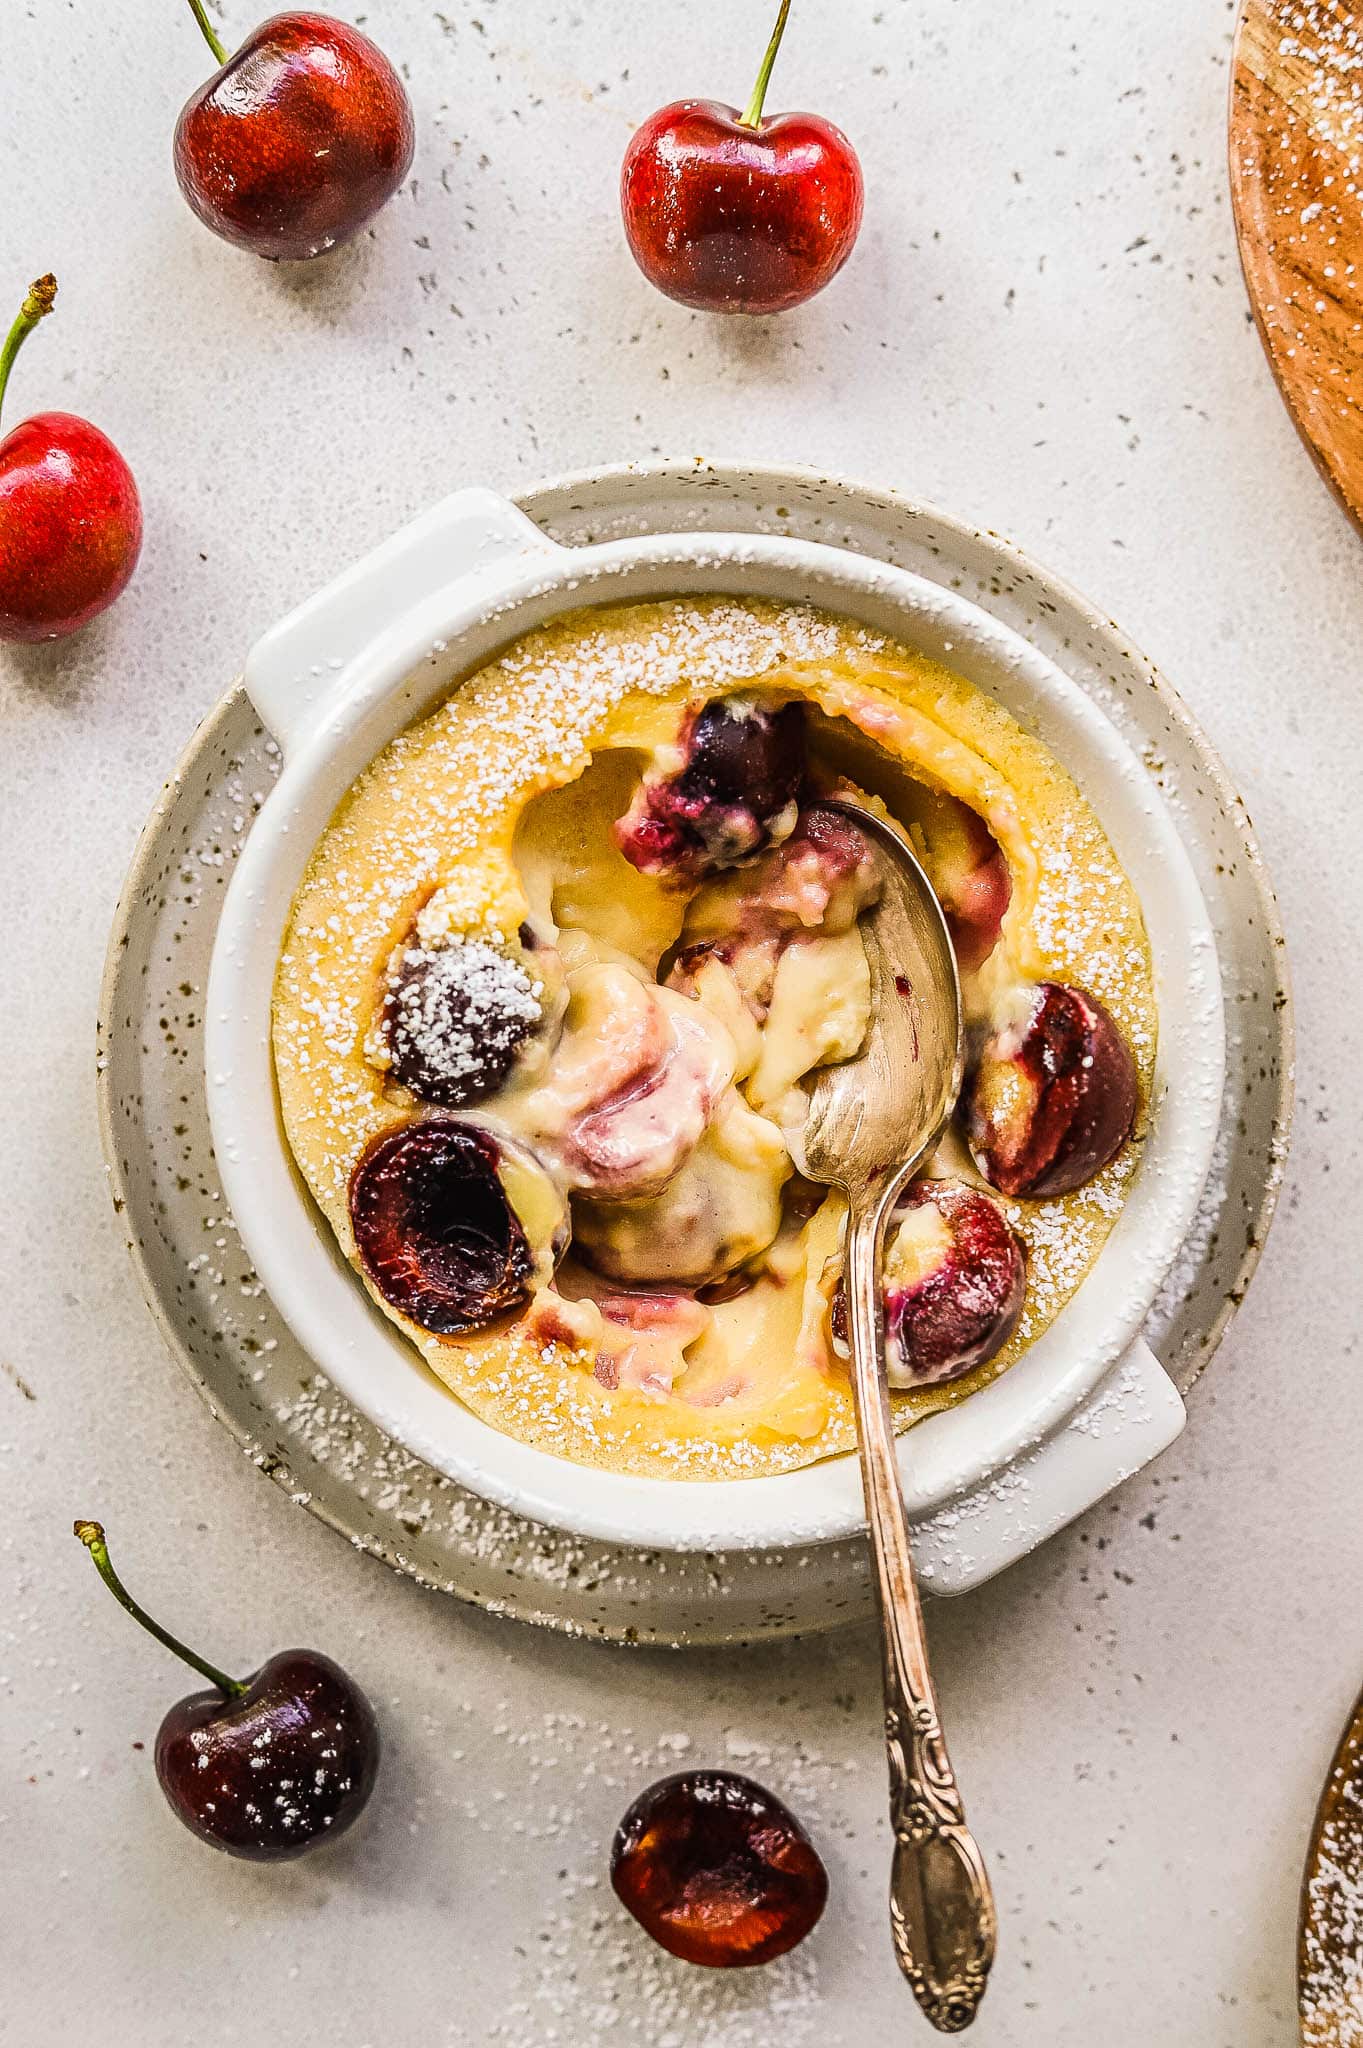
- Step four: Bake for 22-24 minutes, just until barely set and the custard still jiggles slightly in the center. Cool for 10-15 minutes before serving. Dust with powdered sugar and top with whipped cream and more fresh cherries.
Adapting Cherry Clafoutis for Different Sizes
I love making clafoutis as an individual dessert! I used 10 oz ramekins here, but you could use smaller ramekins like 6 or 8 oz. Adjust the baking time down accordingly and start checking around 15 minutes or so. The clafoutis should just barely jiggle in the center.
If you don’t have access to ramekins, you can also bake this is a deep 10 in pie pan. I would opt for a ceramic pie dish vs metal. You’ll have to adjust the bake time to about 35 minutes or so.
Serving and Storing Cherry Clafoutis
You can serve the cherry clafoutis slightly warm, at room temperature, or even chilled! It totally depends on your preference. I actually liked them even better the next day chilled because the flavor really had time to come through. Whatever you do, always serve dusted with powdered sugar and whipped cream.
To store cherry clafoutis: If you have leftovers, you can wrap them tightly in plastic wrap and refrigerate for up to 5 days. You can pop it in the microwave for 20-30 seconds to warm it slightly, if desired.
More Summer Dessert Recipes to Try
Easy Lemon Fritters
Strawberry Lemon Shortcake
Small Batch Strawberry Crisp
Texas Sheet Cake
This post may contain affiliate links from which I receive a small commission at no additional cost to you. Affiliate links allow me to keep providing great recipes for free and I never recommend products that I don’t love and personally own.
Cherry Clafoutis
Ingredients
- 1/2 lb cherries, stems removed, pitted, and cut in half
- 1 1/2 cups half and half
- 1/2 cup vanilla skyr or yogurt
- 3 eggs
- 1/2 cup granulated sugar
- 1/3 cup flour
- 4 tablespoons (1/2 stick) unsalted butter, melted
- 1 teaspoon vanilla bean paste or extract
- 1/2 teaspoon almond extract
- 1/2 teaspoon sea salt
- 1 tablespoon amaretto or grand marnier, optional
- powdered sugar, for dusting
- whipped cream, for serving
Instructions
- Grease the ramekins really well with room temperature unsalted butter. Place 1/3 cup of halved cherries in each ramekin. Place the ramekins on a baking sheet and preheat an oven to 350 F.
- Combine the remaining ingredients in a blender and blend until very smooth. Evenly divide the batter among the ramekins and top with a couple more cherries.
- Bake for 22-24 minutes, until the center of the clafoutis is just barely set. It should still jiggle slightly in the center. Remove from the oven and cool for 15 minutes. Dust with powdered sugar and serve lukewarm topped with whipped cream and more cherries.


Rate & Review This Recipe
I’m confused. Your recipe says, ” bake for 22-24 minutes — remove from oven and cook for 15 minutes.”
Where do you cook it for 15 more minutes? Do you return it to the oven for 15 more minutes? HELP!!
Hi Janet,
That’s simply a typo–thank you for bringing it to my attention. It should say ‘cool’ for 15 minutes before serving. Hope that helps!
Absolute new FAVORITE!!! The recipe was so easy to follow, with details and pictures to assist a rookie baker like myself. Many times you try a new recipe and it does not taste as good as it looks but this one definitely hit all the marks! I am SO impressed and cannot wait to try something else by Jenny!
Monique,
So happy you loved the recipe!