72 Hour Pizza Dough Recipe

I was once like you, a trader joe’s pre-made-dough-purchasing individual. But now, I can never go back. It’s too easy to make great crust at home as long as you plan for it and give yourself time. Things like this just can’t be rushed. This recipe was inspired by Ken Forkish’s book Flour, Water, Salt, Yeast in the method, but over time I have tweaked it to be my own. The reason this process takes 72 hours is because the flavor and texture is developed over that time period. The dough is first fermented at room temperature and then moved to the fridge. The cold helps slow down the fermentation process but allows really great flavor to develop. I hope you guys enjoy this recipe as much as I do. It’s truly a staple in our household!
Flour
As the main ingredient in pizza dough, the flour you use is pretty damn important. I use a combination of 00 flour (you can find my favorite here) and all purpose flour–use a good all purpose flour though, I’m a fan of King Arthur. If you don’t want to use the 00, you can use all AP flour, but in my opinion the combination of the two really is something special. Whatever flour you use, make sure it’s great quality.
Mixing
The recipe comes together very simply. First, the flour, yeast and salt are all stirred together and then the water is added. This can be done in a stand mixer with a dough hook and mixed for about 5-10 minutes or mixed by hand in a bowl. The dough will still be sticky, but that’s okay.
I have a plastic 6 quart container that I use precisely for this application and it’s a lifesaver. You can buy it here. You can also use a large kitchen bowl covered with plastic wrap or container with a lid (covering the dough keeps it from drying out), just keep in mind that the dough will grow very large in size so the container will need to be large enough to accommodate that expansion. Also, make sure to grease your container because it will make your life so much easier later.
Find a warm-ish place in your kitchen and let the dough hang out for 12 hours undisturbed.
Fermentation
This is really what causes this dough so take so much time. Can you do it in less than 72 hours? Yes. I would say the shortest time period would be 24 hours, but the dough truly gets better the longer it sits. And the cold ferment (aka fridge time) makes such a huge difference in the flavor. You get this gloriously yeasty flavor that is just truly unreal. During this long fermentation process, the yeast is slowly feeding on the flour and water and releasing CO2 in the process. This slow process allows the pizza crust to have those glorious bubbles throughout, instead of a dense and heavy crust. You get a shatteringly crispy exterior of the crust, but the inside is perfectly chewy and balanced. If you have the time, try and do the whole 72 hours, but if you’re short on time try this super easy same day skillet pizza recipe.
Shaping
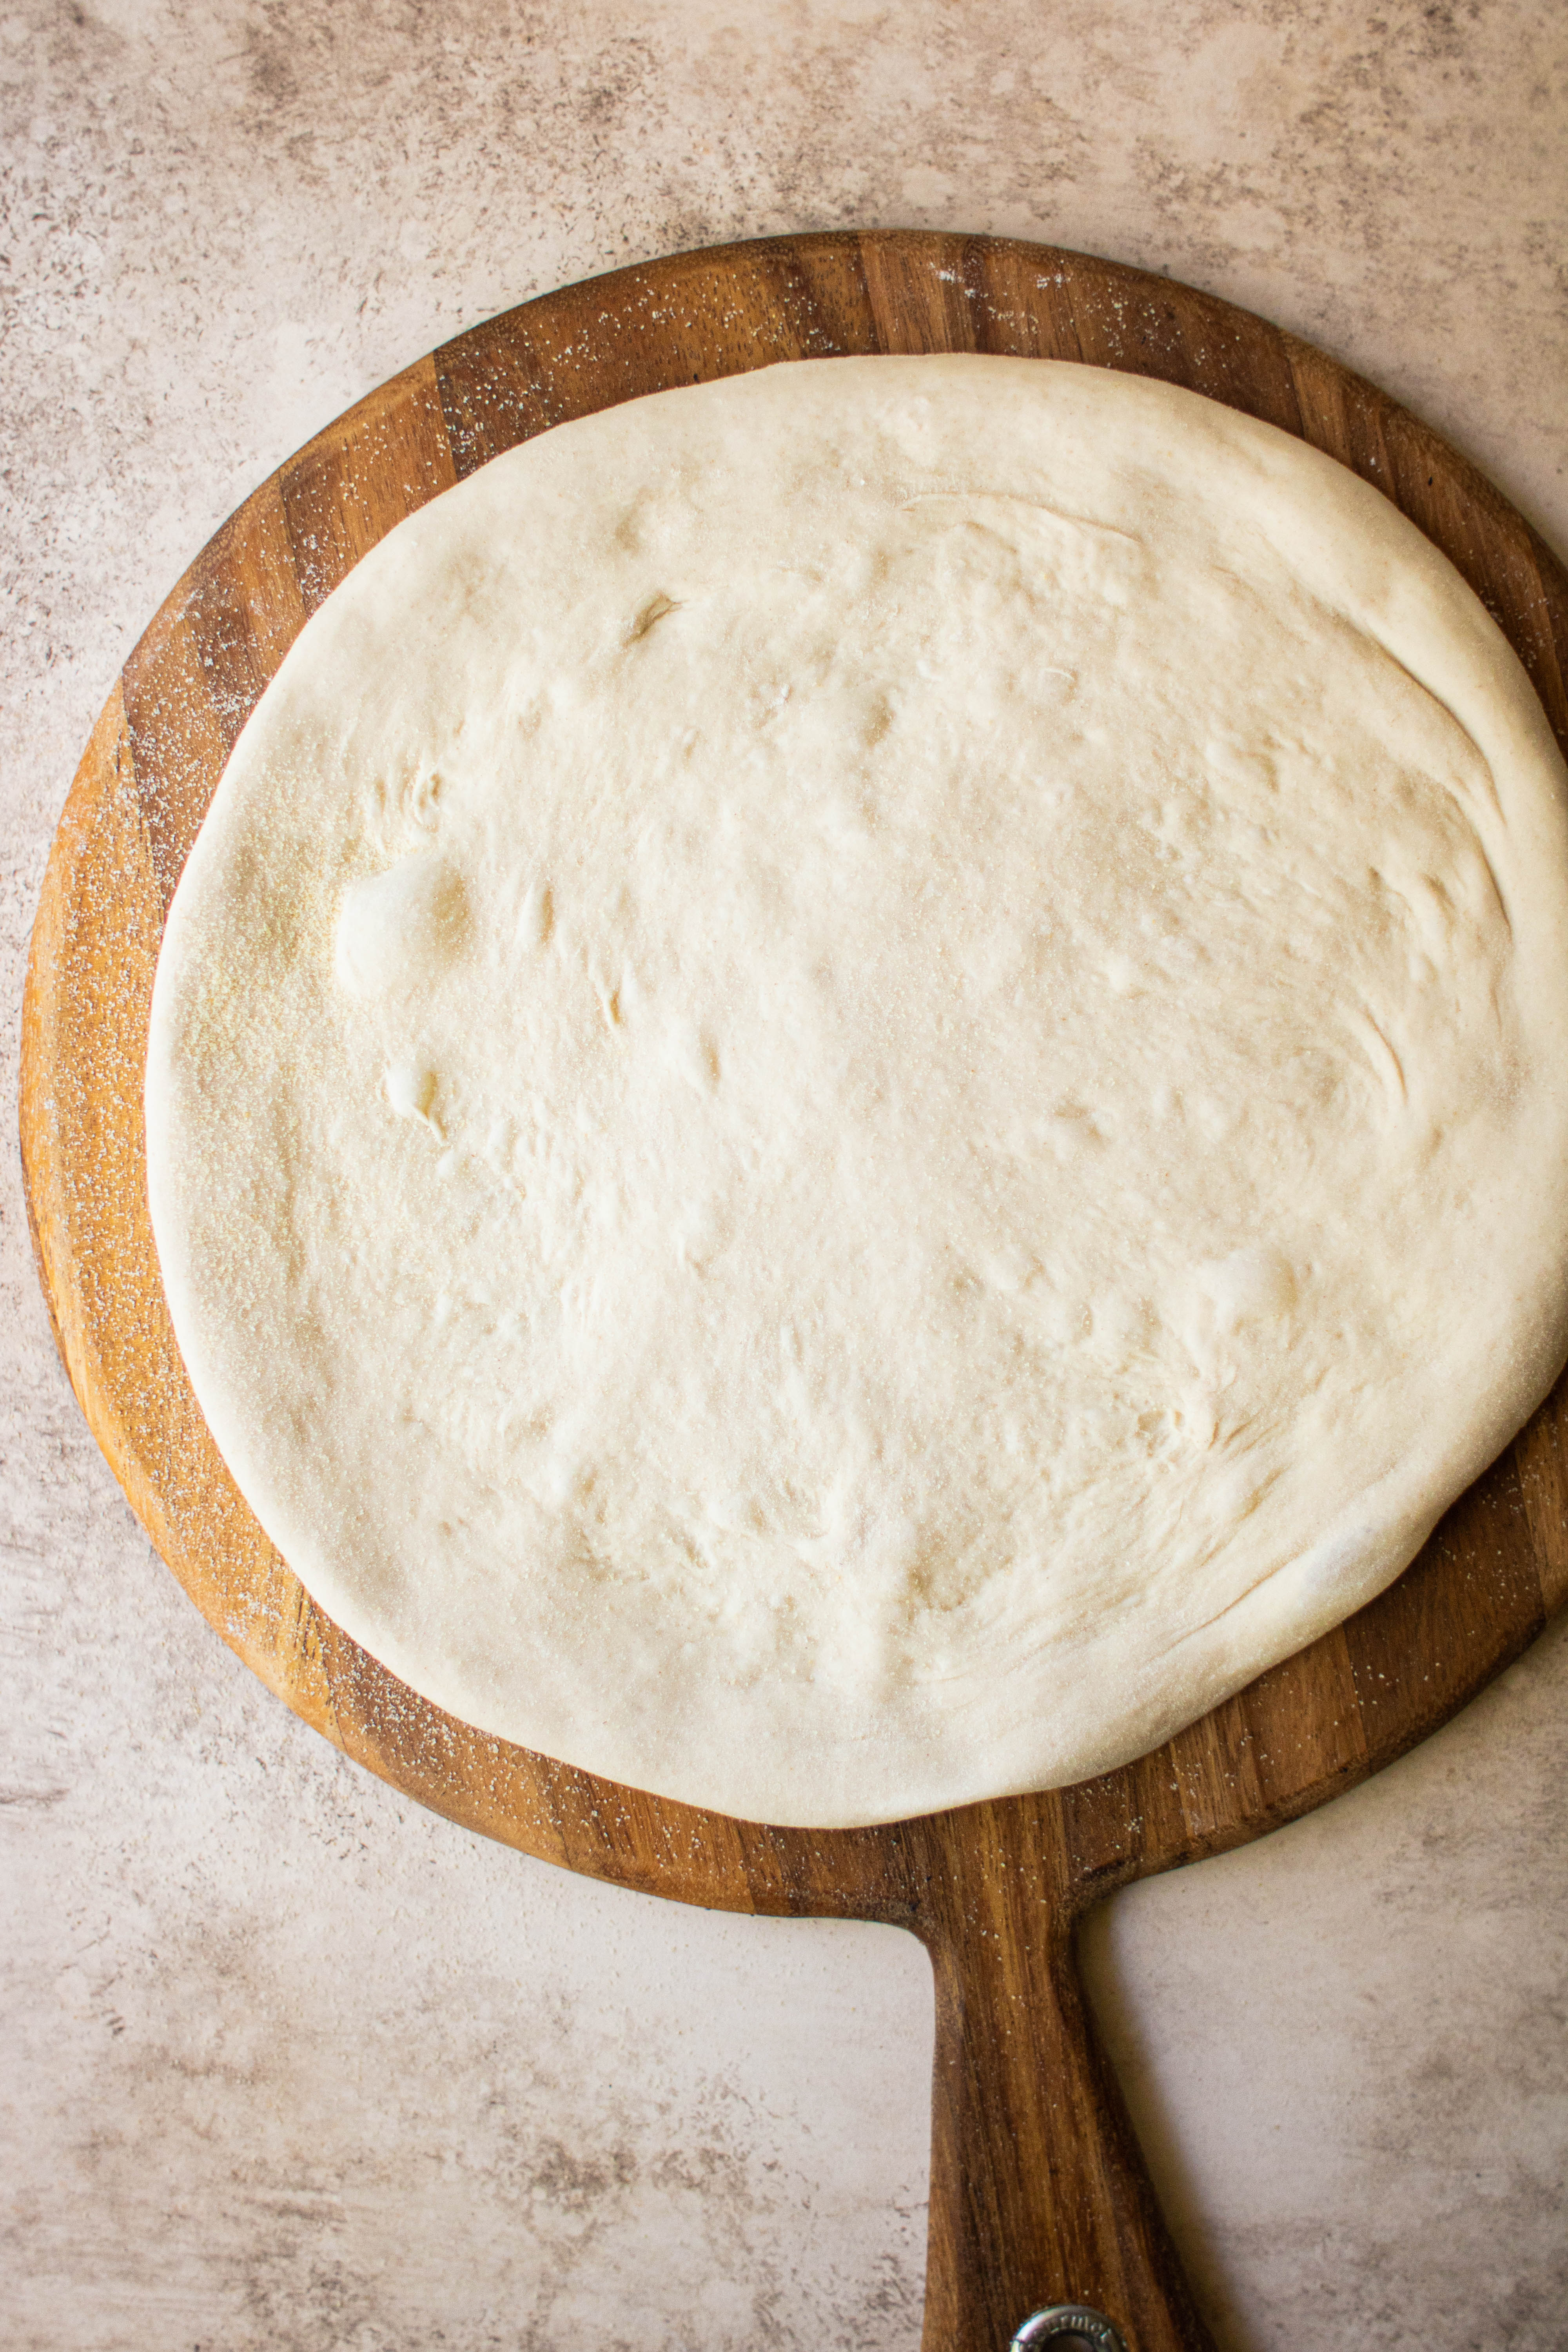
DO NOT ROLL YOUR PIZZA DOUGH OUT for the love of baking. All those lovely bubbles that we built up during fermentation will have been for absolutely nothing. The best method is to gently stretch the dough into a rough circle. It doesn’t need to be perfect, it can be oval or whatever shape come up as you’re stretching the dough. It’s still going to taste great. So, how thin do you stretch the dough? You don’t want a thick bottomed pizza (at least, not in my opinion). I like a thinner dough that I have to fold to pick up. That’s just my personal preference though! Stretch it as thin as you like to meet your personal tastes.
Baking
A quintessential part of getting your pizza to turn out like it would in a restaurant is to have a pizza stone or equivalent. You may be wondering what the equivalent would be and that is where the Baking Steel comes in. If you are like me and you take your pizza very seriously, I highly recommend investing in a baking steel. It is virtually indestructible and disseminates heat more evenly than a pizza stone. Steel is more conducive to even heat than stone and therefore creates a crust better than even a brick oven could achieve.
However, a pizza stone is your next best bet if you’ve got one! Giving your stone or steel adequate time to heat up is incredibly important. I like to preheat my oven about 45 minutes before my first pizza goes into the oven. This is the interesting part… once my steel/stone is adequately heated, I switch my broiler on to high and then throw the pizza in the oven. The broiler gets the top nice and bubbly and browned (you know those brown bits on the cheese are ESSENTIAL), while the steel/stone gets the bottom cooked. I switch back and forth to keep the oven and the steel/stone hot but I swear I have turned out pizza from my home kitchen that rivals some of the best pizza places I have been to and you can too!
Toppings
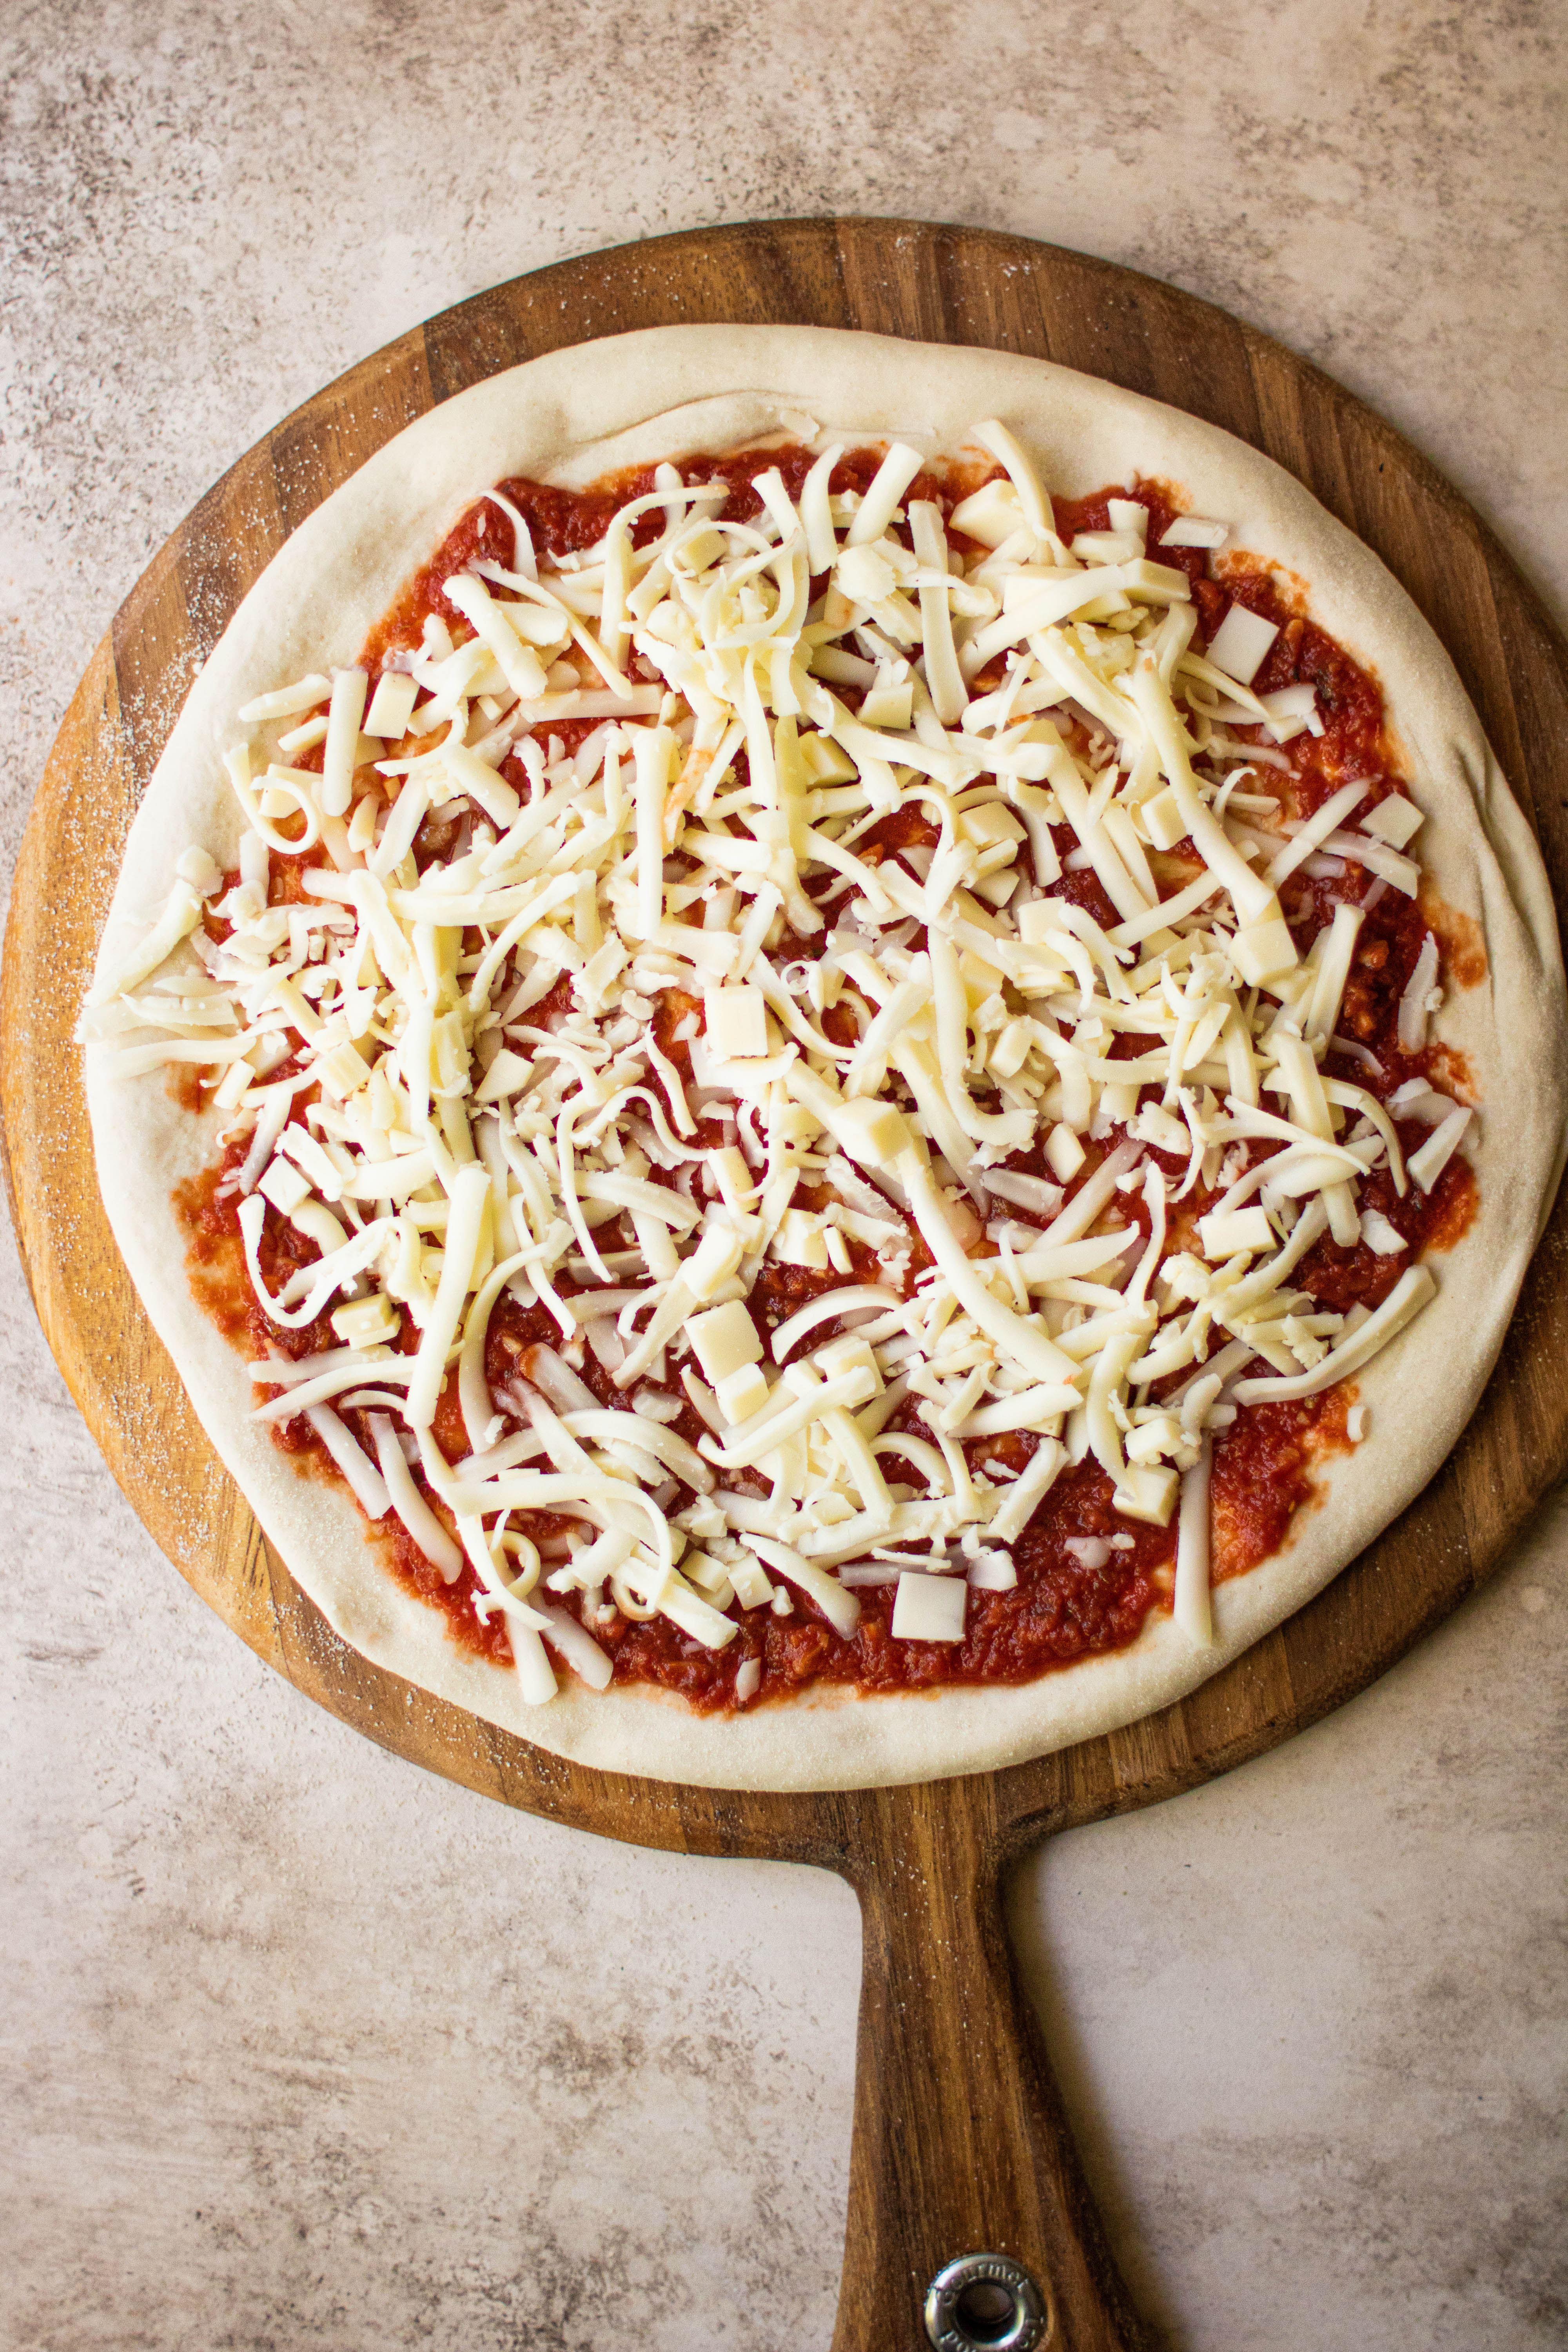
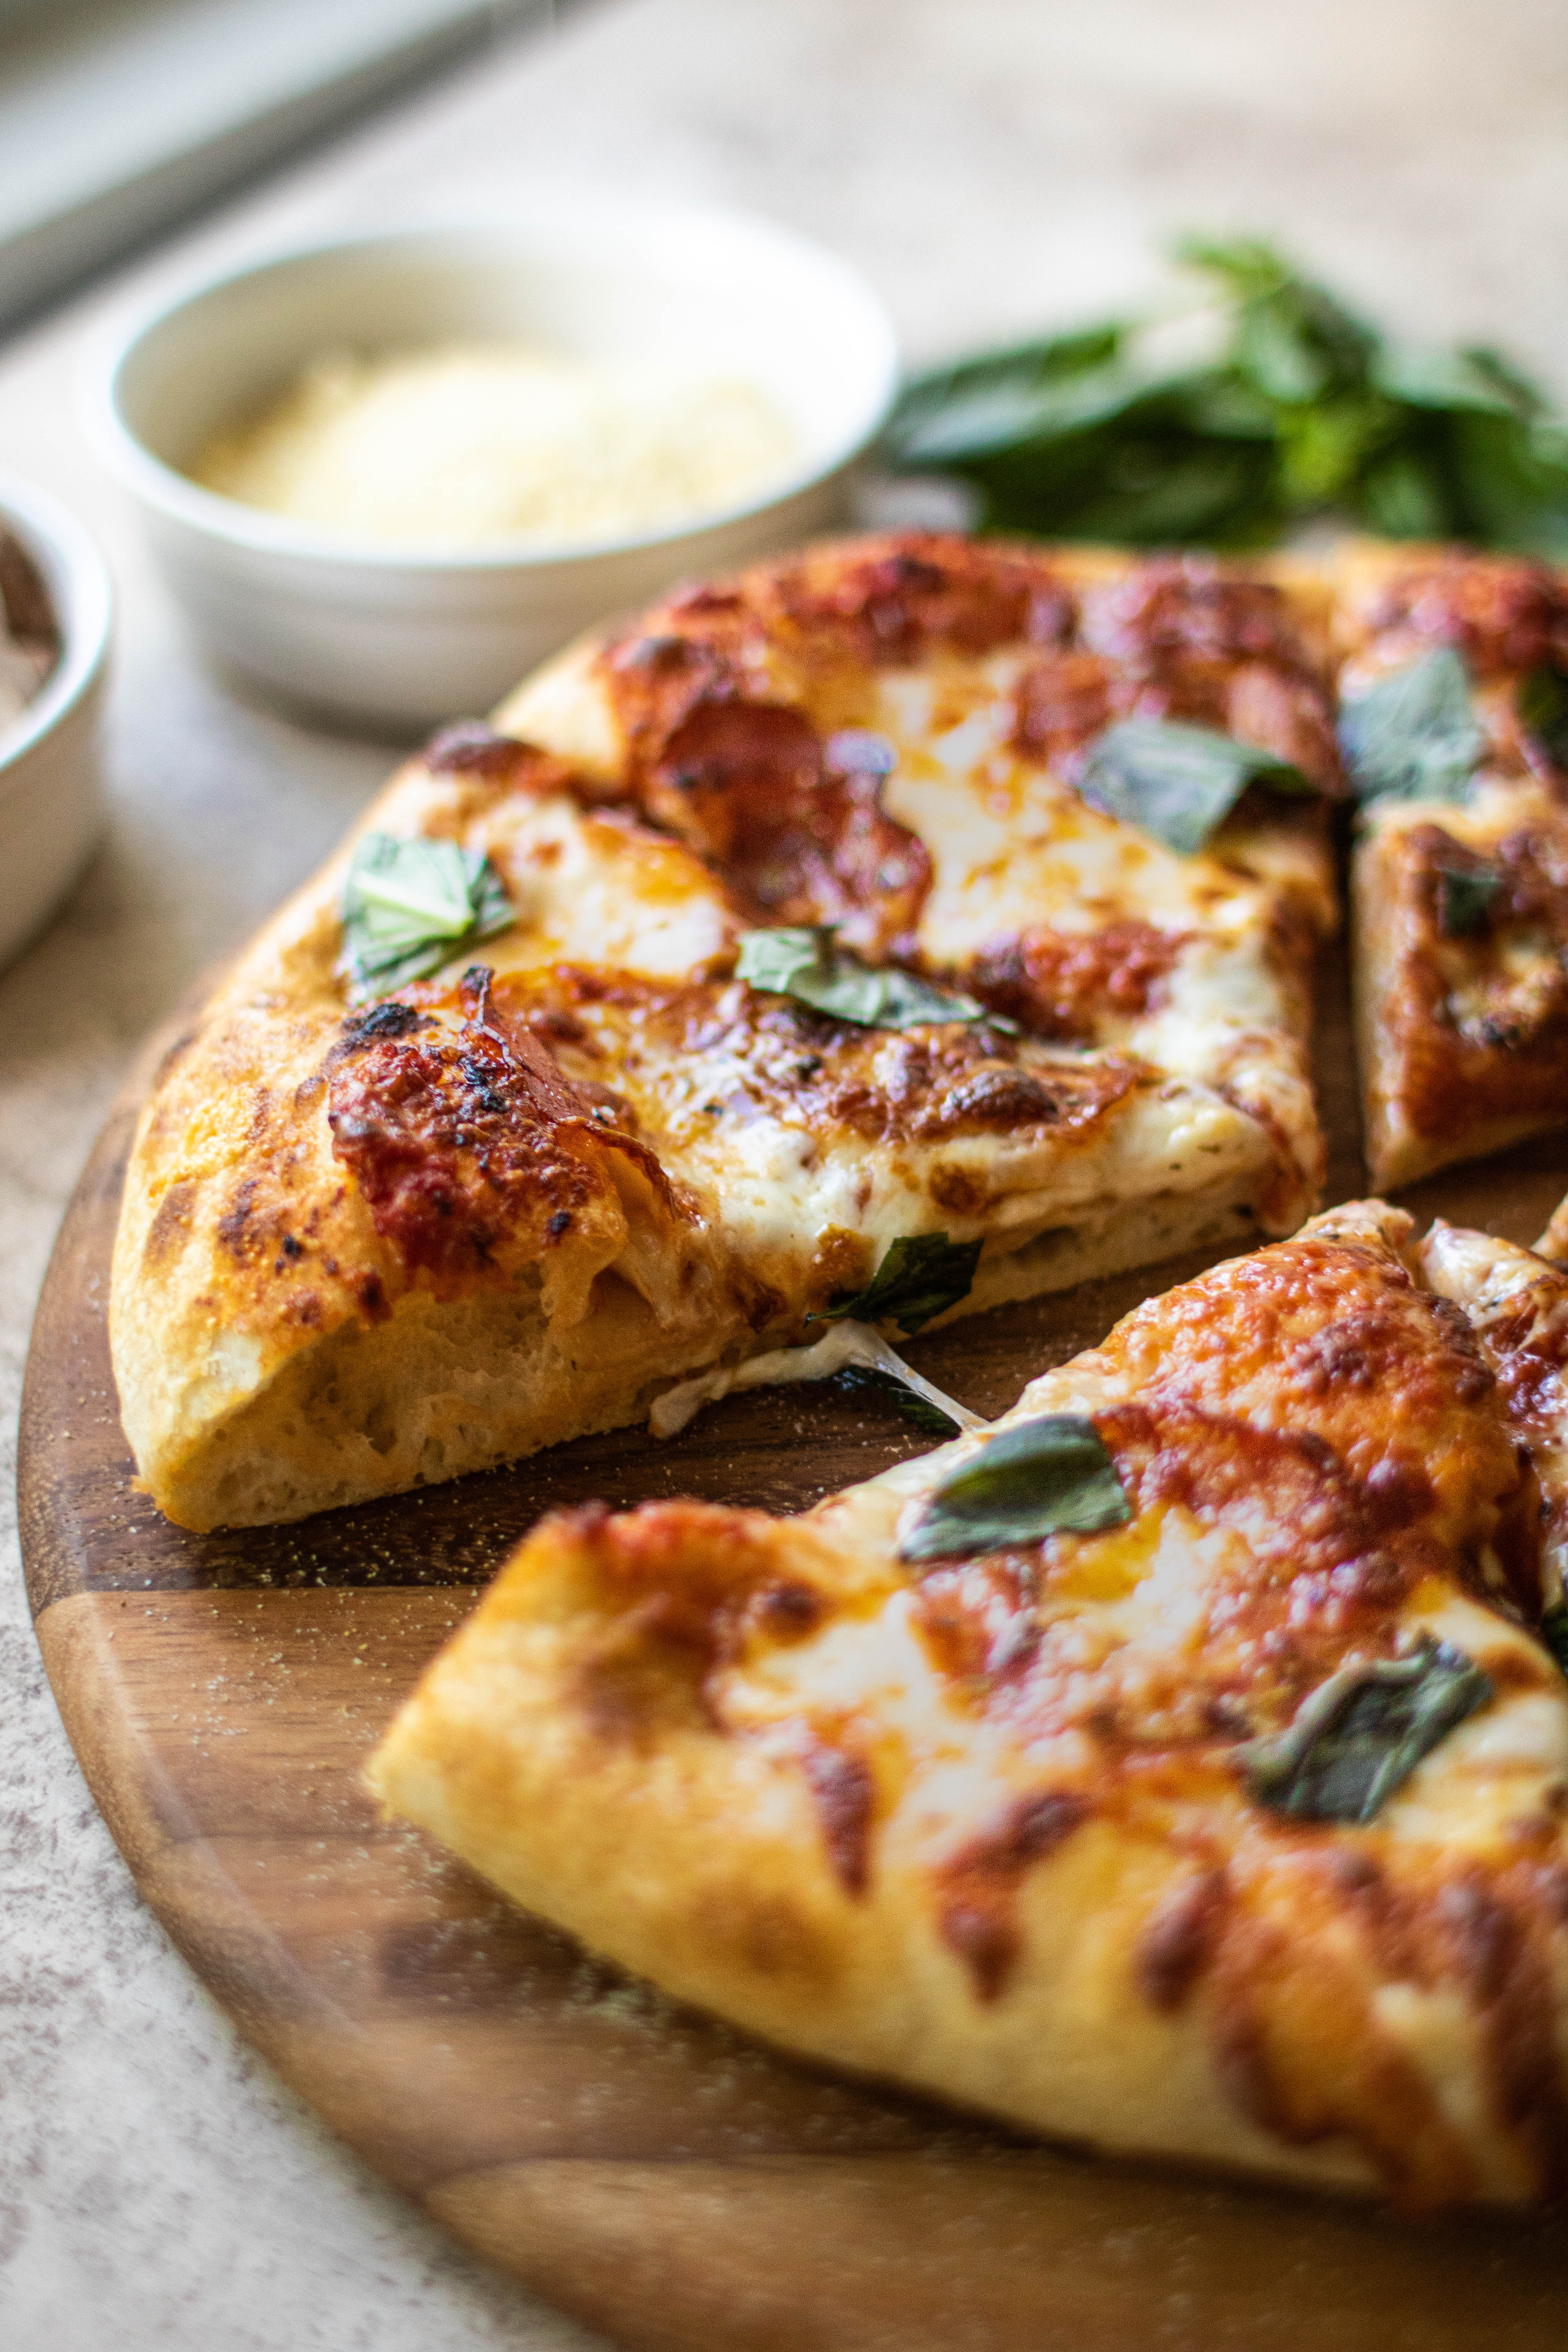
The toppings at this point are totally up to you, and it’s so fun to make this pizza your own. Keep it simple and make a margherita pizza. Or a white pizza. Or a freakin’ cheeseburger pizza. Who am I to tell you how to live your life? The pizza I have pictured is topped with a simple pizza sauce (recipe below), my special 3-cheese blend, spicy pepperoni, and fresh basil from my garden. Try to look for whole pepperoni with natural casings so that they turn into those glorious little cups as they cook. I’m also extremely partial to adding mushrooms and ricotta. The sky’s the freaking limit. Now that you’ve got the crust down, go forth and create the pizza that will make your wildest pizza dreams come true!
Tools:
Steel or stone
pizza peel
pizza cutter
OTHER RECIPES YOU MAY ENJOY

72 Hour Pizza Dough
Ingredients
Pizza Dough:
- 400 g '00' FLOUR
- 350 g all purpose flour
- 440 g tepid water around 75 degrees F
- 20 g salt
- 3 g about 1 teaspoon active dry yeast
Pizza Sauce:
- 2 tablespoons olive oil
- 6 cloves garlic minced
- 1/2 teaspoon dried oregano
- 28 oz can whole peeled tomatoes crushed by hand
- 2 tablespoons tomato paste
- 1 tablespoon granulated sugar
- 1/2 teaspoon salt
Remaining Ingredients:
- 6 oz whole milk mozzarella grated by hand
- 4 oz provolone cheese grated by hand
- 4 oz fontina cheese grated by hand
- 6 oz freshly sliced pepperoni
- fresh basil leaves
- freshly grated parmesan cheese
- semolina flour for dusting
Instructions
- To make the pizza sauce: In a small saucepan, heat olive oil over medium heat. Add garlic and oregano and cook 3-4 minutes until fragrant but not burned. Add hand-crushed tomatoes. Bring to a simmer and add tomato paste, salt and sugar. Reduce heat to low and cook, stirring occasionally, for 20 minutes or until sauce has deepened in color and thickened. Cool and transfer to an airtight container until ready to use. Any leftovers can be frozen and kept for 6 months.
- To make the pizza dough: Weigh flour, yeast and salt into a large mixing bowl or the bowl of a stand mixer fitted with the dough hook. Add water and mix for 5-10 minutes or until dough is smooth. Transfer to a greased container with a lid or a mixing bowl covered with plastic wrap. Let sit in a warm-ish place in the kitchen for 12 hours.
- After 12 hours, turn the dough out onto a well floured surface. Portion the dough into four equal portions (you can use a scale to make them all the same weight) and form them each into smooth, tight balls. Line a baking sheet with parchment paper and spray lightly with non-stick spray. Place the dough balls on the sheet, spreading them apart to accommodate rising and then lightly spray the dough balls with non-stick spray. Wrap the baking sheet with plastic wrap and transfer to the fridge for 24-60 hours. At this point, you could also place a couple of the dough balls on a sheet tray and freeze them until solid and then transfer to a ziplock bag. Before using, allow to defrost in the fridge overnight in a lightly greased ziplock bag.
- One hour prior to baking, remove the baking sheet from the fridge (still covered) and allow the dough balls to come to room temperature.
- To make the pizzas: Mix all your shredded cheeses together and keep cold until ready to use.
- Heat your oven to 550 degrees F with your pizza stone/steel in the oven and allow to preheat for 45 minutes. When your oven is heated, take one of the dough balls and gently stretch it into a 12-14" circle. Make sure the remaining dough balls are covered so that they don't dry out. Lightly dust a pizza peel with semolina and transfer your pizza dough to the peel. Top with about 2/3 cups of pizza sauce (more or less depending on your tastes), sprinkle liberally with cheese, and top with pepperoni and any other desired toppings. Don't go too heavy with the toppings or you'll have a hard time getting it off the peel.
- Right before you're ready for your pizza to go into the oven, switch your oven to broil on high. Gently slide the pizza off the peel and directly onto your pizza stone or steel. Cook for 3-4 minutes until the top of the pizza is bubbly/browned. Using the peel, carefully transfer the pizza from the stone to a cutting board. Top with parmesan and fresh basil leaves torn into pieces. Allow to cool for 5 minutes before slicing. Repeat with remaining dough balls.





Rate & Review This Recipe
Can you please comment if the 3 grams of yeast you are using in your recipe is dry yeast or fresh yeast? I made your recipe last evening with fresh yeast and looking forward to the results later this evening
Hi jim! I always use active dry yeast. I’ve definitely seen people use fresh yeast too, there just may be a different conversion. I hope you enjoy your pizza!