Cheddar Chive Biscuits
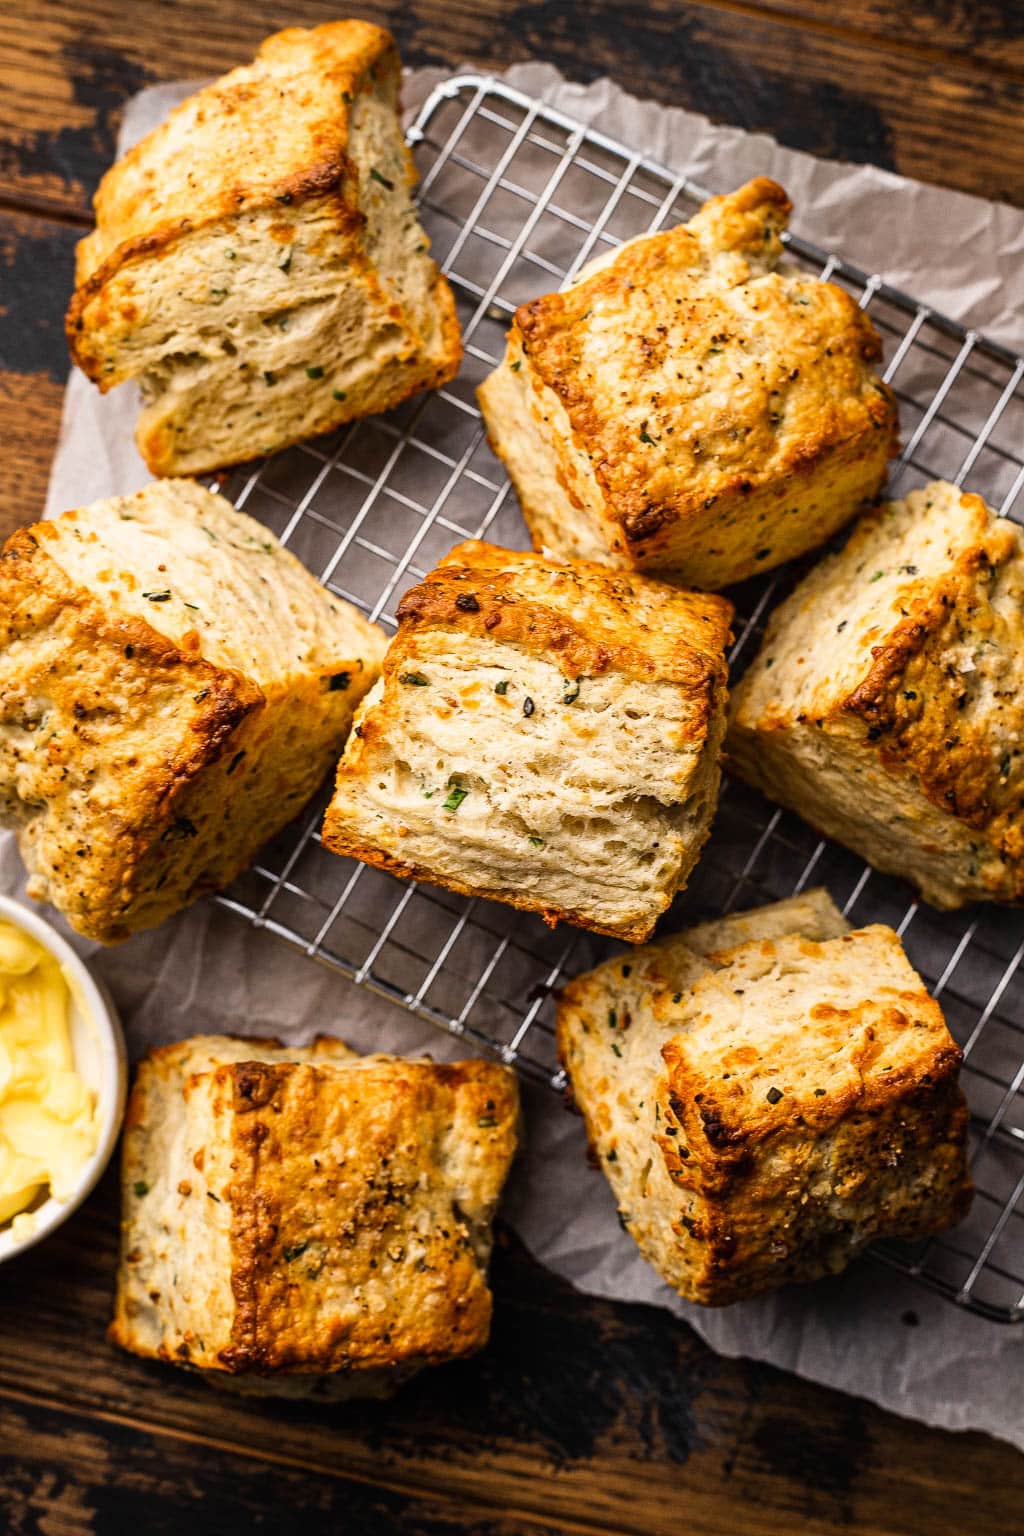
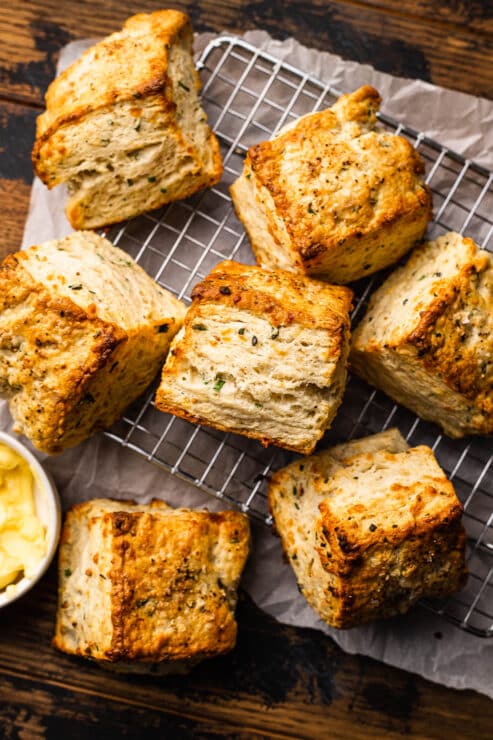
These Cheddar Chive Biscuits are incredibly tender with flaky layers filled with white cheddar and fresh chives. The perfect side dish for your holiday table!
Making great biscuits is an art and this post will teach you everything to know so that you can make perfectly light and fluffy biscuits every time. Cheddar chive biscuits are perfect for breakfast, enjoying alongside your favorite chili, or as a Thanksgiving side dish.
Table of Contents
The Flakiest Cheddar Chive Biscuits
Making great biscuits was one of the first things I learned working in restaurants. I would be tasked with making hundreds of biscuits at a time for brunch service!
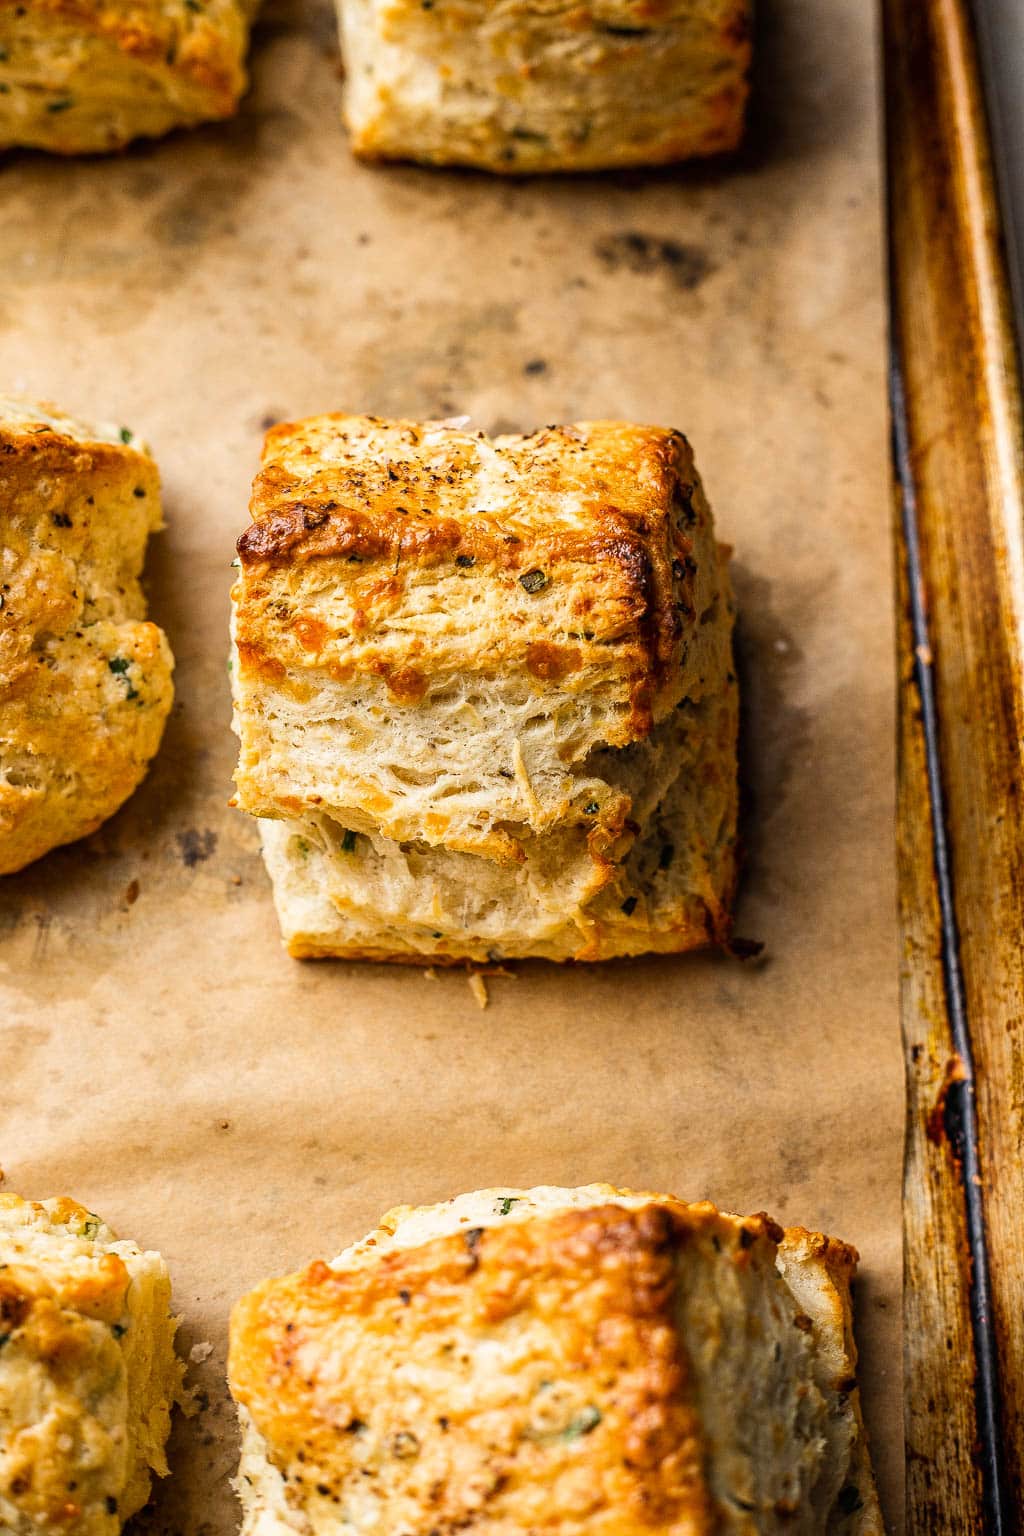
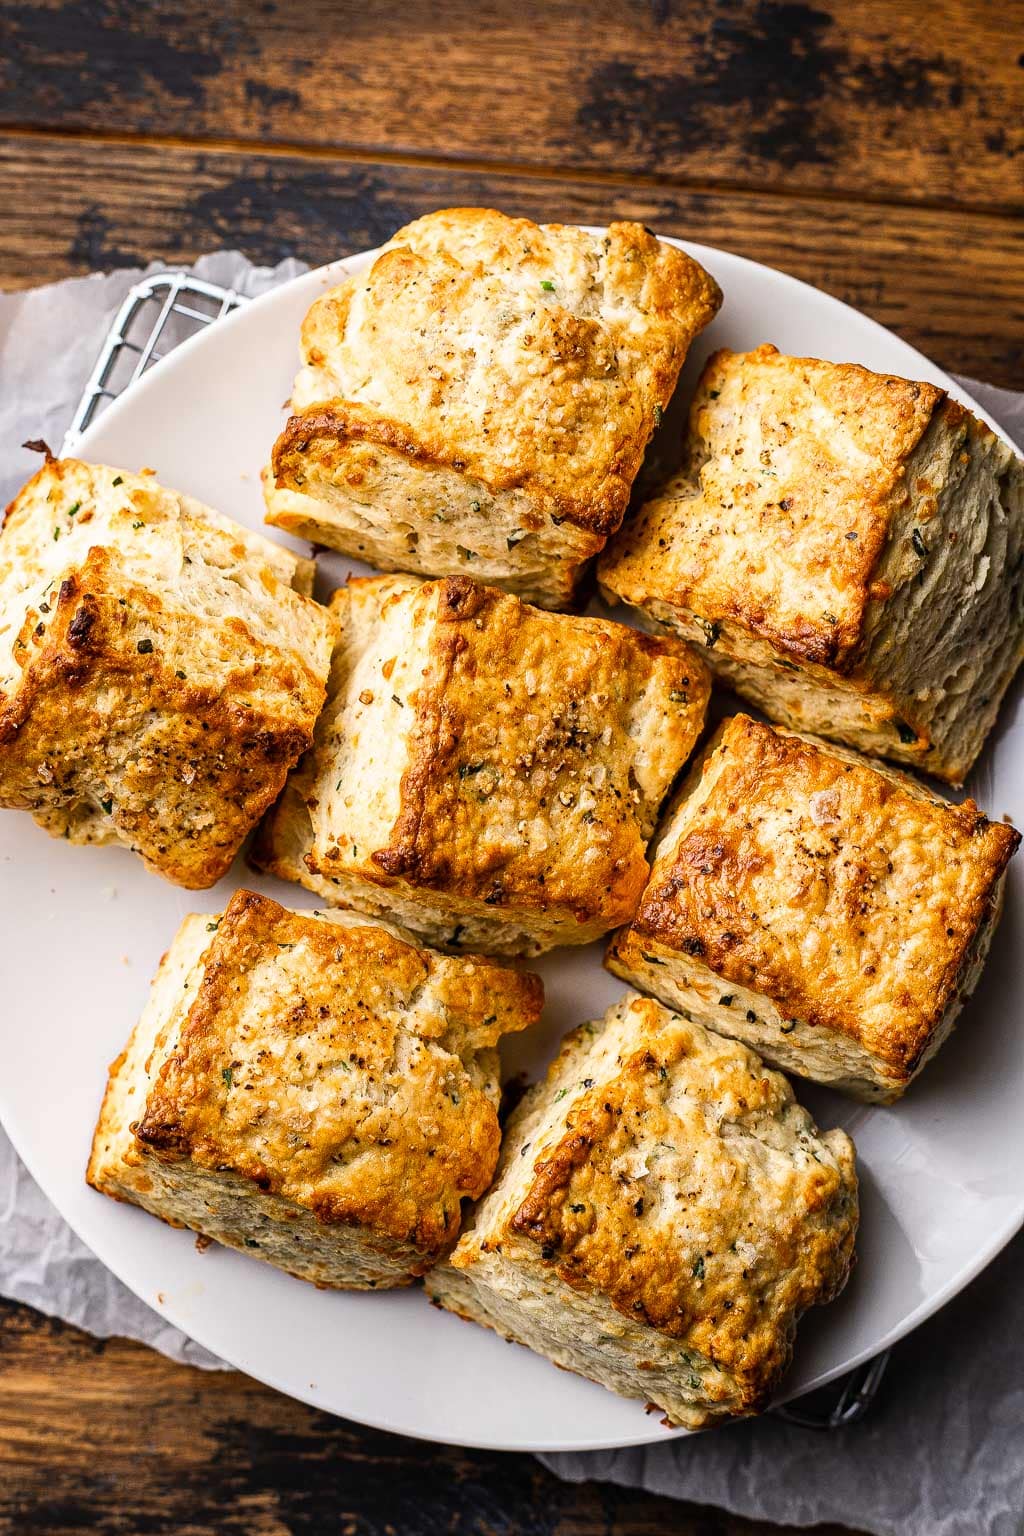
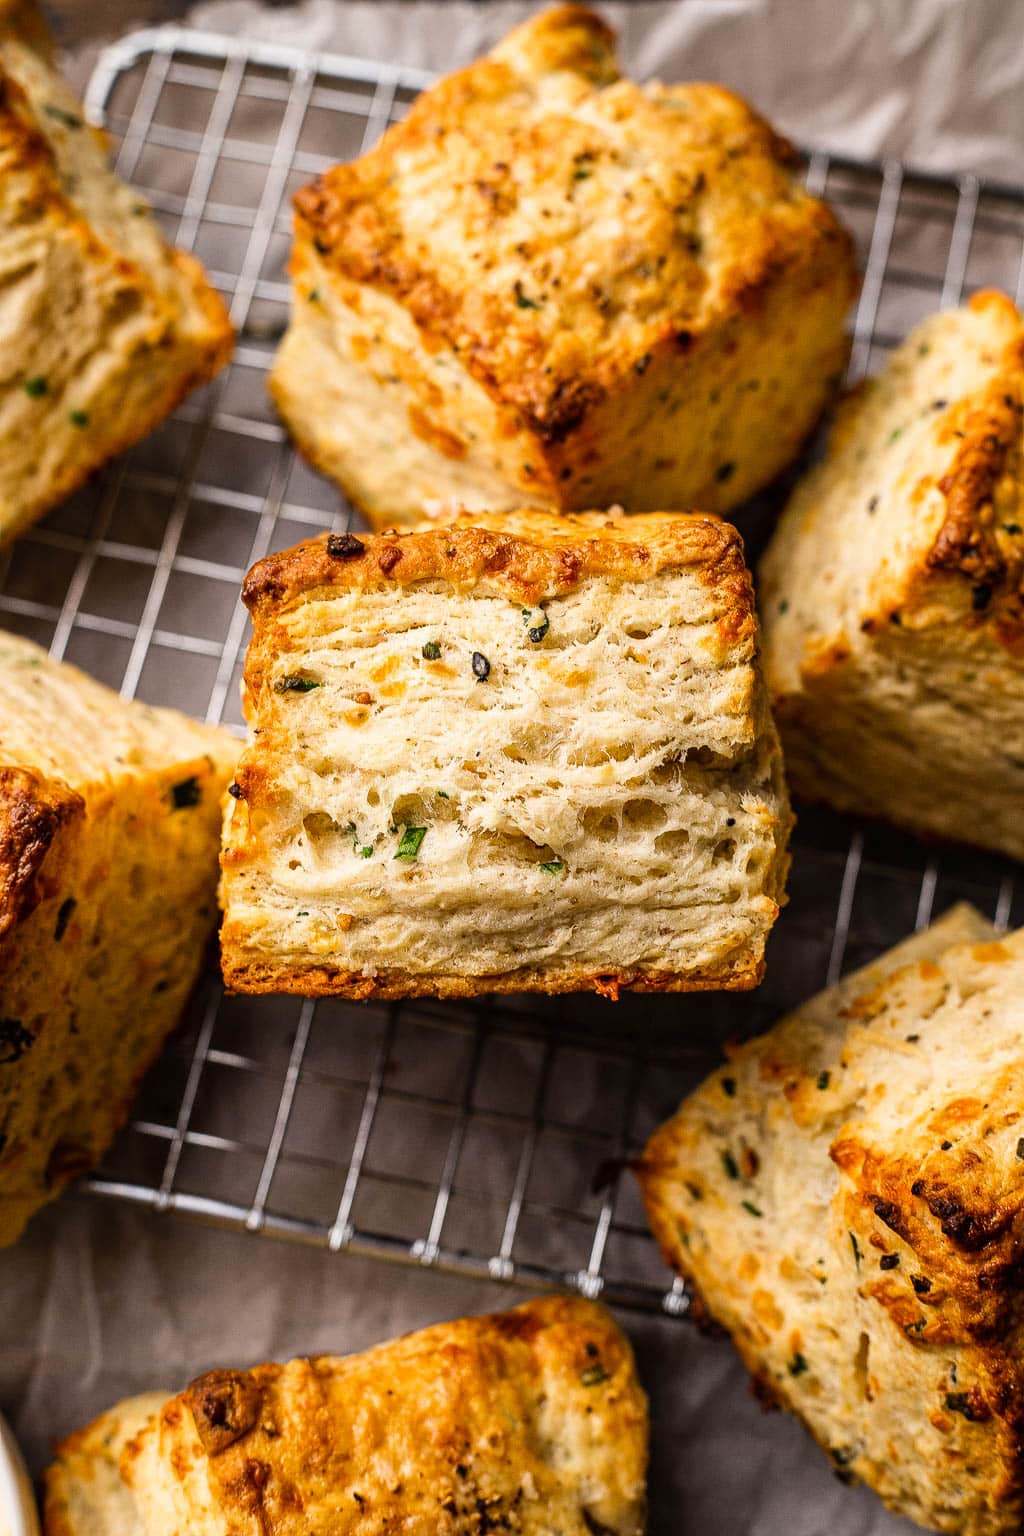
All of that time and knowledge has led me to sharing these incredible cheddar chive biscuits. They are fluffy, flaky, cheesy, and so perfectly tall!
These biscuits are incredible spread with butter, served up under gravy, made into breakfast sandwiches, or enjoyed alongside turkey, gravy, and mashed potatoes for Thanksgiving!
Making biscuits from scratch is easy and only requires a little technique that this post will cover in depth. You’ll be making fluffy biscuits like a true pastry chef in no time!
If you need more turkey day inspiration, check out my Thanksgiving recipe collection.
How to Make Cheddar Chive Biscuits
My preferred method for making cheddar chive biscuits is by using a stand mixer, but you can also make these by hand or in a food processor. Be sure to check out the make ahead instructions if you’re making these for Thanksgiving!
Tools Needed
Ingredients and Substitutions
- Flour. All purpose flour is the way to go here, I don’t recommend substituting another flour.
- Butter. All-butter is the trick to making these biscuits super flaky.
- Buttermilk. Buttermilk adds a nice tang. You can make buttermilk with milk and vinegar, but I do recommend getting the real stuff.
- Leaveners. I use both baking powder and baking soda to make the biscuits extra tall and fluffy.
- Cheddar. I opted to use white cheddar here, but you can use yellow cheddar if that’s what you prefer.
- Chives. Fresh chives are best, but dried can be used in a pinch.
- Dehydrated onion. I love the onion flavor that this adds! You can skip it or swap in 1 teaspoon of onion powder if desired.
The Process
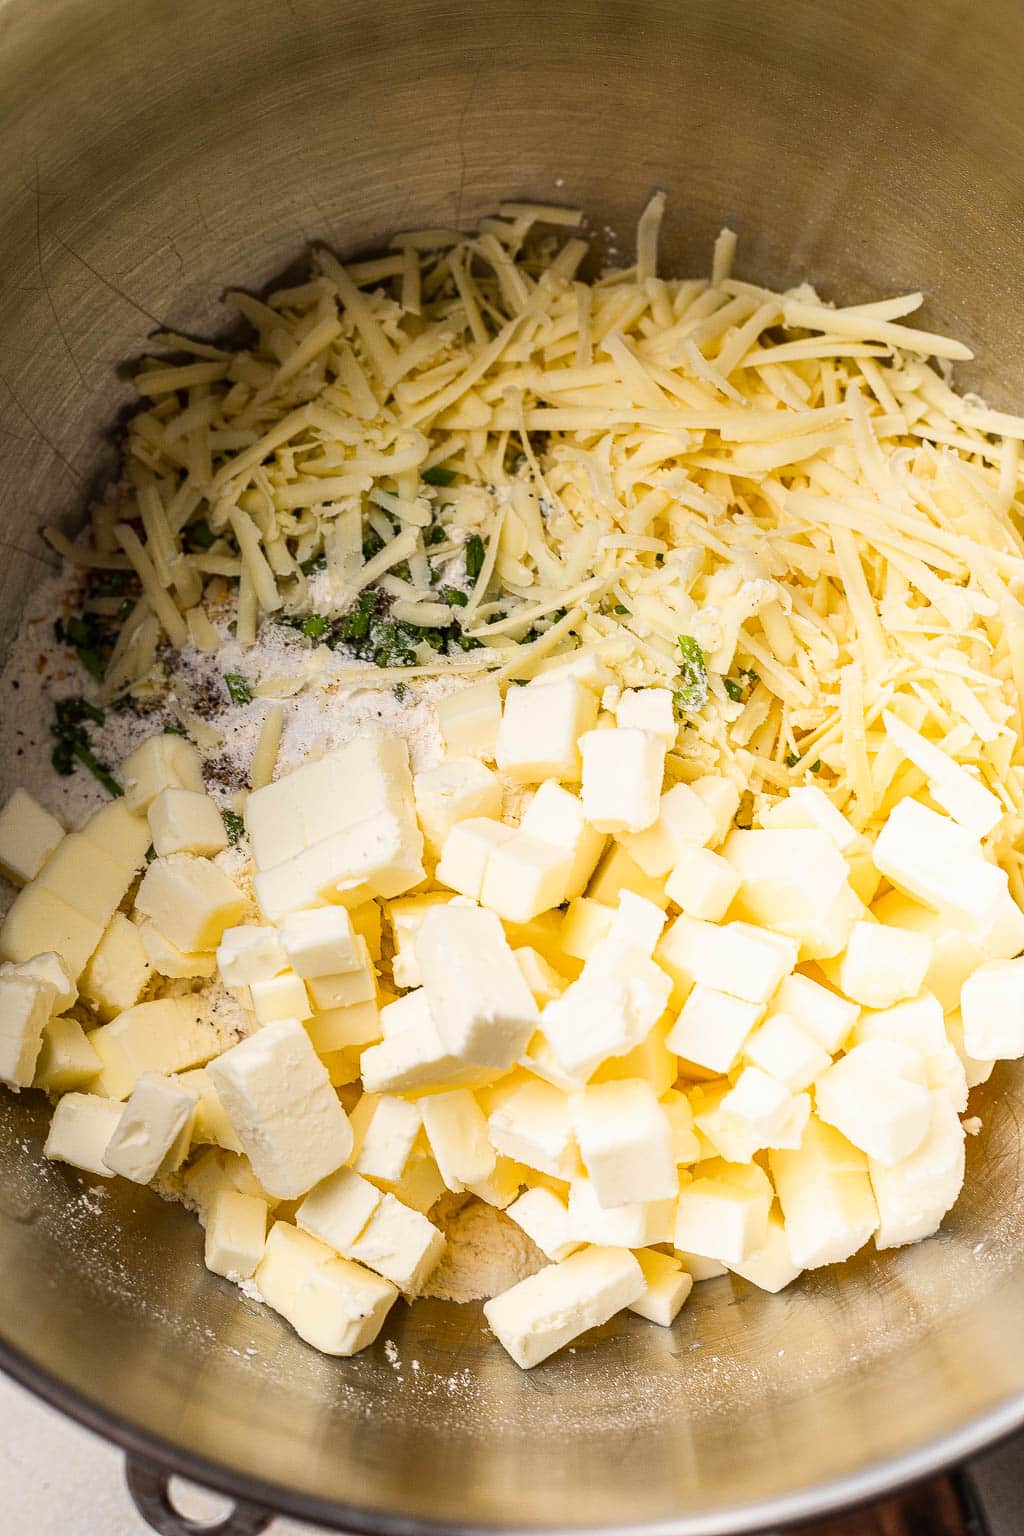
- Dice the butter. The trick here is to dice the butter small, into 1/4″ cubes. Place the diced butter in a bowl and transfer to the freezer while you’re getting the rest of the ingredients together.
- Mix the dry ingredients. In the bowl of a stand mixer, whisk together the flour, sugar, salt, baking powder, dehydrated onions, and baking soda. Mix in the chives and cheddar.
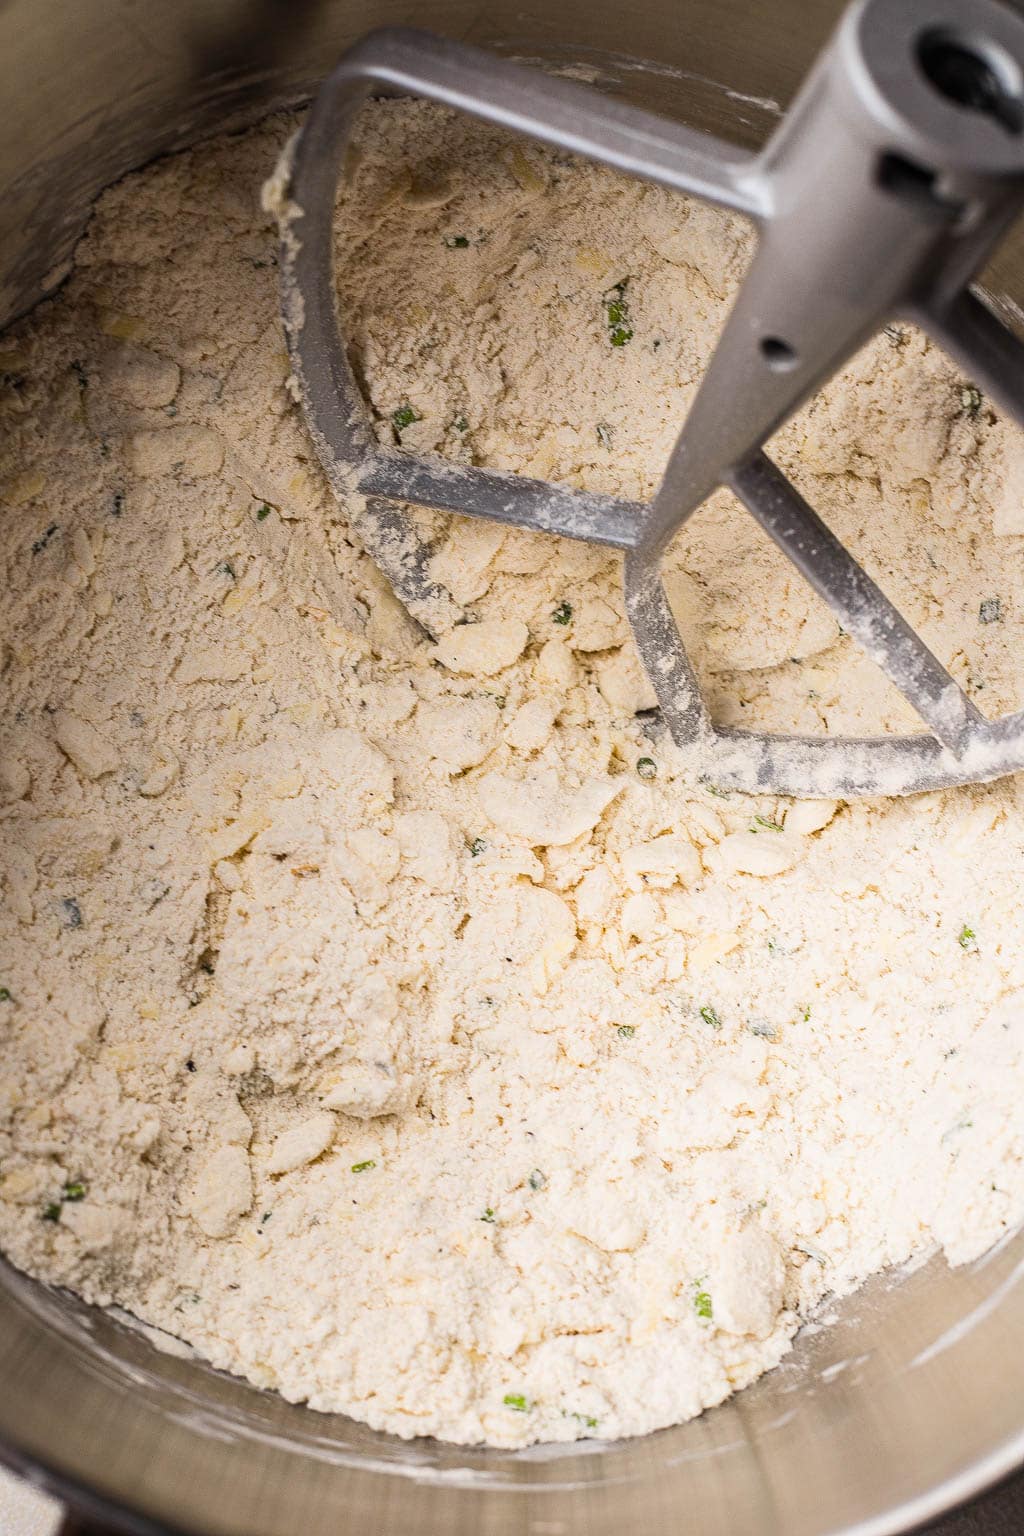
- Mix in the butter. Remove the butter from the freezer and add it to the bowl of dry ingredients and toss well. Mix with the paddle attachment on medium-low until the mixture resembles clumpy sand.
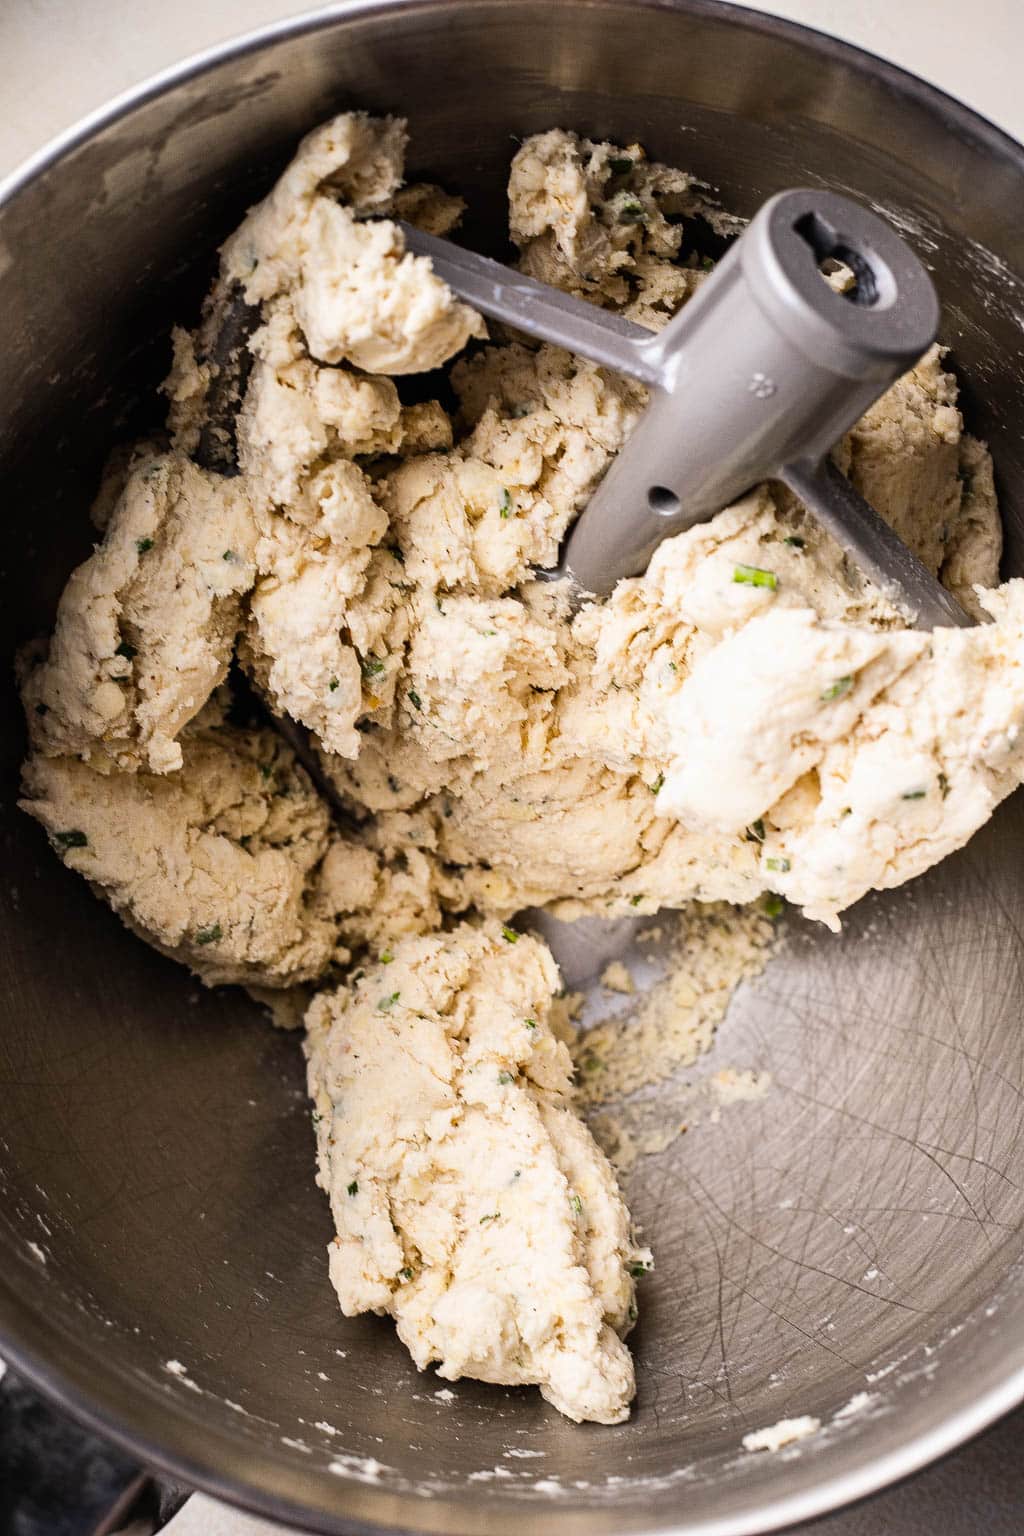
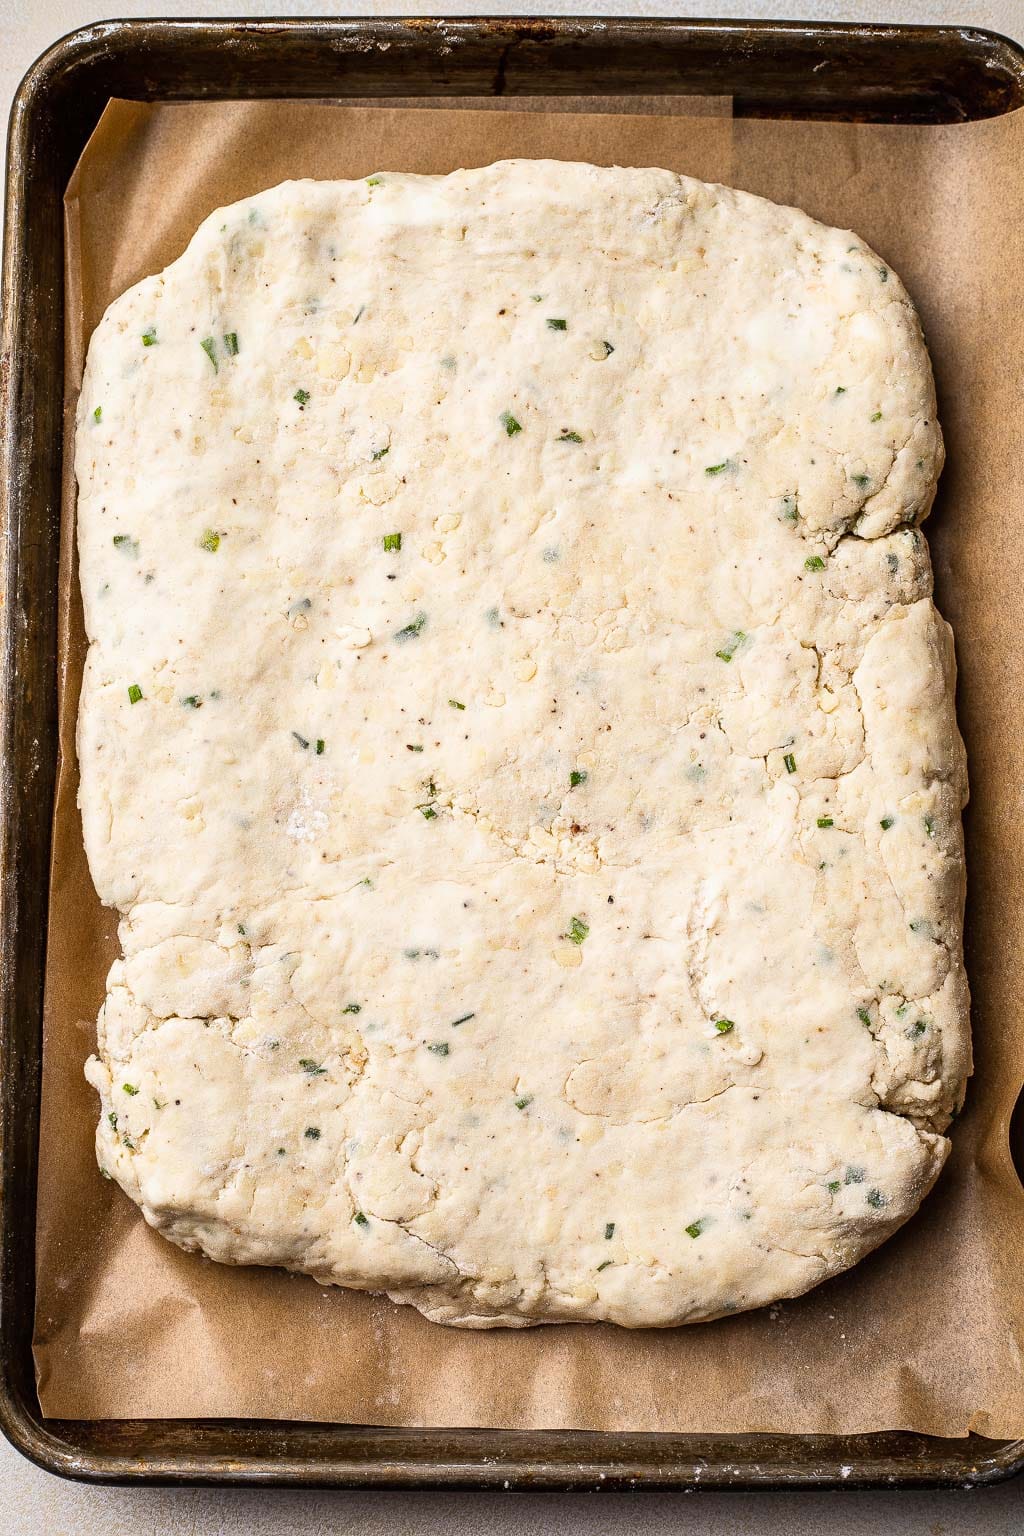
- Mix in the wet ingredients. With the mixer running, stream in the buttermilk and mix just until the dough clumps together. Transfer to a lightly floured work surface and press the dough into a 9×13 rectangle.
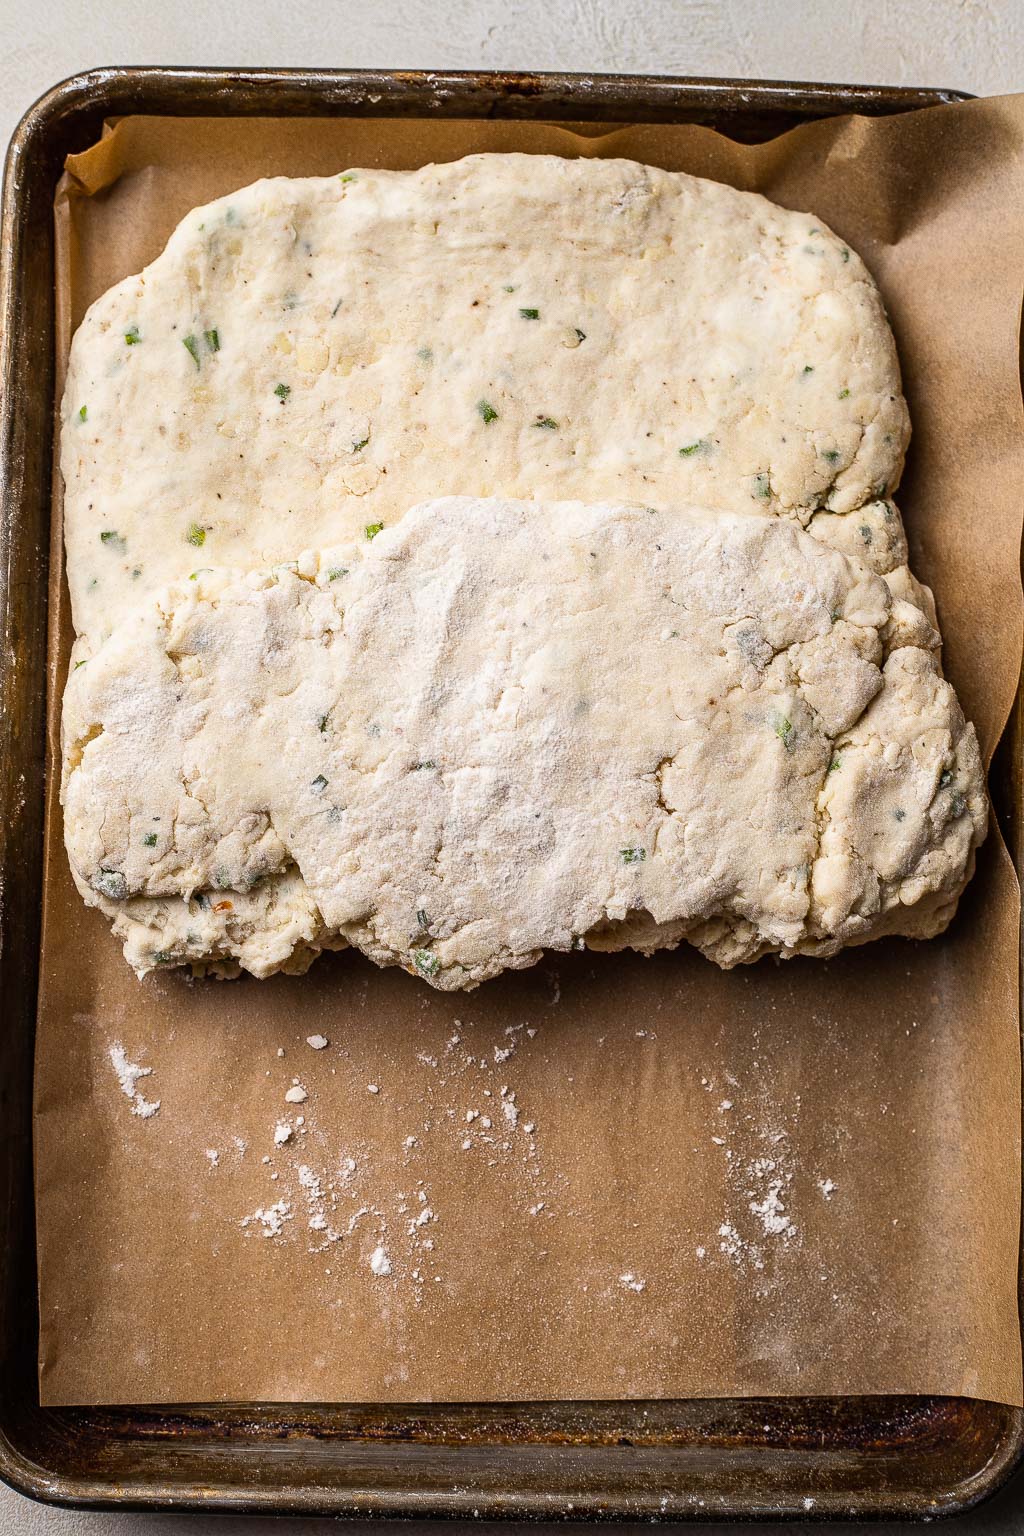
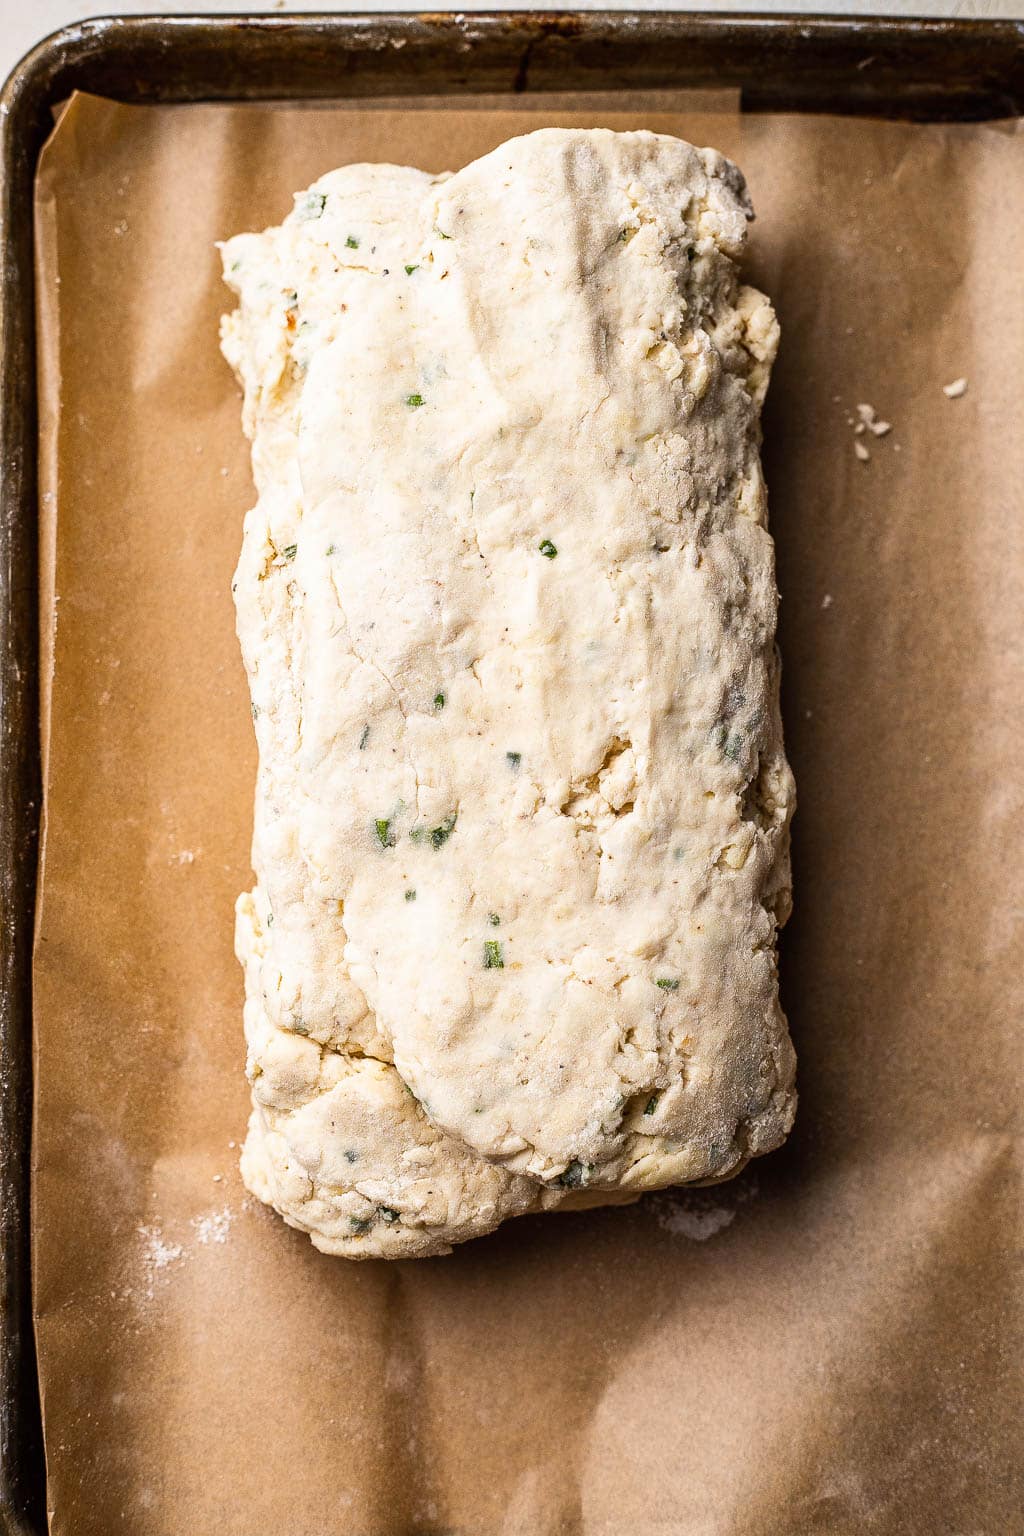
- Laminate the dough. Fold the rectangle into thirds and press into a 1-inch thick rectangle. Repeat folding and pressing 3 more times. Press the dough into a 9″ square that’s about 1 1/4″ thick.
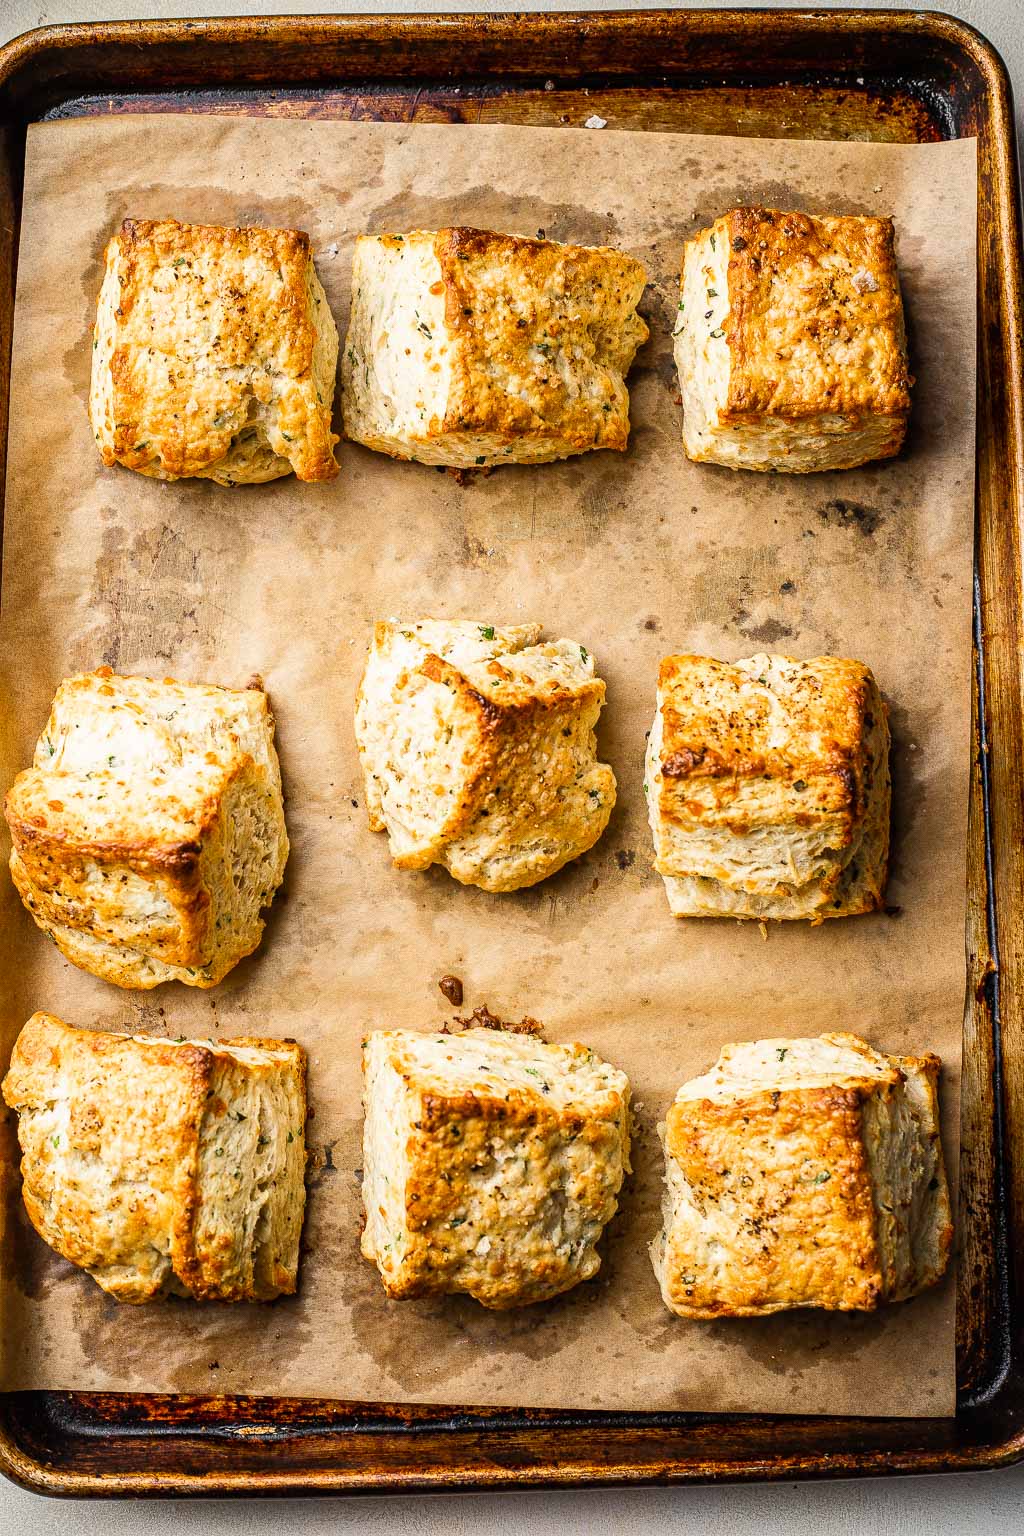
- Cut and bake. Using a sharp knife, cut into 9 equal squares and transfer the biscuits to a parchment-lined baking sheet and refrigerate for 30 minutes. Brush the tops with the remaining buttermilk and sprinkle with flaky salt. Bake for 18-20 minutes, until puffy and golden brown.
Recipe Tips & Tricks
Dice the butter small. This allows the butter to mix into the dough more easily. Aim for pieces that are about 1/4″ squares.
Keep your ingredients cold. The secret to great biscuits is keeping everything cold! Keep your butter in the freezer while you prep your other ingredients and chill your biscuits before baking. Cold biscuits means cold butter, cold butter releases steam when baked which gives the biscuits their lift.
Use real buttermilk. While you can sub in milk mixed with vinegar, it won’t be the same. The buttermilk has great texture and tang and the acid actives the baking soda and helps the cheddar chive biscuits rise.
Don’t overwork the dough. Only mix the dough just until the dough starts to clump together, then press the dough together by hand. Less is always more when mixing biscuits so you don’t end up with heavy and dense biscuits.
Cut into squares. Most people are used to seeing round biscuits, but I’ve always made my biscuits square. Then, you don’t need a special cutter and you have zero waste of dough from cutting out the rounds.
Make Ahead Instructions
Cheddar chive biscuits are easy to prep in advance in several ways! Here are all the ways to prep cheddar chive biscuits in advance:
Make the biscuits and freeze. Follow the recipe instructions up to cutting the biscuits into squares. Place the cut squares on a baking sheet and freeze for 2 hours. Transfer to a ziplock bag once frozen and store for up to 3 months. Defrost overnight in the freezer and bake straight from the fridge as directed.
Make an ingredient bag. This is a total restaurant trick! Mix all the ingredients except the buttermilk in a large ziplock bag and store in the fridge overnight. Then, just dump the bag into the mixer in the morning and follow the directions as written.
Making Cheddar Chive Biscuits without a Mixer
While I use my stand mixer to make cheddar chive biscuits, there are alternative methods to making them.
Food processor: To a food processor, add the flour, baking powder, baking soda, salt, sugar, and dehydrated onion if using. Pulse 2 to 3 times until combined. Add the cold butter, chives, and cheddar and pulse until pea-sized crumbles form. Add the buttermilk and pulse 6-8 times, or until a shaggy dough forms. Follow the rest of the recipe as directed.
Hand mixing: If you don’t have a food processor, use your hands to mix the dough! When adding the butter you’ll want to pinch the mixture until you get the same pea-size crumbles or use a pastry cutter to cut in the butter. After you mix the butter in, transfer the flour mixture to the freezer for 20 minutes before mixing in the buttermilk and following the recipe as directed. Since your hands will warm the butter, this helps chill the ingredients before baking.
Storage & Reheating Instructions
After baking, the biscuits can be store in an airtight container at room temperature for 2 days or for 1 week in the fridge. Toast or bake for a couple of minutes before serving.
You can also freeze the baked biscuits for up to 3 months. Defrost in the fridge overnight and toast or bake briefly in the oven to re-warm before serving.
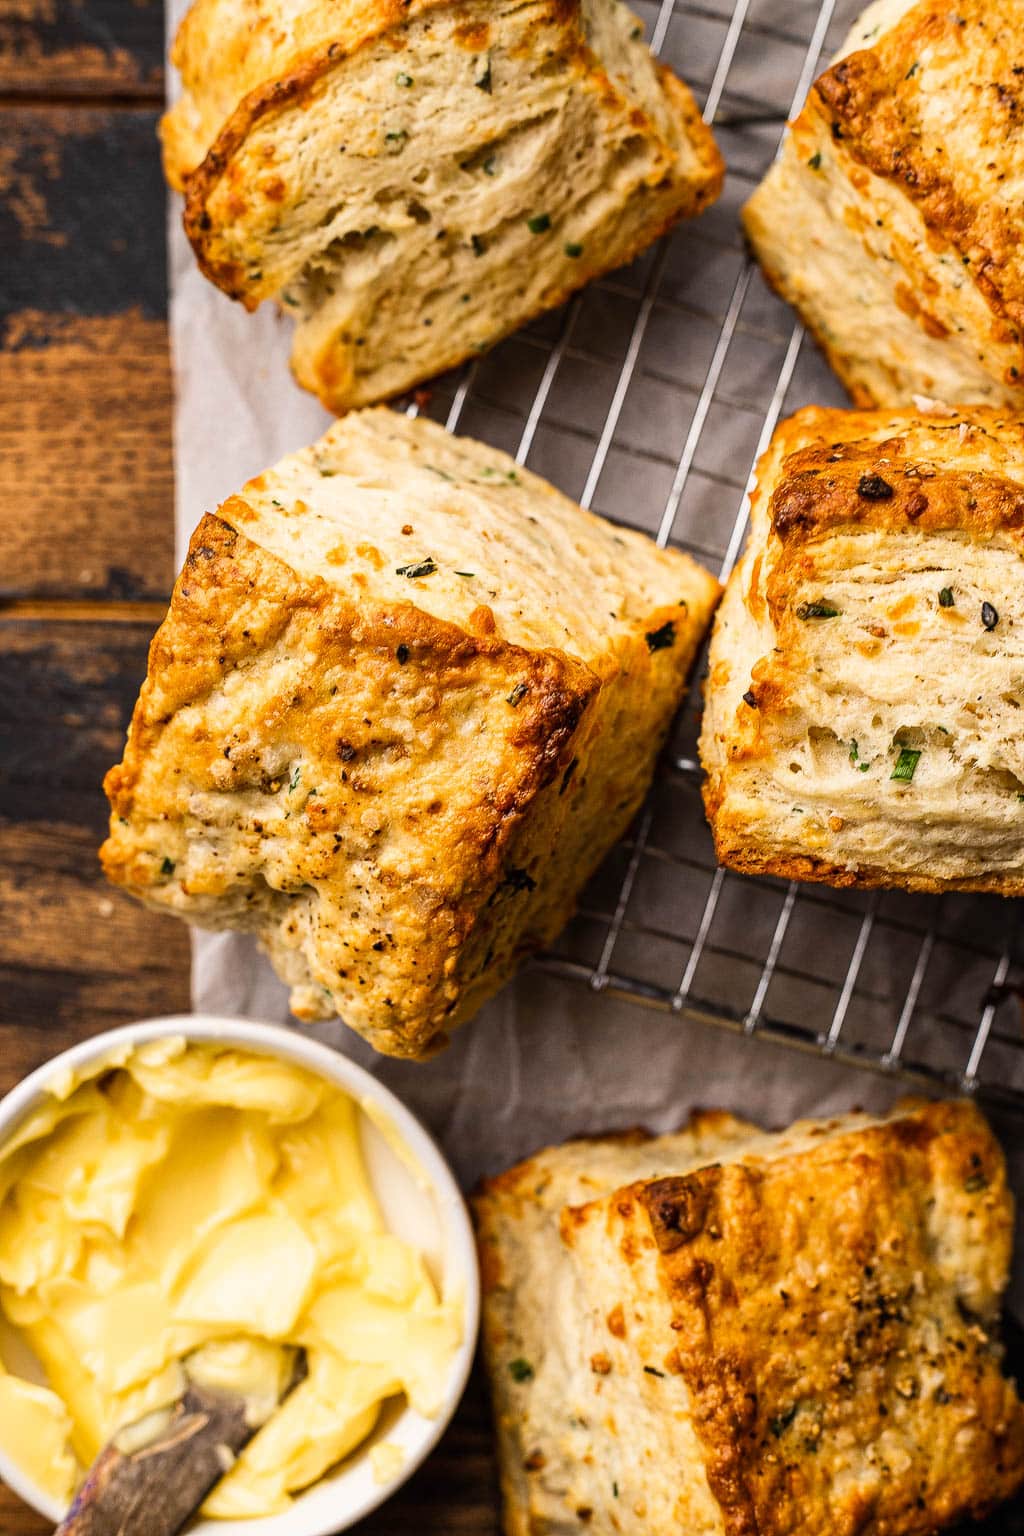
Cheddar Chive Biscuits are ultra tender and flaky so good spread with softened butter. They’re perfect for Thanksgiving or a lazy weekend brunch! If you do give this recipe a try, be sure to let me know! Leave a comment with a star rating below. Be sure to subscribe to my weekly newsletter and never miss a new recipe! You can also snap a photo & tag @JENNYGOYCOCHEA on Instagram. I LOVE hearing about & seeing your SMF creations!
More Side Dish Recipes to Try
White Cheddar Mac and Cheese
Brussels Sprouts Gratin
Homemade Cranberry Sauce
Brioche Dinner Rolls
Homemade Turkey Gravy
This post contains affiliate links from which I receive a small commission at no additional cost to you. As an Amazon Associate, I earn from qualifying purchases. Affiliate links allow me to keep providing great recipes for free and I never recommend products that I don’t love and personally own.
Cheddar Chive Biscuits
Ingredients
Biscuits
- 3 cups (410 g) all-purpose flour
- 2 tablespoons (30 g) granulated sugar
- 1 1/2 tablespoons (20 g) baking powder
- 1/2 teaspoon baking soda
- 2 teaspoons (10 g) kosher salt
- 1 tablespoon dehydrated onion
- 2 sticks (8 oz, 227 g) unsalted butter, cold
- 4 oz (113 g) white or sharp cheddar, shredded (about 1 1/2 cups)
- 1/4 cup minced fresh chives
- 1 cup (260 g) buttermilk, cold plus 2 tablespoons for brushing the biscuits
- flaky sea salt
Instructions
- Dice the butter. The trick here is to dice the butter small, into 1/4" cubes. Place the diced butter in a bowl and transfer to the freezer while you're getting the rest of the ingredients together.
- Mix the dry ingredients. In the bowl of a stand mixer, whisk together the flour, sugar, salt, baking powder, dehydrated onions, and baking soda. Mix in the chives and cheddar.
- Mix in the butter. Remove the butter from the freezer and add it to the bowl of dry ingredients and toss well. Mix with the paddle attachment on medium-low until the mixture resembles clumpy sand with pea-sized pieces of butter.
- Mix in the wet ingredients. With the mixer running, stream in the buttermilk and mix just until the dough clumps together. Transfer to a lightly floured work surface and press the dough into a 8×11 rectangle.
- Laminate the dough. Fold the rectangle into thirds and press into a 1-inch thick rectangle. Repeat folding and pressing 3 more times. Press the dough into a 9" square that's about 1" thick.
- Preheat an oven to 450 F.
- Cut and bake. Using a sharp knife, cut into 9 equal squares and transfer the biscuits to a parchment-lined baking sheet and refrigerate for 30 minutes. Brush the tops with the remaining buttermilk and sprinkle with flaky salt. Bake for 18-20 minutes, until puffy and golden brown.



Rate & Review This Recipe