

All Butter Pie Crust

This simple recipe makes the best and flakiest All Butter Pie Crust! Use it for pies, quiche, galettes, pot pies, hand pies, and more.
This is truly the only pie crust recipe you need and it’s made with simple pantry staples that you most likely already have on hand!
Table of Contents
The Best All-Butter Pie Crust
When I set out to write this recipe, It’s because I was a total pie crust novice. I had baked pies before, but typically shied away from them because they were never quite right.
I’ve now tested this recipe dozens of times and feel like an absolute pro! I wrote this recipe so that anyone can make a beautiful and flaky pie crust. The instructions are simple, and there are several different methods for mixing the dough, plus lots and lots of pictures of the process.
You can use this recipe for all butter pie crust to make your favorite pies, quiche, tarts, pot pies, hand pies, and more! It’s the perfect recipe for so many applications.
Follow all my best tips and tricks and you’ll be baking pies like a pro in no time!


Best Pie Pans to Use
This may be a hotly contested topic, but my goal when I created this recipe was to truly test out all the variables. I tested ceramic, metal, and glass pie pans.
Metal. This metal pie pan from USA bakeware was hands-down the winner. It was very forgiving, heated evenly, and yielded a perfectly golden brown pie crust that was totally stable and did not shrink or burn on the bottom.
Glass. This glass pie pan from OXO yielded the second best results! My issue with glass is that the pan gets VERY hot very quickly which can be great for pie, but it can also cause the butter to leak out of the crust if it’s not adequately chilled. I would say that glass pans are for more seasoned bakers. Make sure your pie pan is made with borosilicate glass which is safe to take from a cold environment directly into a hot one without fear of breaking.
Ceramic. By far and away this yielded the poorest results, I’m sorry to say. I tested both Le Creuset and a Emile Henry pie pans and both heated unevenly and left gummy crusts because they couldn’t get hot enough quickly enough to make the crust flaky. While a ceramic pie pan may look beautiful for presentation, the results just aren’t worth it.
How to Make All Butter Pie Crust
This recipe is really simple, but there are a lot of methods to get from point A to point B. Read through all my tips and tricks to find out which methods/equipment is best for you.
Tools Needed
Recipe Ingredients
full list of ingredients, quantities & method in the recipe card at the end of the page.

- all-purpose flour
- European-style butter (higher butterfat content, this makes a huge difference)
- fine sea salt
- granulated sugar
- vodka
- ice water
Step-by-Step Photos & Instructions
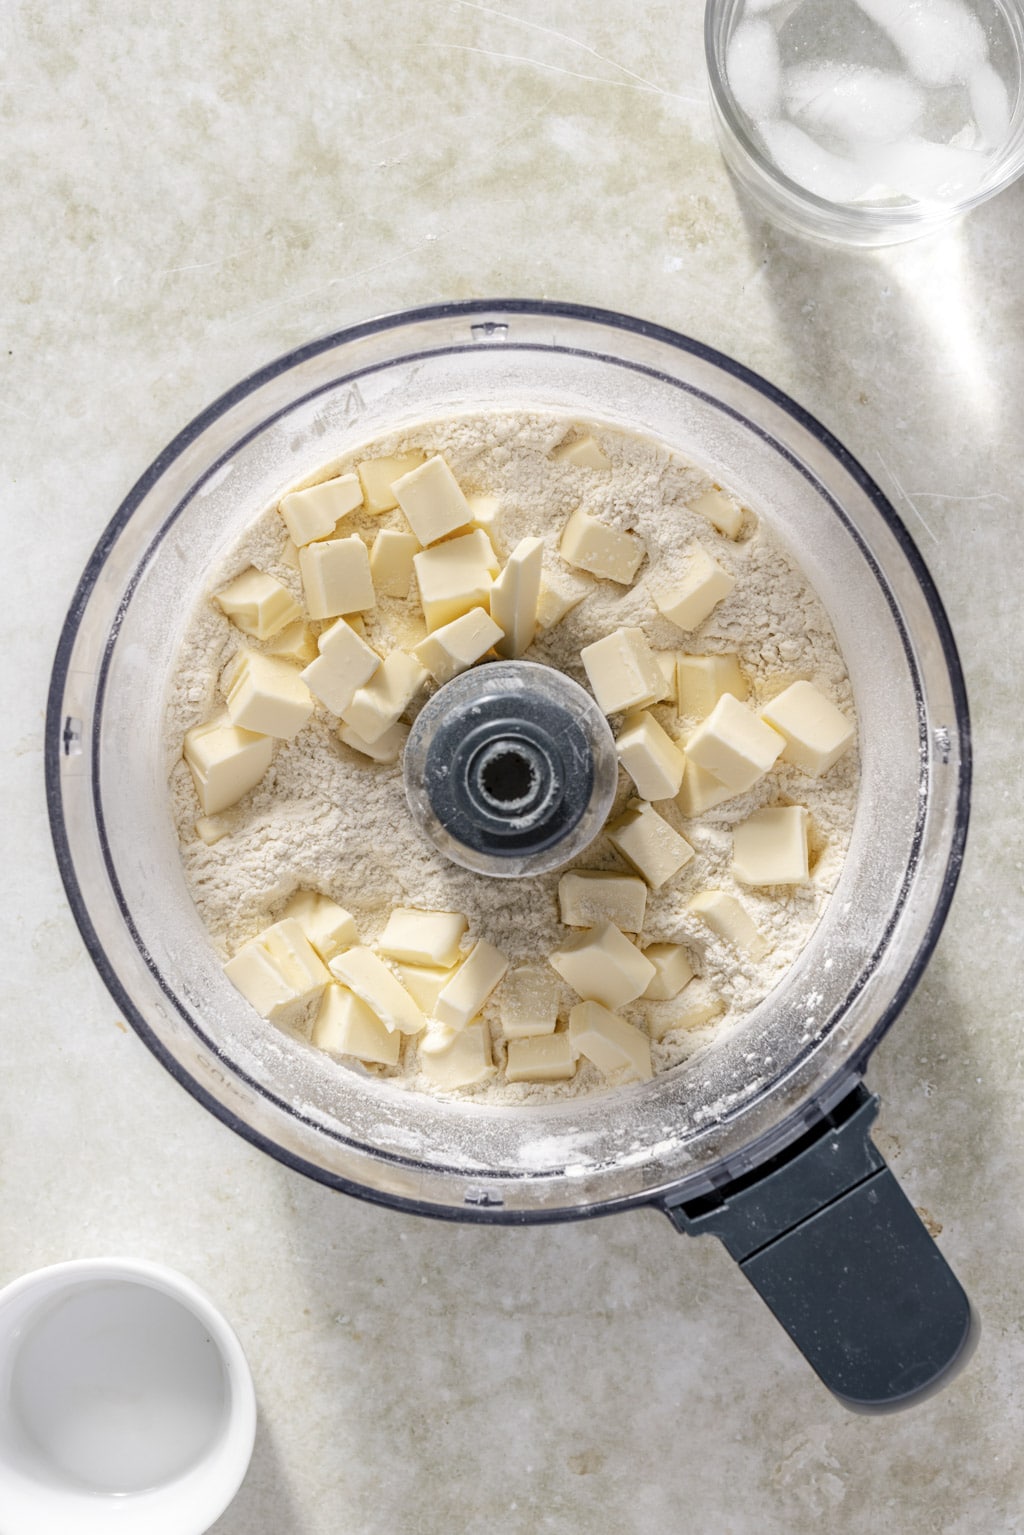
- Use a sharp knife to cut the butter into 1/2-inch cubes. After dicing the butter, place it on a plate or in a small bowl and transfer it to the freezer for 15-30 minutes.
Mixing methods:
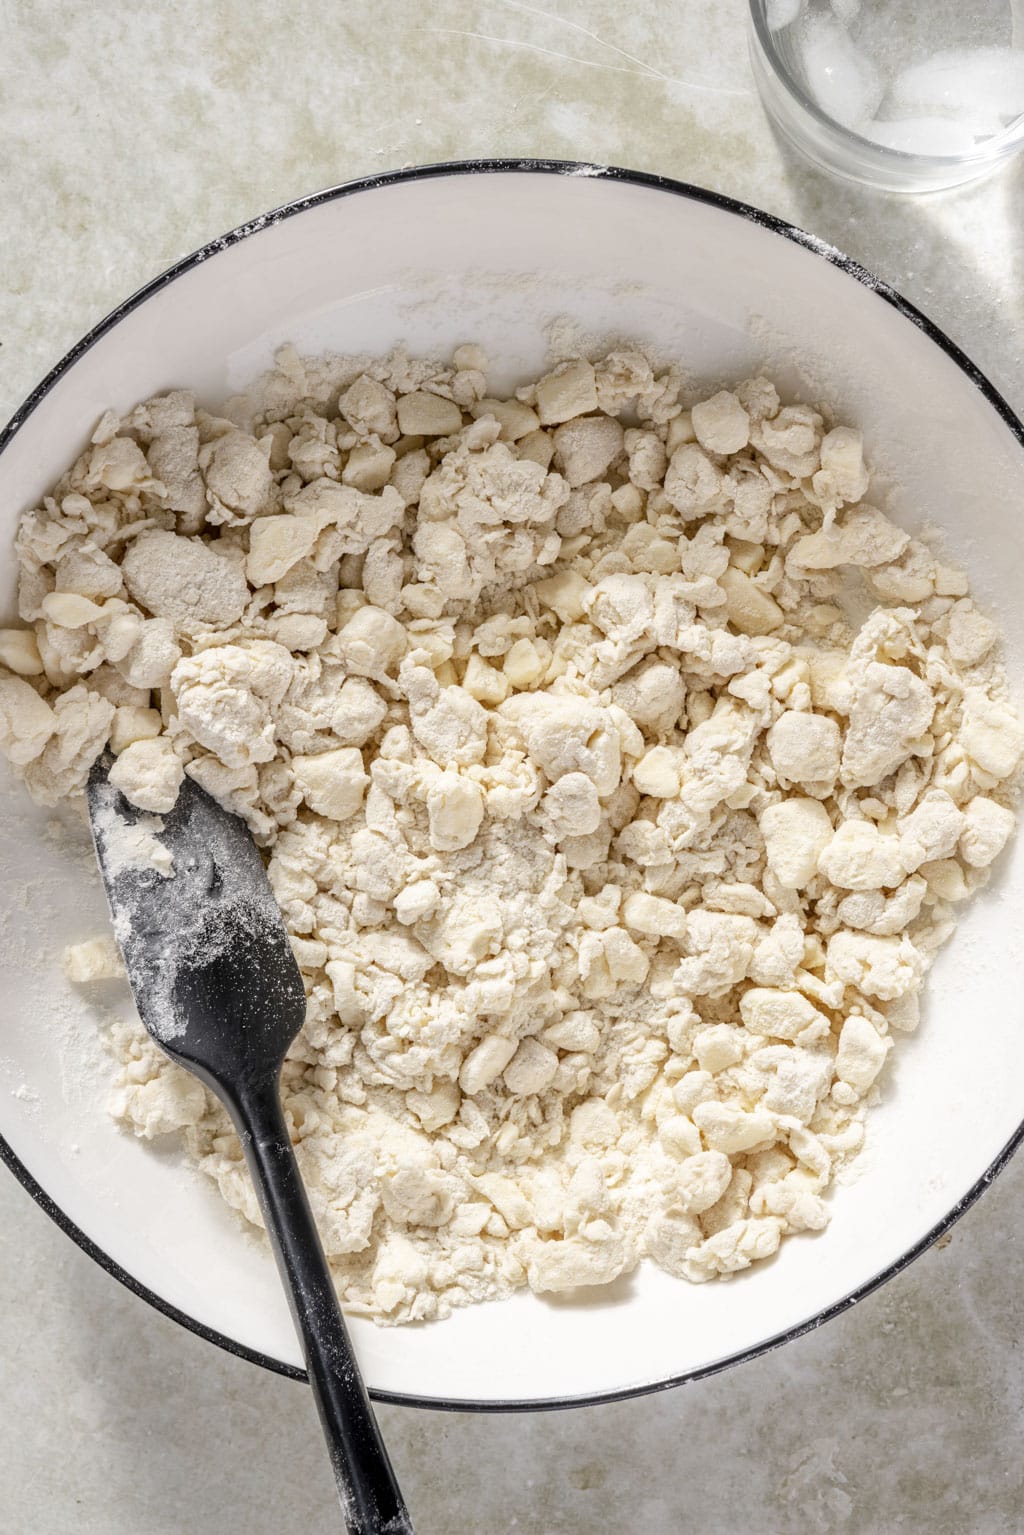
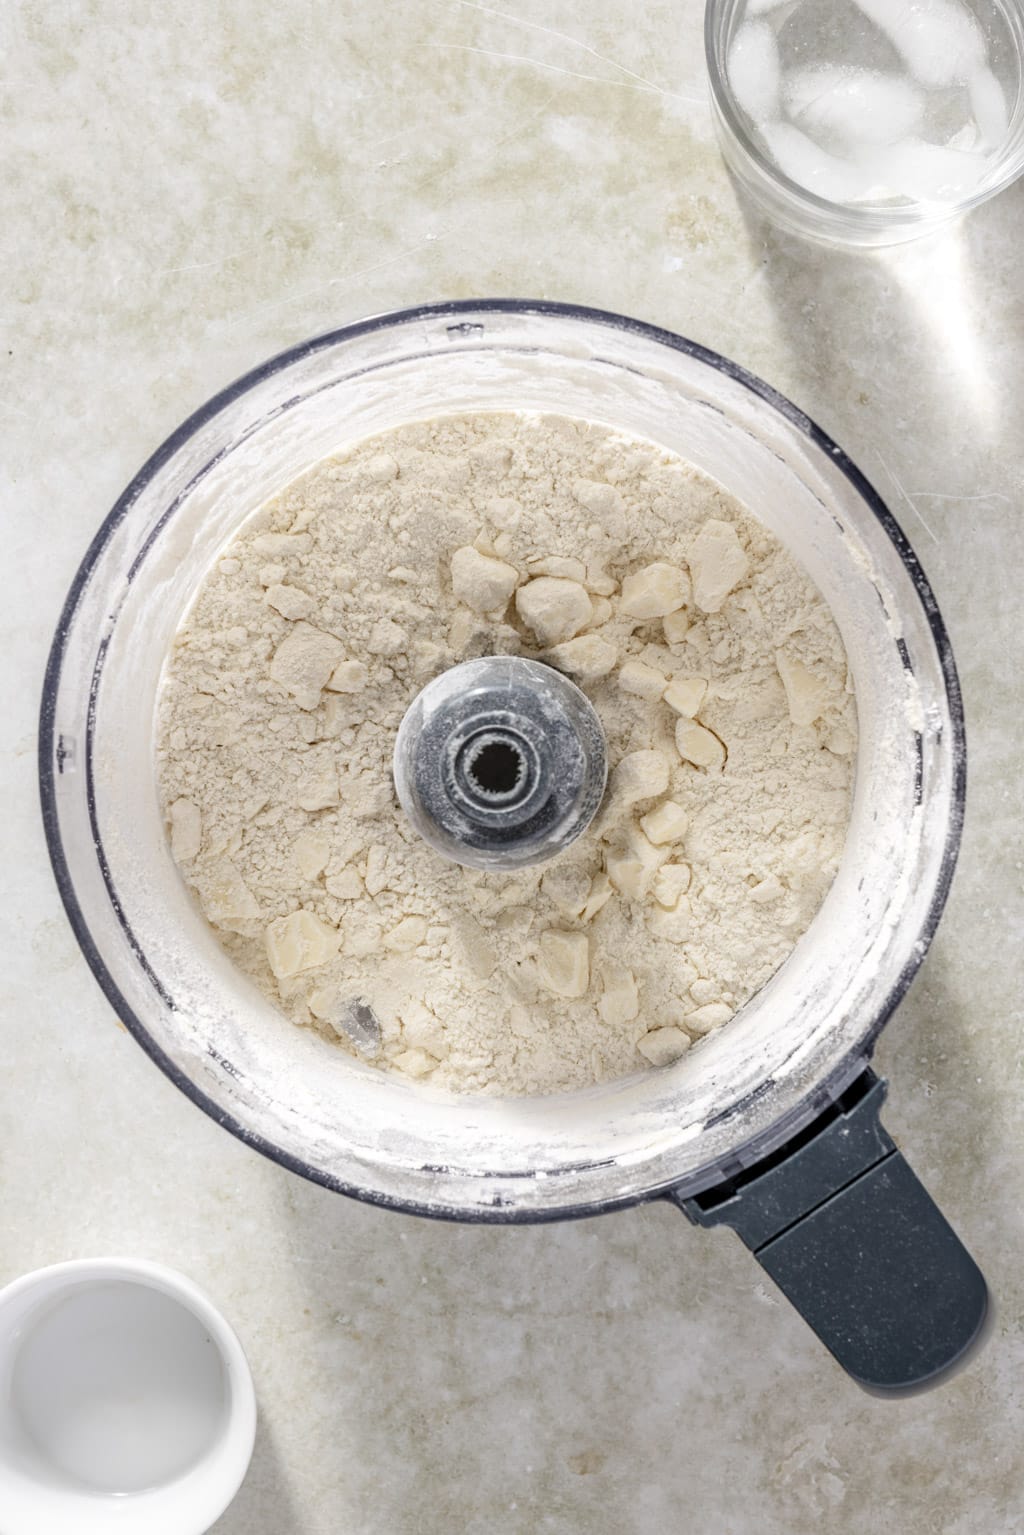
- Food processor: Add the flour, salt, and sugar to the bowl of a food processor and pulse 3-4 times just to combine. Add the very cold butter and pulse about 10 times, until the butter is mixed in but there are still pea sized pieces visible. Transfer the mixture to a chilled mixing bowl.
- By hand: Combine the flour, sugar, and salt in a mixing bowl and whisk briefly to combine. Use your fingers to smush every butter piece into the flour into a flat disc. After all the butter has been smashed, use your fingers to work the butter into the flour until the butter is incorporated, but there are still pea-sized pieces of butter. Transfer the whole bowl to the freezer for 10 minutes before continuing on.
- Pastry blender: Combine the flour, sugar, and salt in a mixing bowl and whisk briefly to combine. Use a pastry blender to cut the butter into the flour until pea sized pieces remain. Transfer the bowl to the freezer for 10 minutes before continuing.
- Drizzle the vodka over the top and use a rubber spatula to fold it in. Add 2-3 tablespoons of ice water, mixing between each addition. If the dough is still too dry, add 1/2 tablespoon increments of ice water until the dough holds together when you squeeze it in your fist. It’ll still be fairly crumbly, so use your hands to work it together against the side of the bowl.
- When it starts to come together, dump it out onto a clean work surface and press it into a disc. If the crust is too wet, it’ll stick to your work surface. If it’s too dry, it will be sandy and not hold together. Wrap the disc in plastic wrap and transfer to the fridge for 2 hours, up to 72 hours.
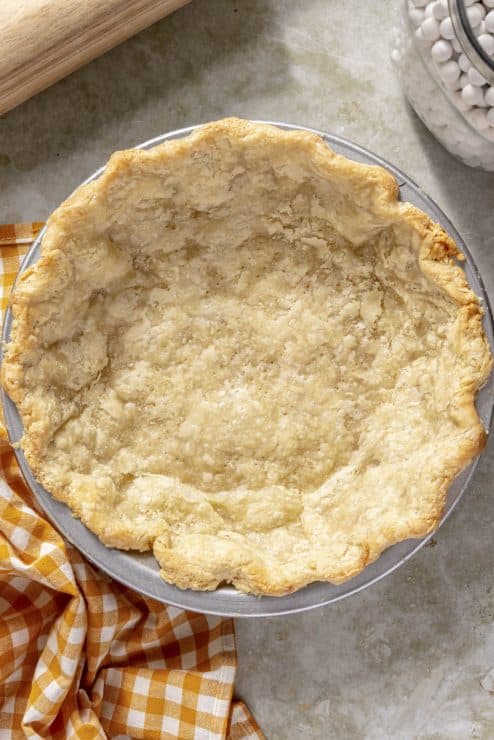
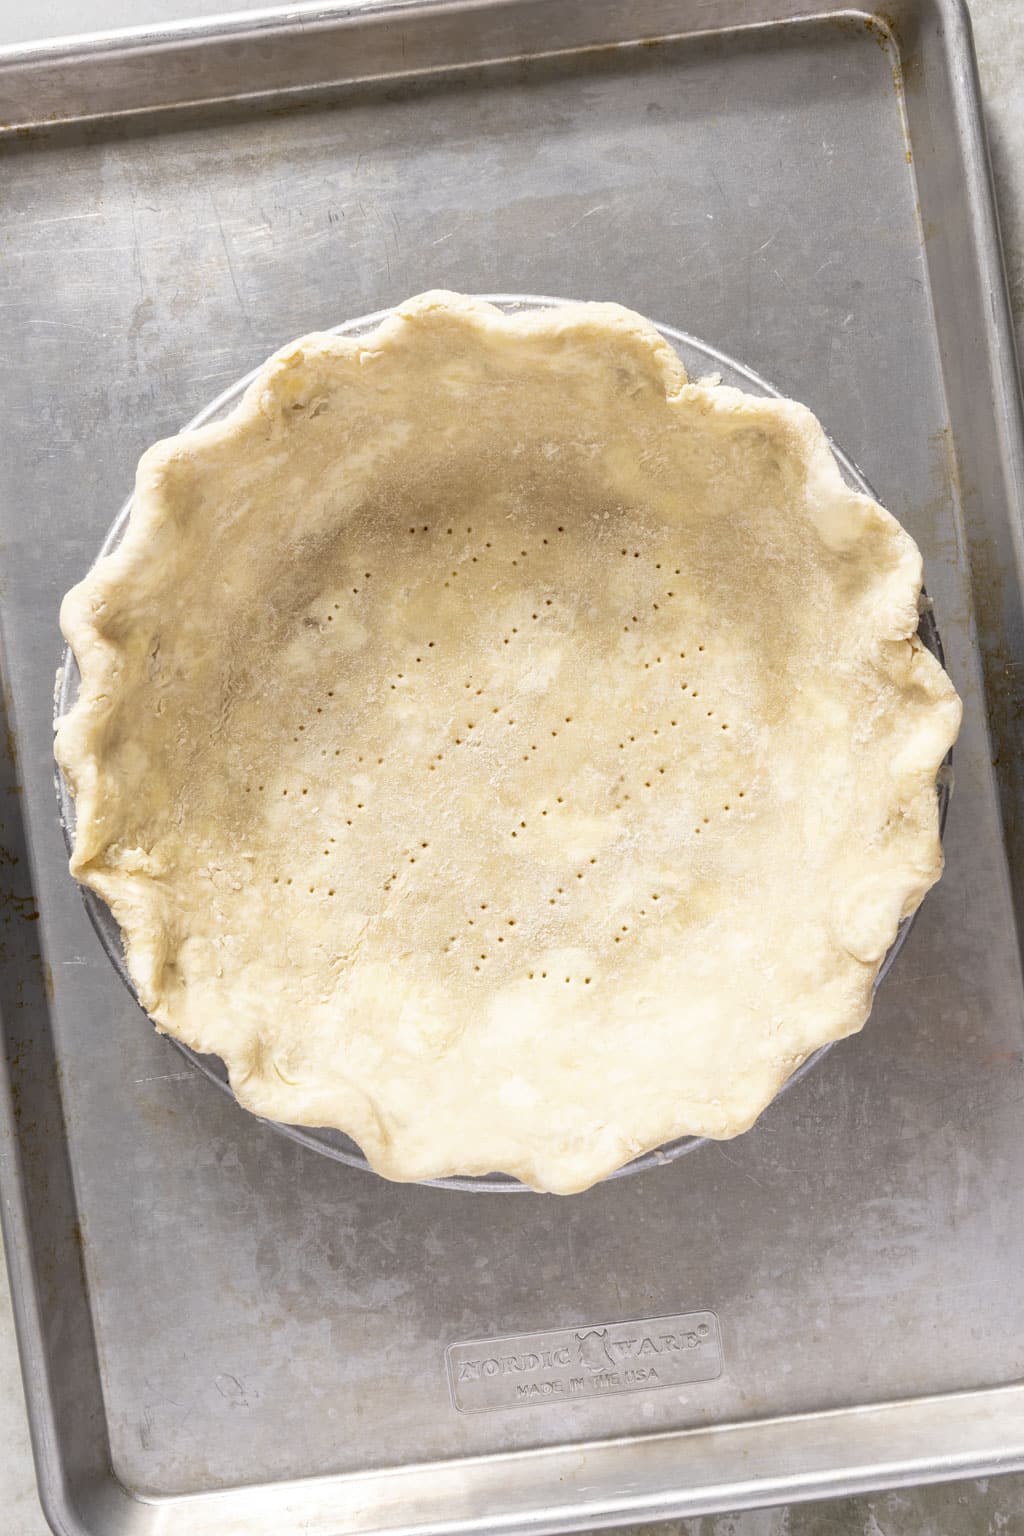
- Roll the pie dough out to between 1/4-1/8th inch into a large round (about 12-13″) on a lightly floured surface. Add a dusting of flour as needed as you roll the dough out, but you shouldn’t’ need much. Lay the pie crust into a pie pan, pressing it into the edges, trim the excess, and crimp the edges if desired. Chill the prepared pie crust for 1 hour before baking.


Pie Crust Tips & Tricks
Dice your butter small. This will save you lots of headaches and mixing later! If you start with smaller pieces (1/2 inch cubes), it’s much easier to work into the flour.
Keep everything ultra cold. Right after I dice the butter, I put it into the freezer while I gather my other ingredients. Keeping the butter as cold as possible allows you to mix it into the flour without it becoming gummy. Sometimes I even chill the flour and bowl before mixing.
Weigh your ingredients. There are very few recipes that I absolutely demand that you use a scale, but this is one of them. The precise ratio of fat (butter) to flour is what makes the pie crust perfect. Depending on how you scoop your flour, you could pack up to an additional 20-25 grams of flour which is enough to throw everything off. A kitchen scale is cheap and will make your baking so much more consistent.
Don’t skip the vodka. Vodka’s alcohol doesn’t develop gluten like water does. This makes the dough more pliable and easier to work with and it evaporates quickly, keeping the pie crust flaky. It also makes the dough easier to roll out.
Chill your pie dough for a least 2 hours. This is non-negotiable. Beyond ensuring that the dough is cold, it also allows the water to continue to hydrate the dough so that it’s the perfect texture.
Chill your dough after rolling. After you get your pie crust rolled out and in the pan, plan to chill it for another hour. This is essential. If the dough is cold when it goes into the oven, the butter creates steam as the water evaporates which gives you flaky layers.
Methods for Mixing All Butter Pie Crust


There are several tried and true methods for mixing pie dough: food processor, pastry cutter/blender, and by hand. I tested all the different methods and these are my thoughts:
Food Processor: This method works great, but it’s clunky and dirties additional equipment. I would only use a food processor if I was making a double crust or multiple pie crusts.
Pastry cutter/blender: This method is tried and true and yielded a well-mixed crust. That being said, it’s about the same amount of work as using your hands.
Hand-mixing: In this method, you essentially smush the butter into flat discs with your fingers and then incorporate that into the flour. This is a quick and easy method that requires no extra equipment, but you do need to chill the butter and flour for a few minutes after mushing the butter as the heat of your hands brings the butter to room temperature.
Tips for Blind Baking Your Pie Crust

While it’s not strictly necessary, I am definitely team blind bake! Sometimes your filling doesn’t need to bake as long as the crust does to get it browned and flaky.
Blind baking the crust for 20 minutes prior to adding your filling means that you’ll never have a soggy bottomed pie. Regardless of what kind of pie you’re baking, at least partially baking the crust before filling it yields the best results.
Parchment vs Foil. I personally prefer parchment paper sheets for blind baking my crusts! It’s less expensive than foil and never sticks to the pie crust. Make sure to crinkle your parchment paper up–it’s easier to press into the pie crust.
Best pie weights. While you can absolutely buy pie weights, I find that using small-format dried beans works just as well. You’ll need about 2 lbs of either pie weights or dried beans (I typically use a mix of navy and red beans). You can re-use the dried beans over and over again and store them in an airtight bag or container in your pantry.
Some bakers use sugar as a pie weight, but it’s my least favorite as butter often comes through the parchment and makes the sugar clumpy.
Regardless of what pie weights you use, absolutely make sure the pie weights come to the top of the pan. Any lower and the pie crust will slump and the pie weights won’t be effective.
This is the flakiest All Butter Pie Crust ever and truly the only recipe you’ll need. You can use it for pies, tarts, quiche, galettes, and more! If you do give this recipe a try, be sure to let me know! Leave a comment with a star rating below. Be sure to subscribe to my weekly newsletter and never miss a new recipe! You can also snap a photo & tag @JENNYGOYCOCHEA on Instagram. I LOVE hearing about & seeing your SMF creations!
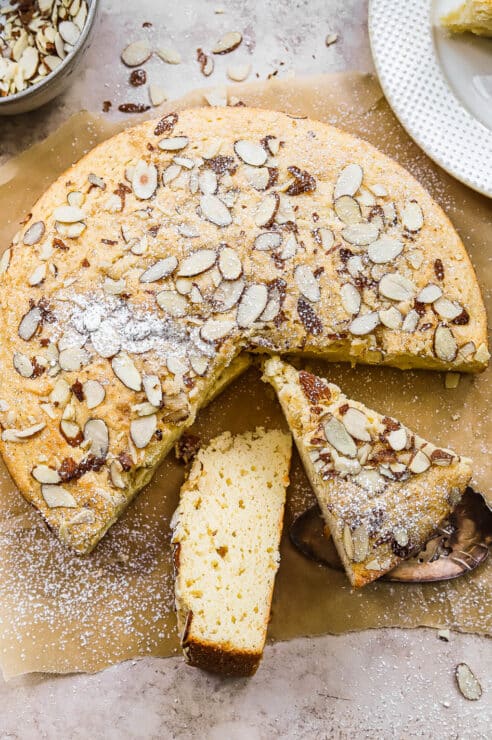
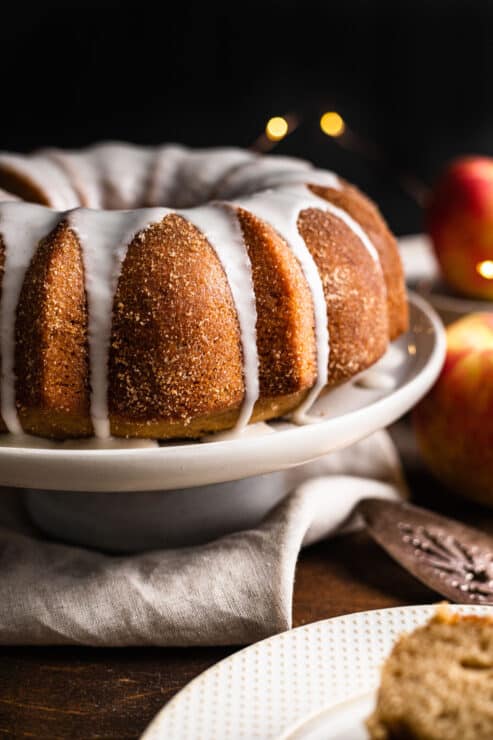
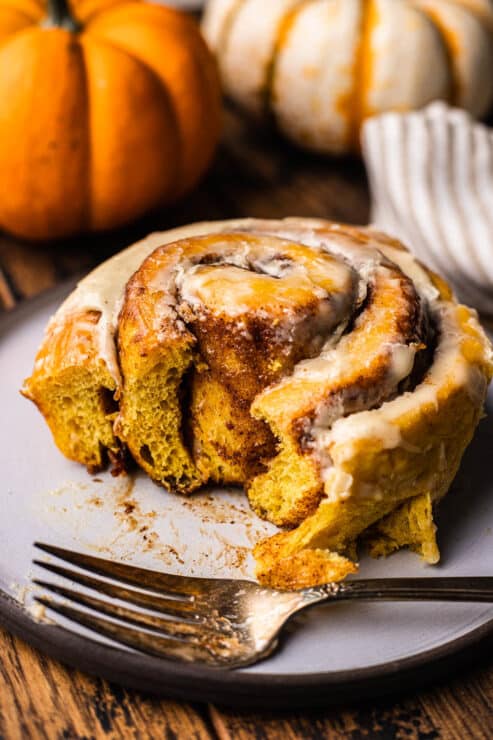
More Baking Recipes to Try
Sage & Gruyere Biscuits
Banana Coffee Cake
Skillet Cornbread
Blueberry Breakfast Bake
Sour Cream Coffee Cake
This post contains affiliate links from which I receive a small commission at no additional cost to you. As an Amazon Associate, I earn from qualifying purchases. Affiliate links allow me to keep providing great recipes for free and I never recommend products that I don’t love and personally own.

Flakiest All Butter Pie Crust Recipe
Ingredients
- 160 g all-purpose flour, (about 1 1/4 cups)
- 113 g unsalted European-style butter, (1 stick/4 oz)
- 1/2 teaspoon fine sea salt
- 1 teaspoon granulated sugar
- 1 tablespoon vodka
- 3-4 tablespoons ice water
Instructions
- Use a sharp knife to cut the butter into 1/2-inch cubes. After dicing the butter, place it on a plate or in a small bowl and transfer it to the freezer for 10-15 minutes while you gather the rest of your ingredients.
Mixing Methods
- Food processor: Add the flour, salt, and sugar to the bowl of a food processor and pulse 3-4 times just to combine. Add the very cold butter and pulse about 10 times, until the butter is mixed in but there are still pea sized pieces visible. Transfer the mixture to a chilled mixing bowl.
- By hand: Combine the flour, sugar, and salt in a mixing bowl and whisk briefly to combine. Use your fingers to smush every butter piece into the flour into a flat disc. After all the butter has been smashed, use your fingers to work the butter into the flour until the butter is incorporated, but there are still pea-sized pieces of butter. Transfer the whole bowl to the freezer for 10 minutes before continuing on.
- Pastry blender: Combine the flour, sugar, and salt in a mixing bowl and whisk briefly to combine. Use a pastry blender to cut the butter into the flour until pea sized pieces remain. Transfer the bowl to the freezer for 10 minutes before continuing.
Mixing the pie dough
- Drizzle the vodka over the top and use a rubber spatula to fold it in. Add 2-3 tablespoons of ice water, mixing between each addition. If the dough is still too dry, add 1/2 tablespoon increments of ice water until the dough holds together when you squeeze it in your fist. It’ll still be fairly crumbly, so use your hands to work it together against the side of the bowl.
- When it starts to come together, dump it out onto a clean work surface and press it into a disc. If the crust is too wet, it’ll stick to your work surface. If it’s too dry, it will be sandy and not hold together. Wrap the disc in plastic wrap and transfer to the fridge for 2 hours, up to 72 hours.
- Roll the pie dough out to between 1/4-1/8th inch into a large round (about 12-13") on a lightly floured surface. Add a dusting of flour as needed as you roll the dough out, but you shouldn't' need much. Lay the pie crust into a pie pan, pressing it into the edges, trim the excess, and crimp the edges if desired. Chill the prepared pie crust for 1 hour before baking.
Rate & Review This Recipe
No comments yet — be the first to rate and review!