

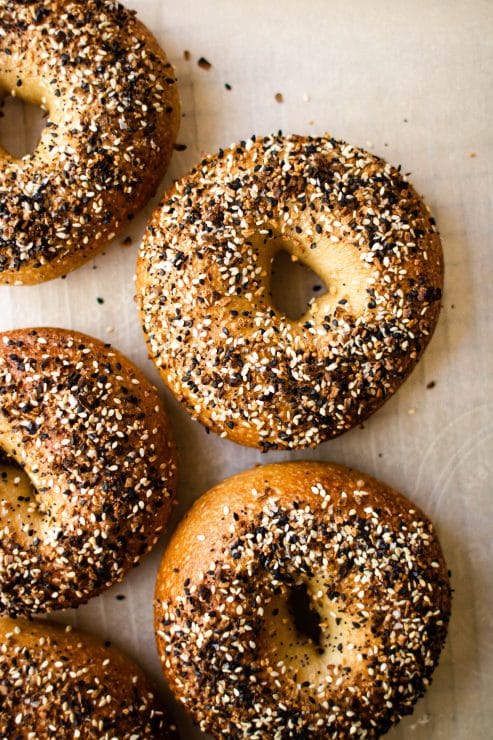

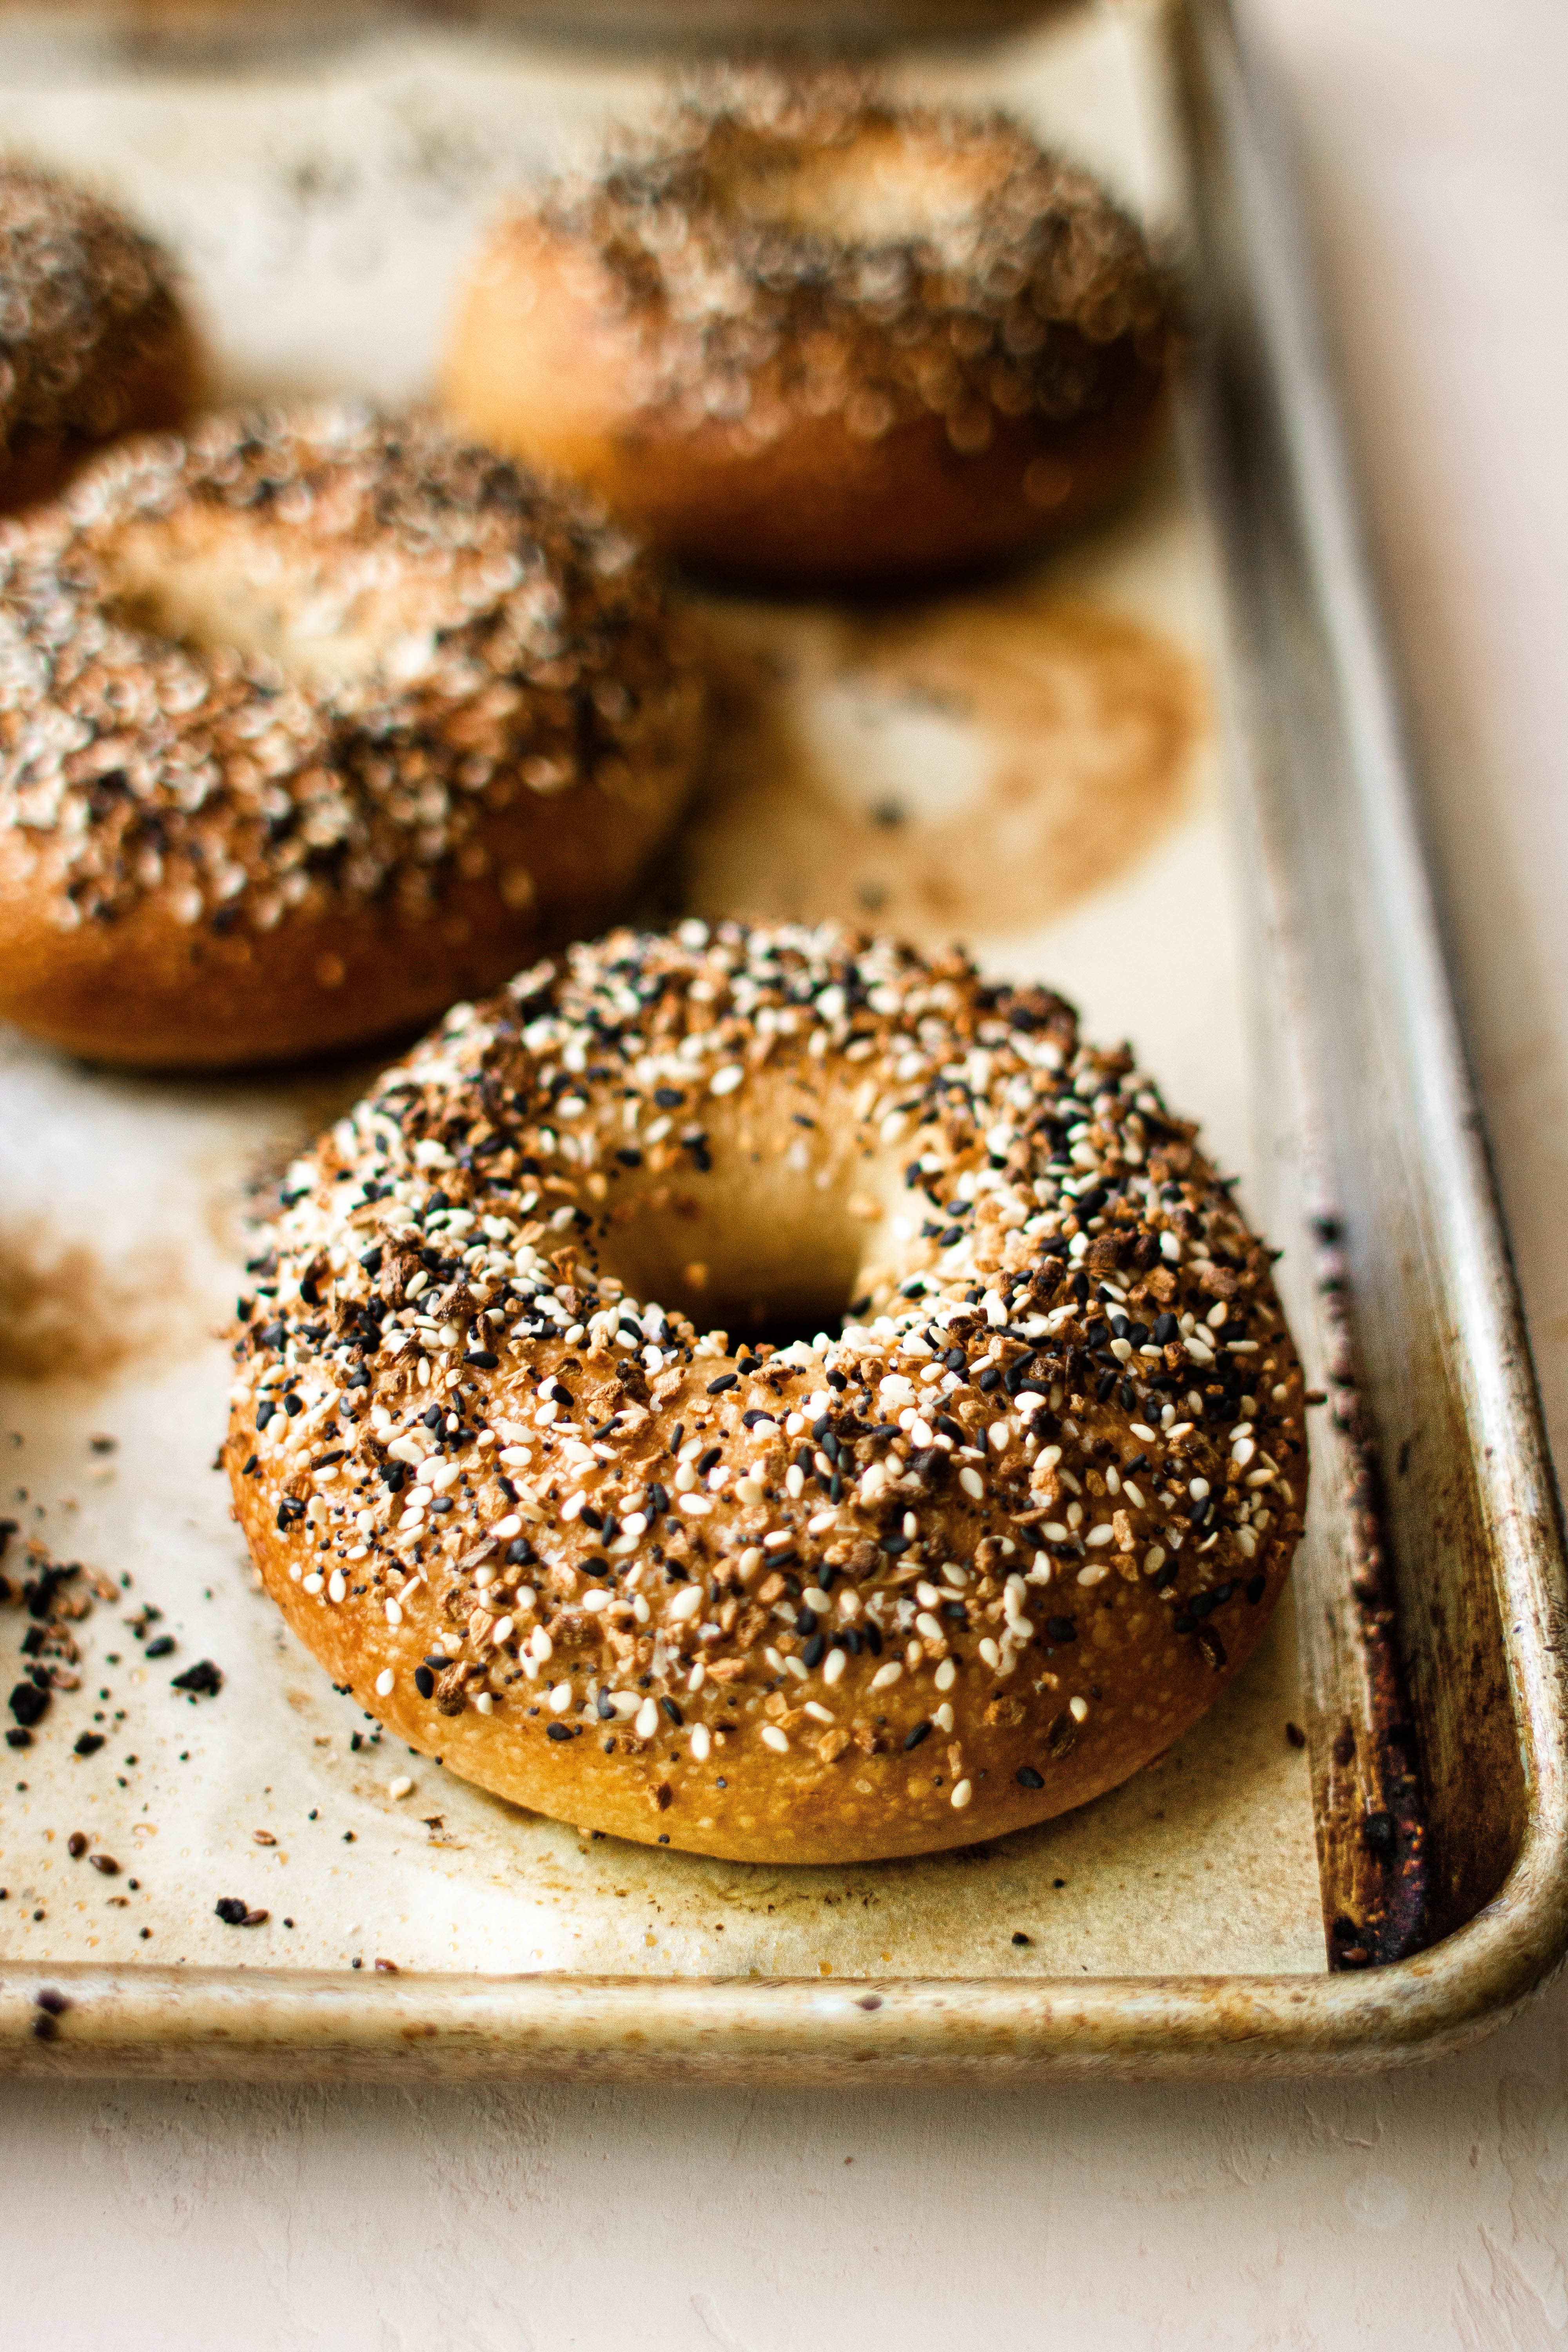
Bring NYC to you with this easy-to-follow recipe for authentic New York-style Bagels! They have a shiny crust, a dense crumb, and a good amount of chewiness. If you think that great bagels are unachievable in the home kitchen, this recipe will prove you wrong!
“Fantastic recipe! Easy to follow and the best flavor/texture I’ve had.” – Christi, So Much Food reader
Table of contents
Here’s Why New York Bagels Are Better
I grew up eating bagels. Usually from a bag from the grocery store, sometimes from a little nothing-special corner shop. I always liked bagels, but never felt like I understood the religious-style hype. It wasn’t until I went to NYC for the first time that I truly understood their majesty.
Now, what exactly is a New York-style bagel? A New York bagel is actually the original bagel to be served in the US and originated in the Lower East Side.
There are several characteristics that set a New York style bagel aside from other bagels but the main one is boiling the bagels. A New York bagel is always boiled in water with barley malt and it gives the bagels their characteristic shiny crust and chew.
For everyone who believes that bagged grocery store bagels are akin to handmade New York style bagels — you are just wrong. Sorry! There are no ifs, ands, or buts about it. Until you’ve had the hand-crafted gluten goodness that is a warm bagel, you simply have not lived.
The 6 Main Ingredients You’ll Need
- Bread flour. This kind of flour has a higher protein content than all-purpose flour, which translates to chewier bagels with a nice, tight crumb. I suggest doing a quick Google search of the bread flour brands at your local grocery store and buying whichever is reported to have the highest protein content. (My go-to is King Arthur bread flour.)
- Active dry yeast. This variety of yeast needs to be mixed with a little sugar and warm water to activate it (hence the name). It will become super foamy and will smell yeasty — a sign that your yeast is healthy and your bagels will turn out.
- Diastatic malt powder. Diastatic malt powder has been dried at a lower temperature to preserve enzyme activity, meaning it will work with the yeast to create that signature chewy texture that New York bagels are famous for. (Avoid using non-diastatic malt, which has been kiln dried at a much higher temperature and is only good for adding color and sweetness.)
- Kosher salt. Your bagels won’t taste salty, I promise! The kosher salt just adds flavor. Do not sub with table salt, which will make your bagels salty.
- Barley malt syrup. Boiling bagels in a blend of barley malt syrup and water helps create that shiny crust and adds lots of color.
- Baking soda. A lot of folks use a mixture of just water and barley malt syrup, but I take it one step further and add a bit of baking soda to my water mixture for a beautiful golden brown crust.
How to Make New York Style Bagels at Home
- Make the sponge. The sponge is a pre-fermentation step I always include when making homemade bagels. It’s a mixture of warm water, yeast, sugar, and bread flour that’s left to foam up and triple in size over the course of about 3 hours. Do NOT skip the sponge step because it really helps give the bagels a deeper, more complex flavor.
- Knead the dough until elastic. To the sponge mixture, add the diastatic malt powder, kosher salt, and remaining bread flour. Knead for 20 minutes, or until the dough is super smooth and elastic (I always use my stand mixer and fit it with the dough hook attachment for this step).
- Rest for 15 minutes before shaping. Resting the dough for a few minutes before measuring out and shaping the dough relaxes the gluten enough for the bagels to actually hold their shape.
Jenny’s Tip: I’ve provided super detailed, step-by-step instructions on how to shape bagels in the recipe card below.
- Rest overnight in the fridge. The bagels need to rest for a long time, otherwise the gluten won’t relax fully and you’ll end up with hockey pucks instead of chewy bagels.
- Boil the bagels. Fill a pot with at least 3 inches of water, bring to a boil, and add the baking soda and barley malt syrup. Once boiling, add the bagels (just a couple at a time!) and cook for 1 minute on each side before transferring to a parchment-lined baking sheet.
Jenny’s Tip: It is extremely important that your water be lightly boiling so that it’s hot enough to penetrate the dough. Adding your bagels to simply steaming water will result in small, dense, and tough bagels.
- Bake until golden brown. I typically bake just 4 bagels at a time. If the boiled bagels sit for too long on the baking sheet before going into the oven, they tend to become soft or soggy.
What’s the Best Way to Shape Bagels?
There are plenty of experienced bakers who prefer the loop method. This is where each portion of dough is rolled into a rope and looped around your hand and rolled along the seam to seal the two sides of the dough together. I’ve attempted this method, and it works okay, but usually I end up with very ugly bagels, not smooth and glossy bagels.
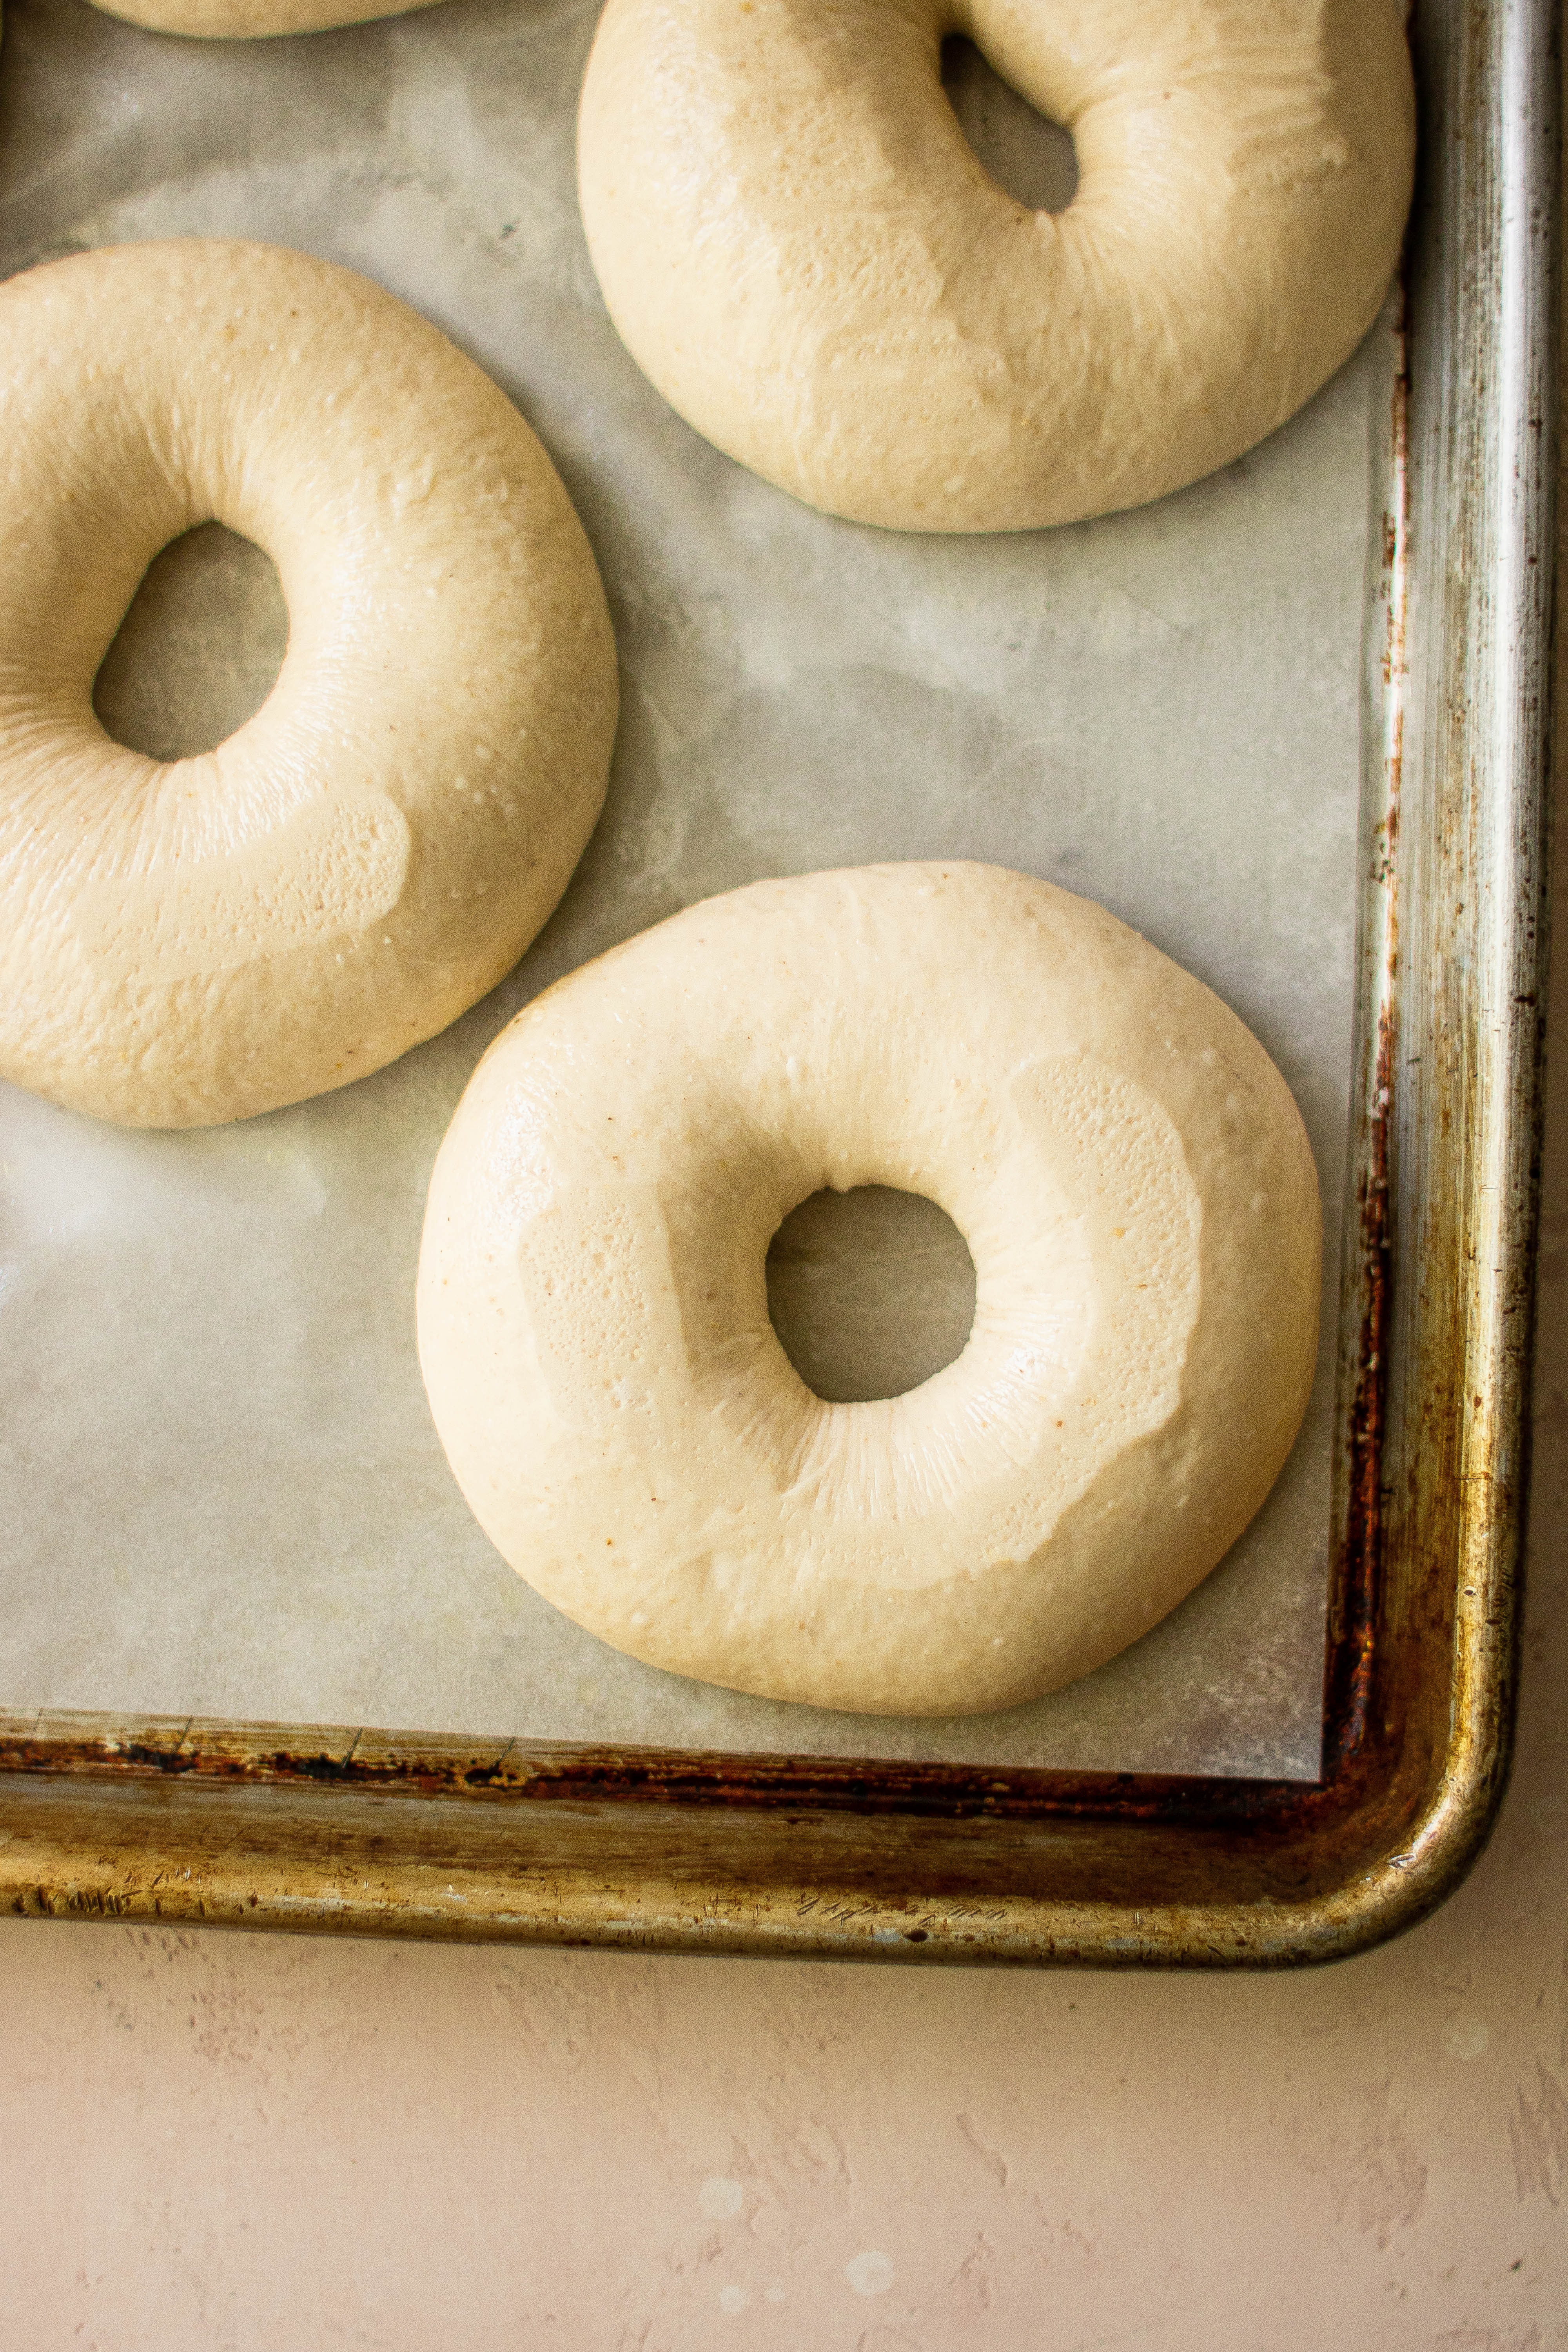
With that being said, I’ve found that the “hole poke” method is the easiest for the average person making bagels (Hi, I’m an average person!).
Each portion of dough is rolled into a tight ball, allowed to rest for 5-10 minutes (covered), and then you poke a hole through the center and use your fingers to enlarge it. The important part here is to make the hole large enough. It’s going to look too large when you do it, but keep in mind that the bagels will swell when they boil and then when they bake.
Jenny’s Tips for Making NY Bagels at Home
Do NOT use all-purpose flour. It simply won’t cut it! Why? Because all-purpose flour lacks the necessary amount of protein required to develop enough gluten for a chewy bagel with a tight crumb.
Use a stand mixer to knead the dough, not your hands. Bagel dough requires a ton of mixing and so I do not recommend doing this by hand unless you have kneading endurance like a beast. This will even be difficult work for your stand mixer, in the ballpark of at least 20 minutes.
If you want to use a food processor, which will work the dough more quickly, that’s possible. But you will have to do the initial rise with yeast, sugar, water and half of the flour. That mixture would then be added to the food processor with the remaining flour, diastatic malt powder, and salt and mixed until a smooth dough is achieved.
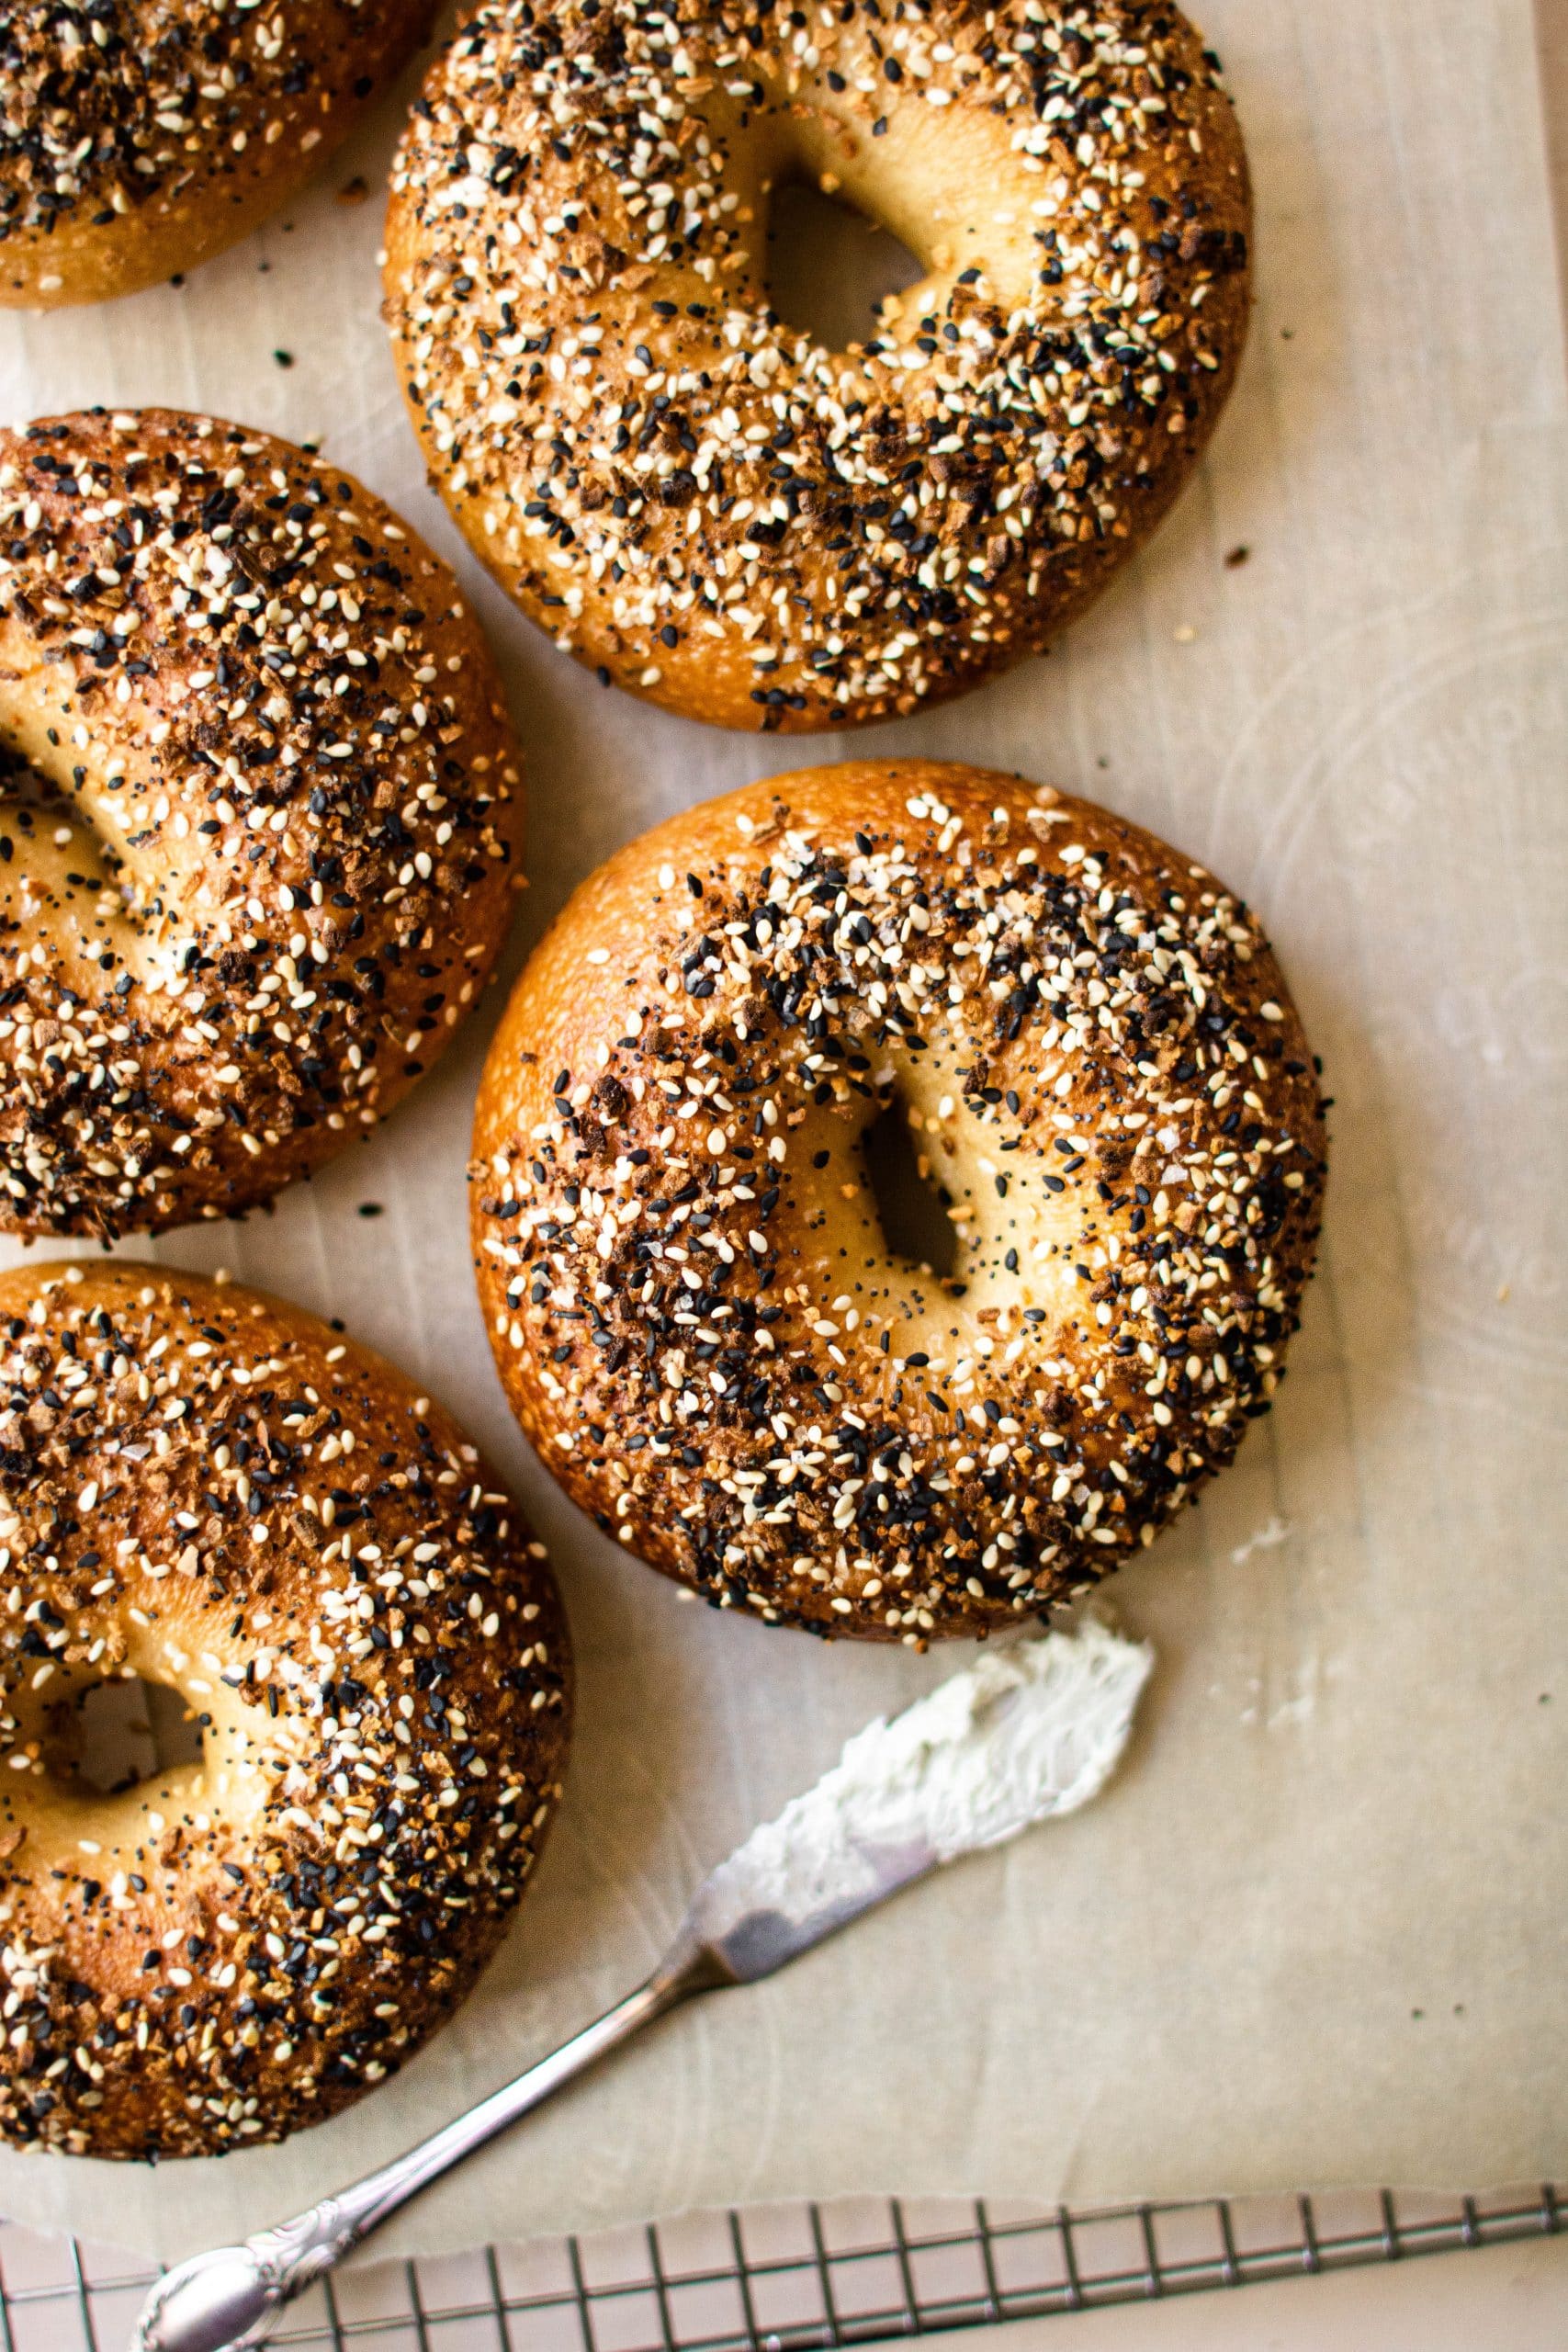
Add the toppings right after boiling. After the bagels come out of the water, they will be at their maximum stickiness, so that’s the time to add your toppings.
I opted for Everything Seasoning (everything bagels are scientifically proven to be the best bagels). I have all the ingredients for everything bagel spice, but honestly I just use the Trader Joe’s Everything But the Bagel spice because it’s perfect and delicious. So, make your life easy and buy a little bottle for $2, rather than hunt down 5 different spices!
Serving Suggestions
You’re welcome to top, toast, and schmear your NY bagels however you like. I love piling homemade salmon gravlax onto my bagels, and around the holidays I’ll make a big bagel board for everyone to help themselves.
If you do give this recipe a try, be sure to let me know! Leave a comment with a star rating below. Be sure to subscribe to my weekly newsletter and never miss a new recipe! You can also snap a photo & tag @JENNYGOYCOCHEA on Instagram. I LOVE hearing about & seeing your SMF creations!
More Homemade Bread Recipes to Try
- Same Day Pizza Dough
- No Knead Focaccia
- Easy Overnight Sourdough
- Brioche Dinner Rolls
- Giant Cinnamon Rolls
This post contains affiliate links from which I receive a small commission at no additional cost to you. As an Amazon Associate, I earn from qualifying purchases. Affiliate links allow me to keep providing great recipes for free and I never recommend

New York Style Bagels Recipe
Ingredients
Sponge:
- 375 g (1 2/3 cups) warm water, about 90ºF
- 20 g (1 1/2 tablespoons) granulated sugar
- 3/4 teaspoon active dry yeast
- 325 g (about 2 1/3 cups) bread flour
Bagels:
- 325 g (about 2 1/3 cups) bread flour
- 20 g (about 2 tablespoons) diastatic malt powder
- 10 g (about 2 teaspoons) kosher salt
- all the sponge, from above
Boiling water:
- 2-3 quarts water (your pot should be half full)
- 1/4 cup barley malt syrup
- 1/2 teaspoon baking soda
Instructions
- Make the sponge. In the bowl of a stand mixer, mix all the ingredients together with a wooden spoon until well combined. Cover with plastic wrap, transfer to a warm area and allow the sponge to rise until tripled in size with lots of bubbles, about 3 hours.
- Make the dough. After the sponge has fermented, add the remaining flour and the diastatic malt powder. Using the dough hook attachment, mix on medium-low speed until the dough starts to come together. Sprinkle in the salt and continue to mix. You'll need to mix the dough for about 20 minutes, so set a timer. The dough should be smooth and elastic at this point.
- Rest. Cover the bowl with a damp kitchen towel and allow the dough to rest for 15 minutes.
- Divide and shape the dough. Line a baking sheet with parchment paper and lightly spray with nonstick coating. Using a scale, portion the dough into 130g pieces and place them on the baking sheet and cover with a damp towel so that the dough doesn't dry out. Working with one piece of dough at a time, shape the dough into a tight ball. Cup the dough under your rounded hand, and working in tight circles on a work surface, roll until the dough is smooth and the seam on the bottom is sealed.
- Rest again. Return to the baking sheet and cover with a damp cloth. Let the pieces rest for 10 minutes.
- Shape the bagels. Using a damp finger, poke a hole through the center of the dough ball and enlarge the circle so that the bagel is about 4 inches in diameter with a hole that is about 1 1/2 inches. The hole might look large, but the bagels will swell when they rise.
- Chill overnight. Transfer the bagels to the greased baking sheet, cover with plastic wrap, and refrigerate overnight.
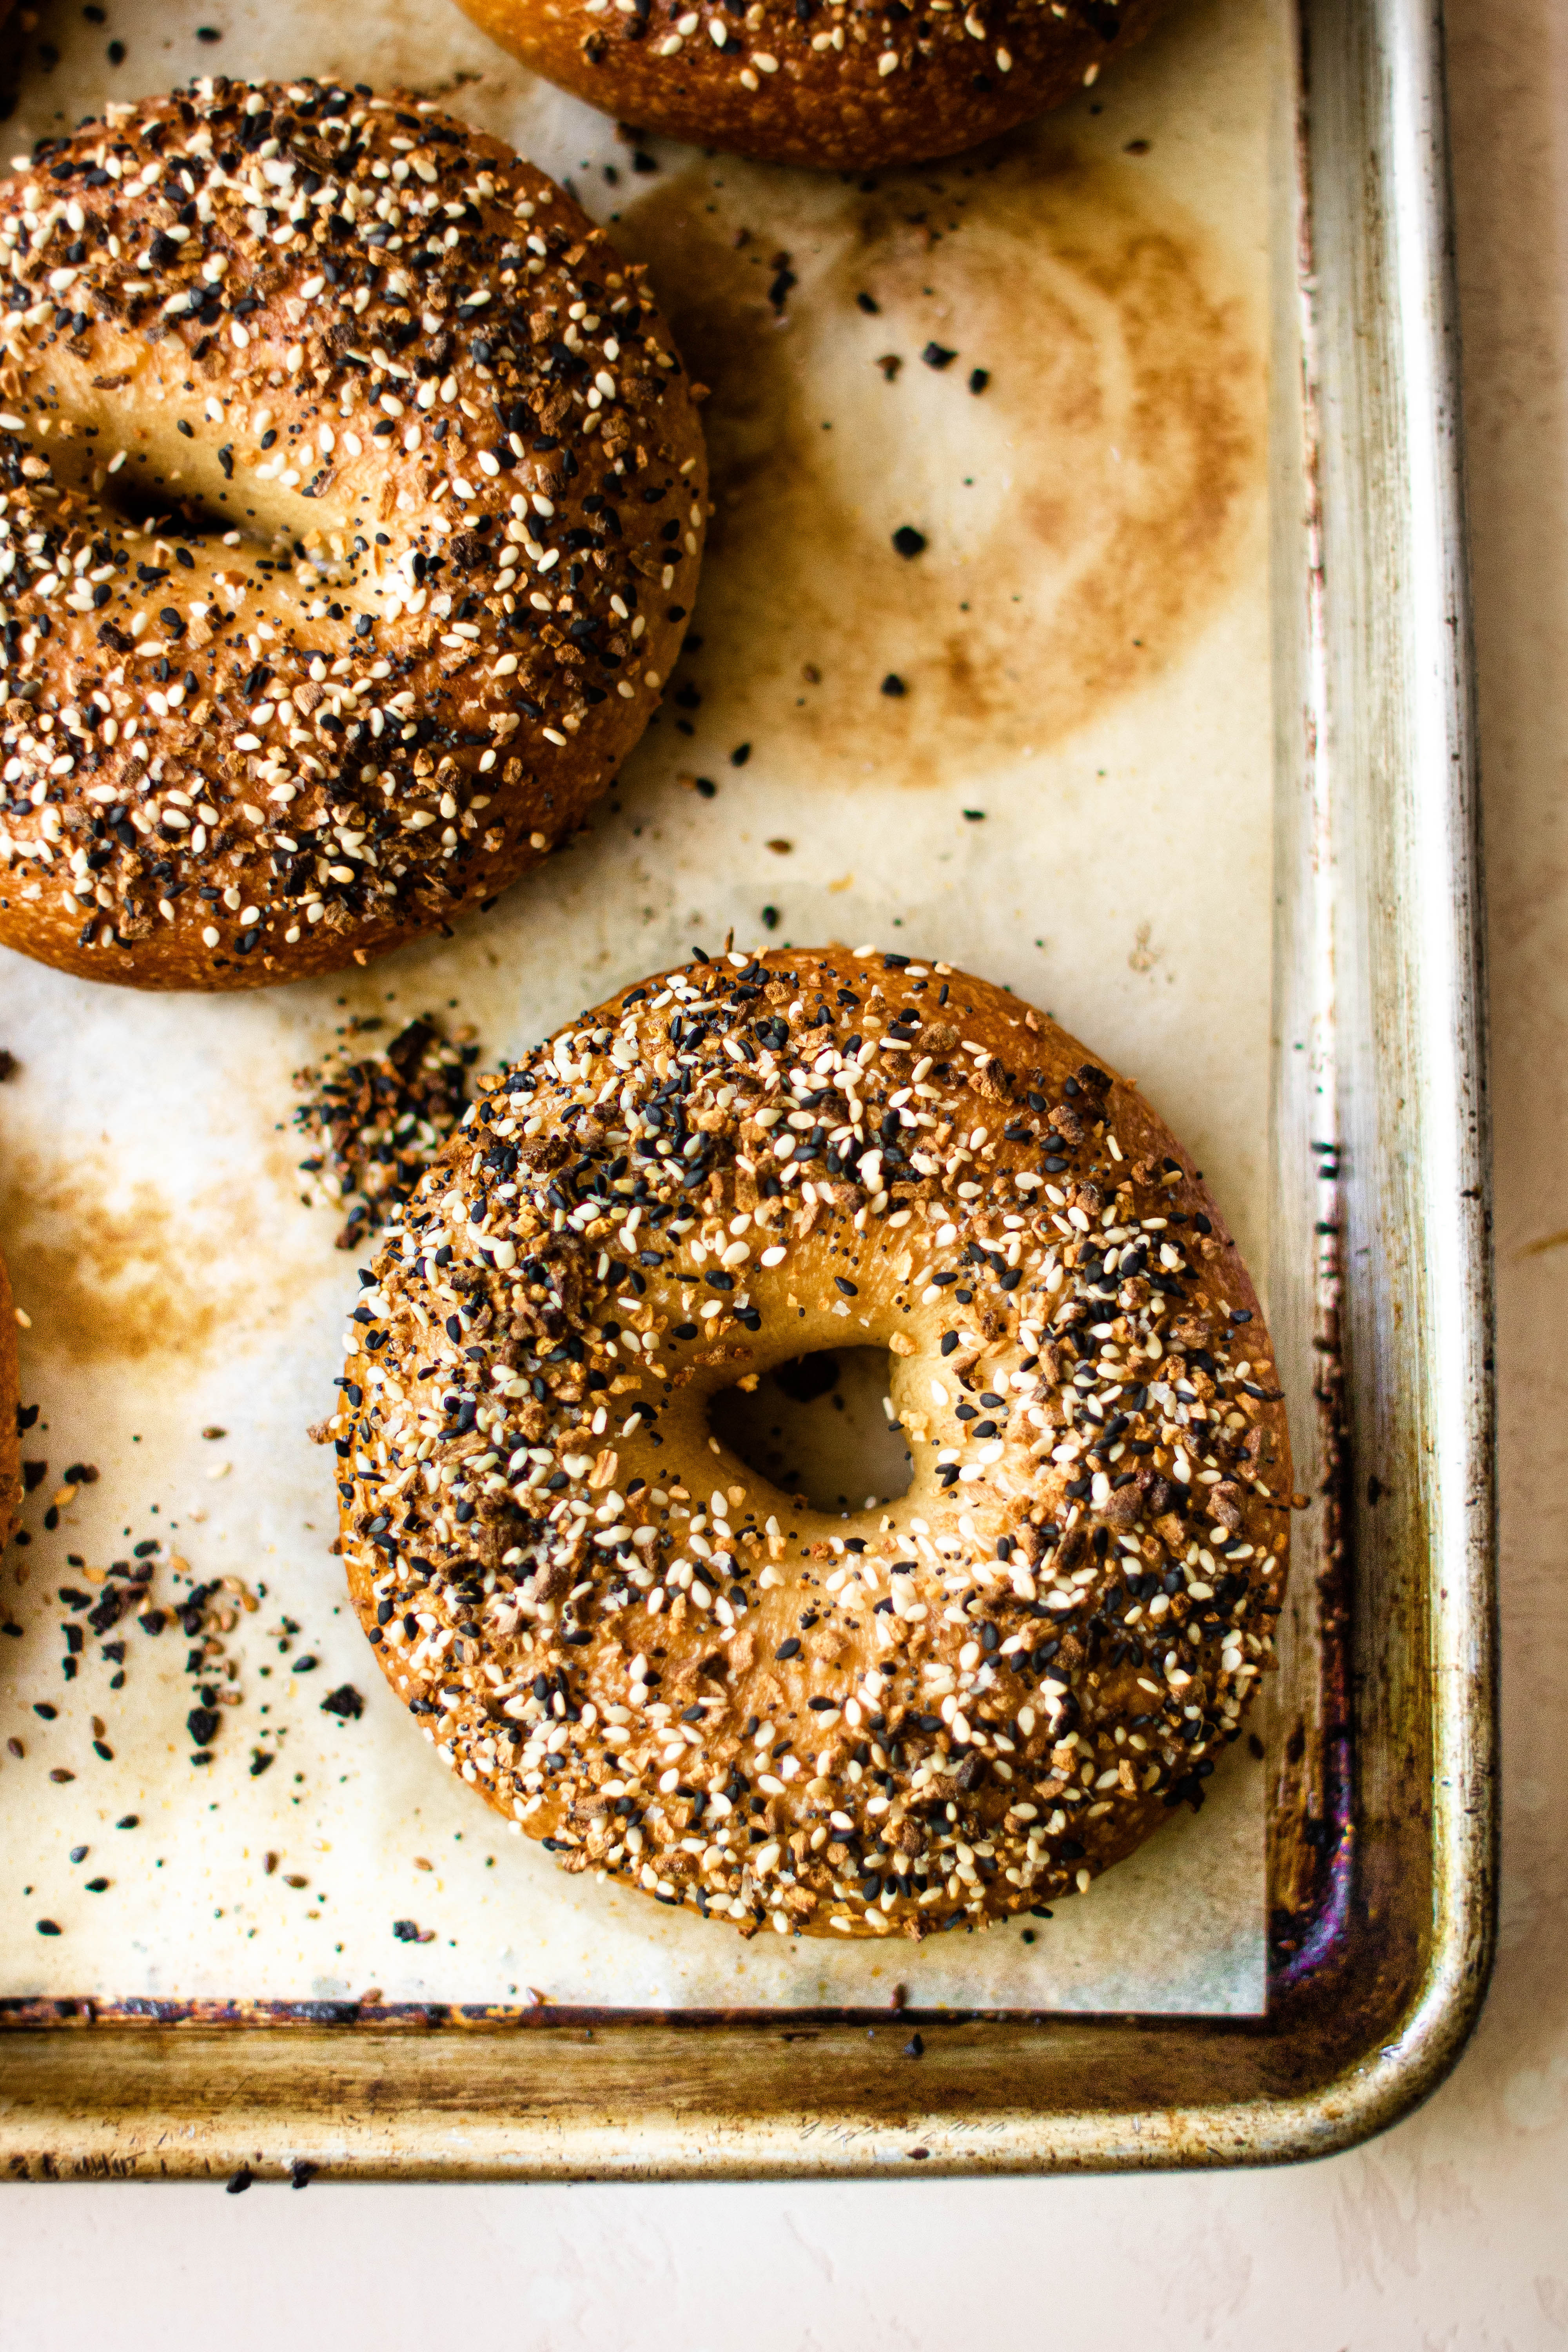
- Boil the bagels. Preheat an oven to 425ºF. Fill a large pot or dutch oven with at least 3 inches of water. Add the barley malt syrup and bring to a boil. Add the baking soda and stir well to combine. This is important, if the water isn't boiling, you'll end up with small, tough bagels. Working in batches of 3-4, boil the bagels for 1 minute on each side. Transfer to a baking sheet lined with parchment paper (let the water drip off of them before transferring them) and sprinkle with your choice of topping. I recommend only baking about 4 off at a time so that the bagels don't sit too long after boiling.
- Bake. Bake for 20-25 minutes, until golden brown, rotating the tray halfway through. Transfer the bagels to a rack for cooling. Repeat with the remaining bagels.
Rate & Review This Recipe
Great Recipe! Easy to follow and the videos for shaping helped a ton! Love the website, love the recipes, keep putting out amazing content!
Most other recipes call for non-diastatic malt powder. What is your reasoning?
Diastatic malt is dried at a lower temperature to preserve enzyme activity, meaning that the malt is actually working hand in hand with the yeast on this one. Non-diastatic malt has been kiln dried at a much higher temperature and is only added for color and sweetening effects. I would always elect to go with diastatic.
Thanks for the recipe. I never tried making bagels with a preferment before. Seeing the kneading time of 20-25 minutes, I thought it was a mistake and could lead to overworked dough, so I kneaded only about 12-13 minutes. Also I used oat flour for part of my ingredients. It turned out tasty. Thanks!
Yay! I’m so glad you liked the recipe, thank you for making it! For reference, I like a really tight crumb in my bagels, hence the mixing time. Because the bagels have a long rest in the fridge, the gluten has a chance to relax and thus there isn’t a risk of over-mixing. Great tip about the oat flour!
Are these crispy on the outside and chewy inside?
Yes, they absolutely are!
Made these today and came out so wonderful! I’ve never made bagels before, so it was a bit daunting, but I had a blast. Thank you for the recipe!
That makes me so happy to hear! So glad you liked the recipe, thank you for making it!
Fantastic recipe! Easy to follow and the best flavor/texture I’ve had. I had barley malt syrup on hand and it worked well (adjusted to 1Tbsp in the dough). Looking forward to making them again soon.
Christi,
So happy that you loved it! This is definitely one of my favorite recipes ever!
These look fantastic. I have a very small fridge and simply cannot shape the bagels out onto trays before refrigeration. Can I keep the dough and one bowl and shape the next day without too much detriment to the bagels?
Hi Kimberley!
You can definitely proof the dough in a bowl overnight and then shape the next day. After shaping, you’ll want to give the bagels about an hour covered with plastic wrap so they can proof a little longer before boiling. Let me know how they turn out!
A true New York bagel recipe. Excellent!
Thanks Patricia! Happy you loved the recipe.